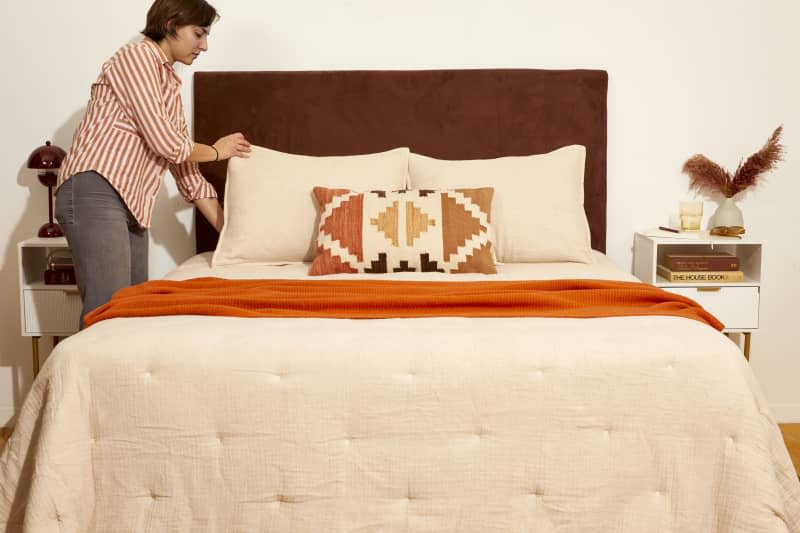
The "Secret Ingredient" Every Grown-Up Bedroom Needs
One thing experts say every grown-up bedroom needs? A headboard. This simple addition to a plain bed frame makes your whole room look instantly more pulled together — not to mention, more expensive. While you can of course buy a headboard, DIYing a headboard is actually relatively easy, as it’s a pretty simple construction. In fact, you can get away with creating a DIY upholstered headboard without using more than a heavy-duty stapler and a drill.
The key to creating a designer-looking DIY upholstered headboard is to invest in padding. Extra cushion beneath your fabric exterior won’t just make your headboard look more luxe — it will also make it much more comfortable to lean against. As for fabric, the options are nearly limitless, although thinner fabric options might require a secondary layer of backing fabric to make sure they’re fully opaque. Upholstery fabric — or heavier-weight fabrics like faux suede, velvet, or corduroy — are your best bets for this project.
When you buy fabric for your DIY upholstered headboard, you’ll need to make sure to pick up enough to allow for a 6-inch overhang around every side of the headboard. For a queen-sized headboard, that works out to about 2 1/2 yards; for a king-sized headboard, about 3 yards.
Once you have your materials, this project is pretty straightforward and can be done in an afternoon. Ready to get started? Read on for the full tutorial on how to make your own DIY upholstered headboard.
Tools and Materials
Plywood (5/8”)
Upholstery foam (1-inch size works best)
Fabric adhesive spray
Extra loft batting (enough for 5” overhang on edges)
Upholstery-weight fabric (enough for 6” overhang)
Heavy-duty staple gun and staples
Scissors
Utility knife
Circular saw (optional)
For hanging: French cleat, level, stud finder, and drill
How to make a DIY Upholstered Headboard
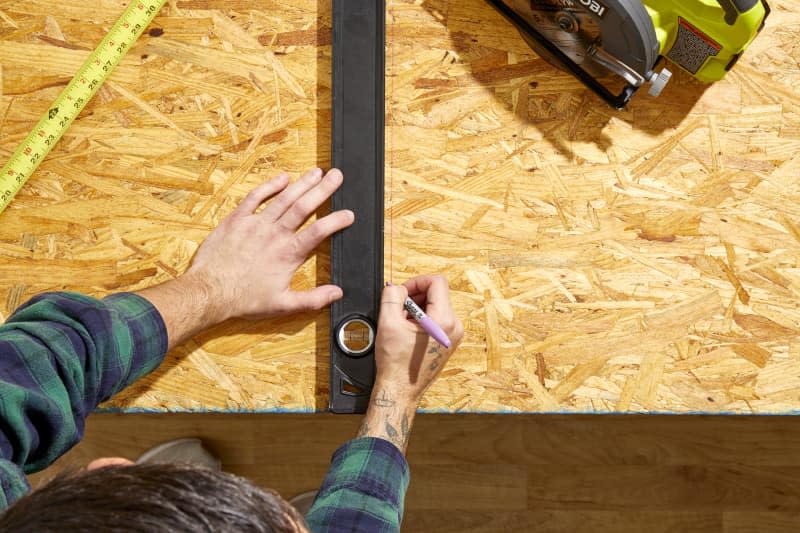
1. Cut plywood to size.
Make sure your plywood is cut to the correct size for your headboard. Here are some guidelines for standard headboard sizes.
Twin-sized headboard: 41 inches wide
Full-sized headboard: 56 inches wide
Queen-sized headboard: 62 inches wide
King-sized headboard: 80 inches wide
As for height, that can be decided based on personal preference. A nice standard height is 28 inches above the top of your mattress, although you could make this lower or higher depending on your tastes.
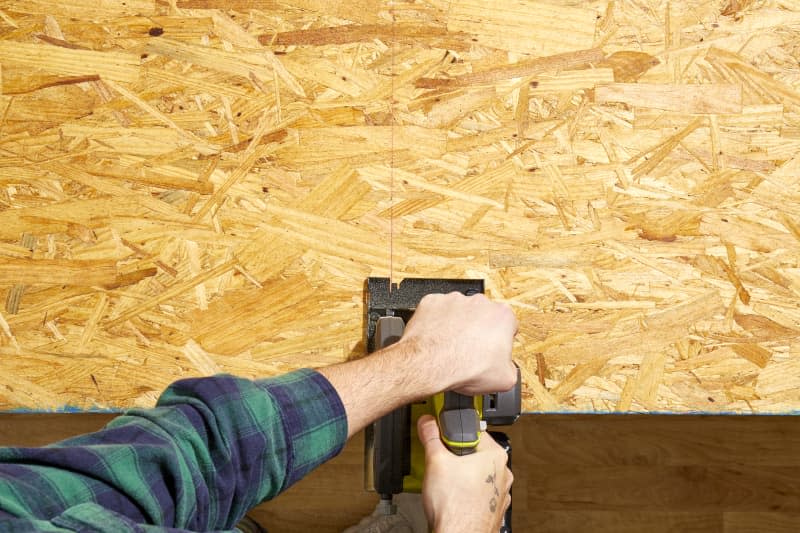
Many hardware stores can perform these cuts for you as long as you come prepared with measurements. If you DIY, the best tool to use is a circular saw. Draw on your measurements with pencil, making sure your lines are straight and your angles are square, and then clamp your plywood to a work table or saw horse with the cutting edge hanging off. Push the circular saw away from you to cut, making sure to keep your movements slow but steady.
2. Cut foam to size.
Your foam should be the same size as your plywood; this is what’s going to give you that padded feeling that will be so comfy to lean against.
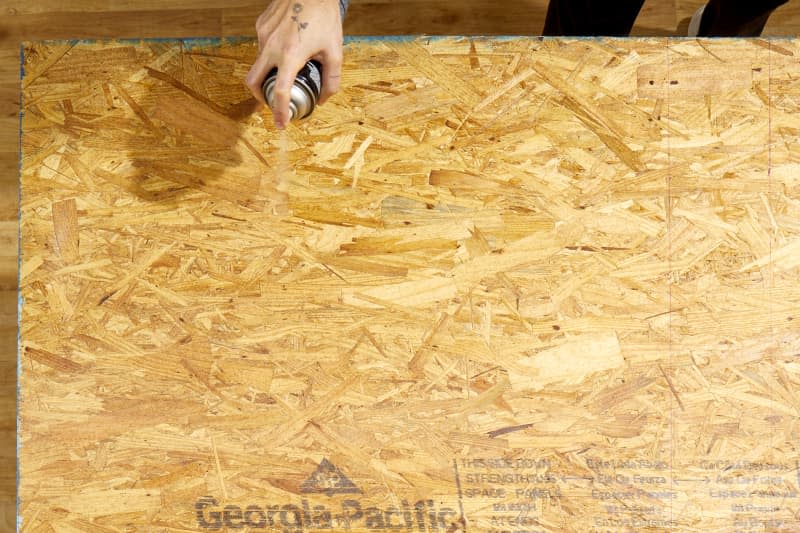
3. Use adhesive spray to attach foam to plywood.
Spray adhesive straight onto plywood. This will keep the foam in place through the rest of the project.
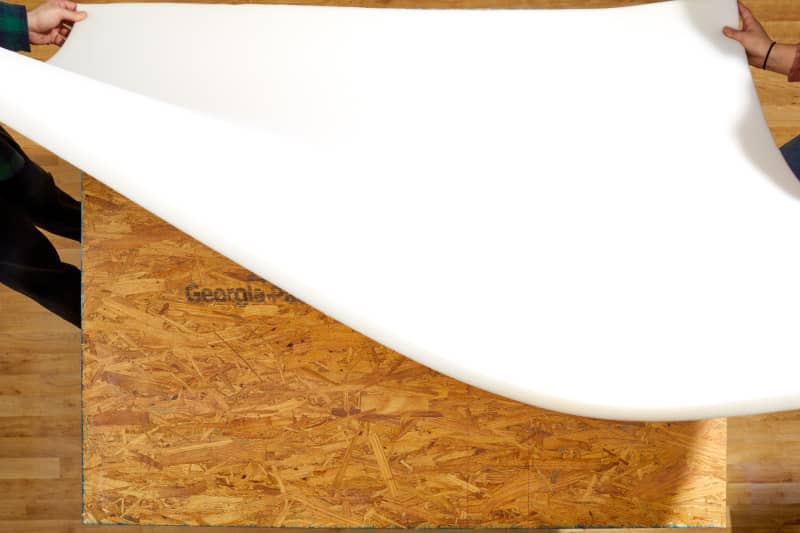
4. Lay the foam on the plywood.
Lay the foam padding directly on the plywood so that all the edges align. You might need an extra set of hands to make sure that you lay it flat and don’t need to reposition it.

5. Cover with batting.
Lay batting over the foam, and cut off any excess beyond a 5-inch overhang on every side.
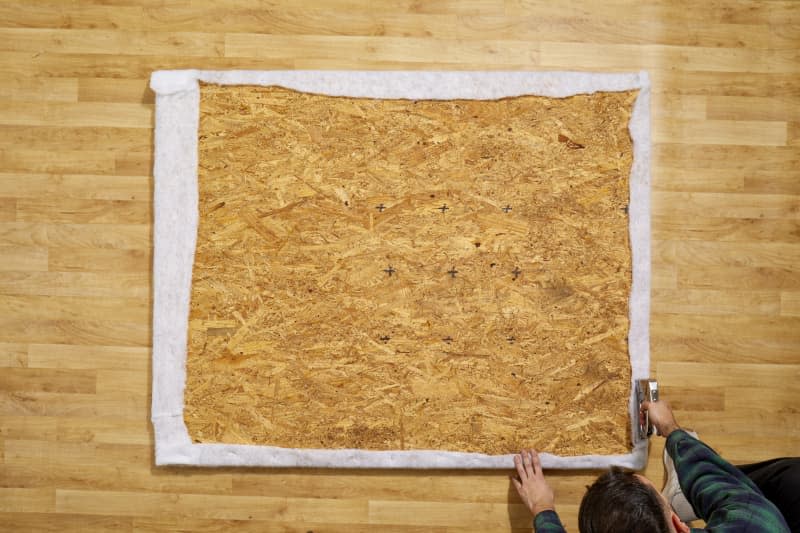
6. Staple batting to plywood.
After the adhesive dries, flip the headboard over so that the batting and foam sides are facing away from you. Pull the batting taut around the edges of the plywood and staple in place all the way around the headboard.
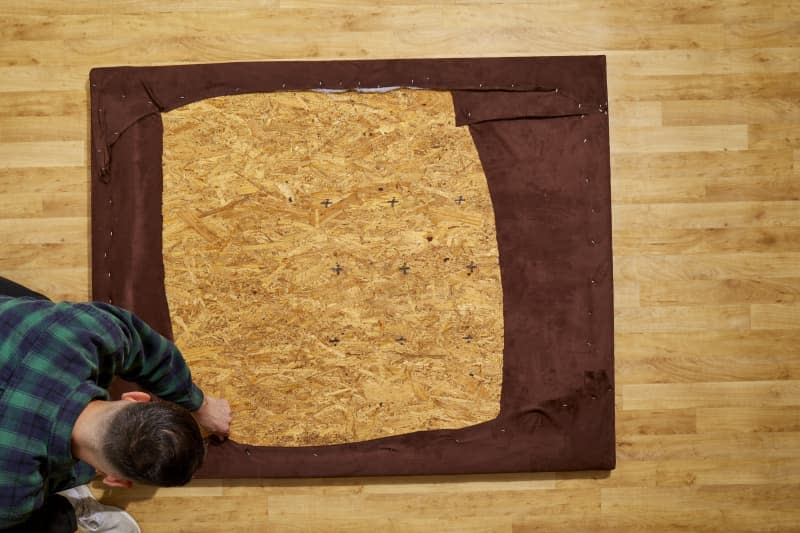
7. Staple fabric in place.
Next, lay the headboard on top of the fabric you’ve chosen for the upholstery. Pull taut and staple all the way around the sides until it’s secure.
8. Hang the headboard.
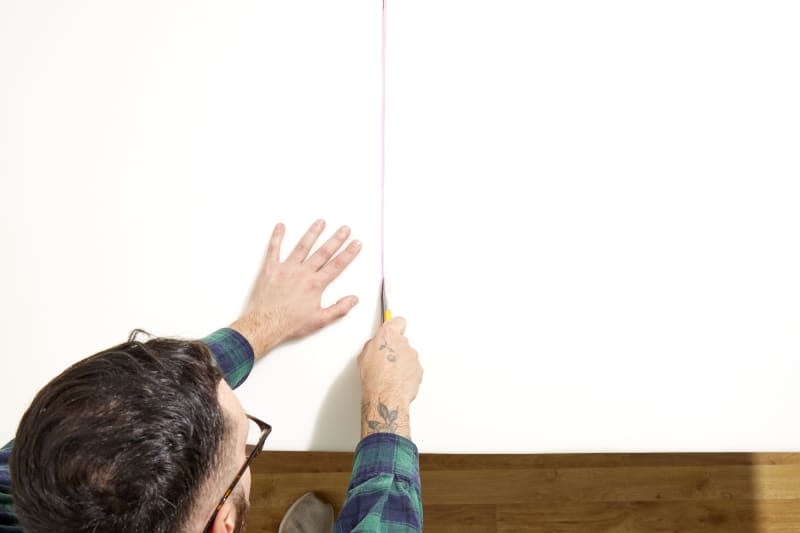
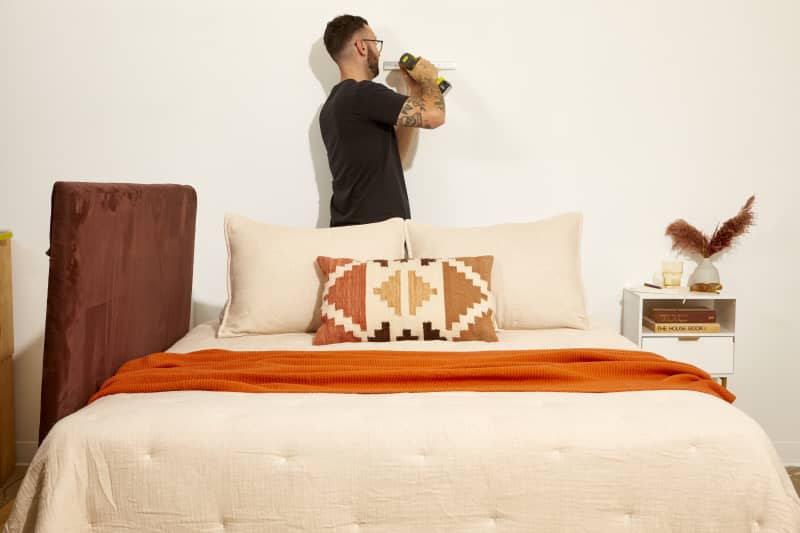
The easiest way to hang this headboard on the wall is with a French cleat, which you can buy at hardware stores. These consist of two pieces: one attaches to the wall, and has a lip that faces up; one attaches to your headboard (or mirror or artwork) and has a lip that faces down. When you slip the downward-facing cleat over the upward-facing one, they lock together and hang securely.
To hang this way, you’ll need a French cleat as well as a level, a drill, and a stud finder. Once you determine where you’d like the headboard to hang, locate the nearest wall studs. Then, drill the wall side of the cleat in; you should attach it to at least two studs for security.
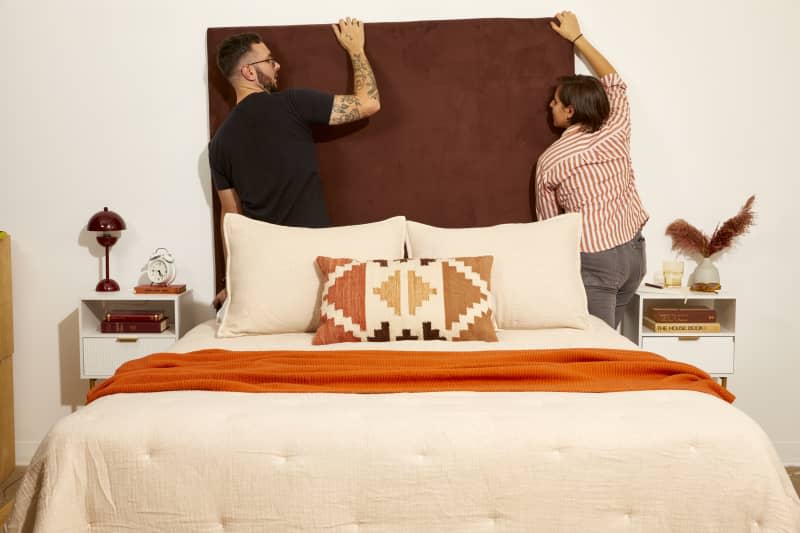
Attach the other side of the cleat to the headboard using screws, making sure to center it so that it aligns with the wall side of the cleat. Then, fit the two sides together to hang.
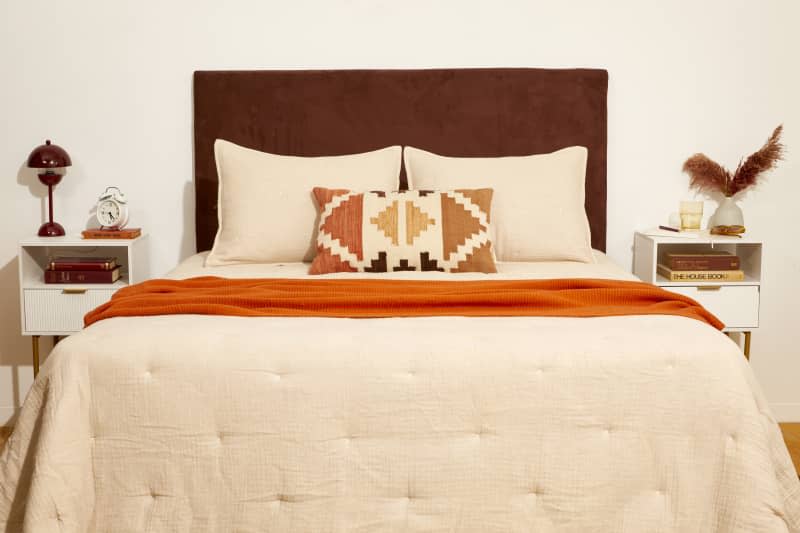
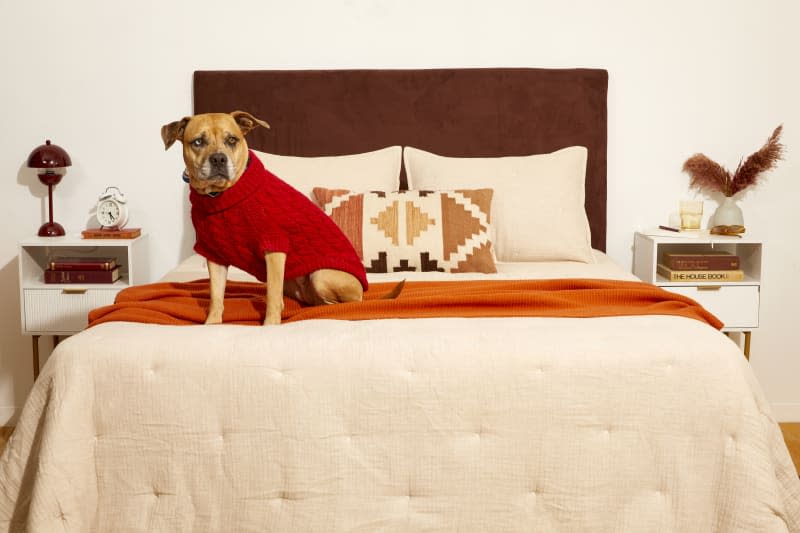
The final result? A headboard with a cushy feel, a sleek shape, and a totally custom color scheme — plus a very grown-up-looking bedroom.

