How to Season and Maintain a Wooden Cutting Board
A high quality wooden cutting board requires a bit of maintenance from time to time to stay in tip-top cutting shape.
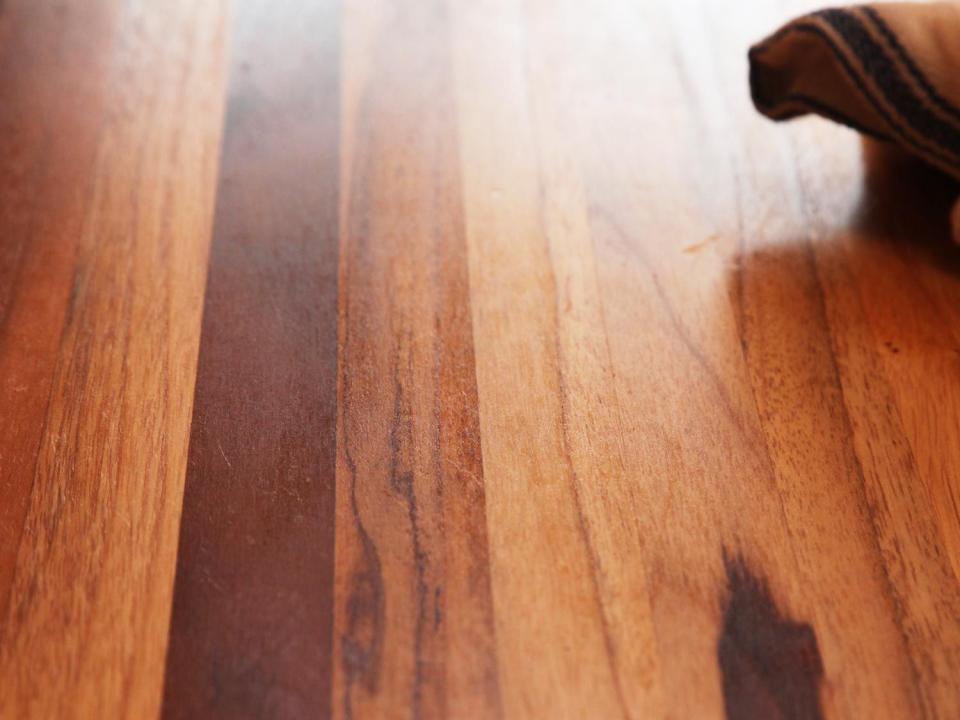
Serious Eats / J. Kenji López-Alt
When it comes to selecting the right cutting board, you've got a few options for materials. The worst are made of glass or marble. That sound your knife makes when you rock it back and forth on a metal cutting board? That's the sound of your knife dying a thousand tiny but painful deaths as the blade dulls on the hard surface.
Much better are softer surfaces, like plastic or wood. Modern plastic cutting boards, like this OXO one I have, are hard enough to keep them from absorbing odors, but soft enough that they won't dull your blade. I use my plastic cutting boards for really heavy-duty tasks, like cleaving chicken bones or cutting dense pumpkins with a big knife. If my knife gouges a few channels into it, no big deal. Plastic isn't about the aesthetics.
But for everyday use, wood is the best cutting board material by a long shot. Not only is it extra kind to your knife blade, it's also the safest material (because bacteria have a much lower survival rate on wood than on plastic), and it's gorgeous, too.
That said, a good-quality wooden cutting board requires a bit of maintenance from time to time to stay in tip-top cutting shape. To read about our favorite wood cutting boards, check out our review here.
Breaking in a Wooden Cutting Board
Wood is naturally quite porous, so without a protective finish, it can absorb juices from your food, transferring colors and aromas from one recipe to the next. Worse, if excess moisture builds up inside that board, it can lead to warping and cracking as the wood unevenly expands, or, in the worst case, rots from within. Seasoning your wooden board right after you buy it and oiling it occasionally can prevent all of that from happening.
Serious Eats / J. Kenji López-Alt
To start, get some food-safe mineral oil or board cream. Any food-safe mineral oil will do—I use a cheap bottle of cutting board oil from IKEA. The big-box home goods stores also stock them regularly.
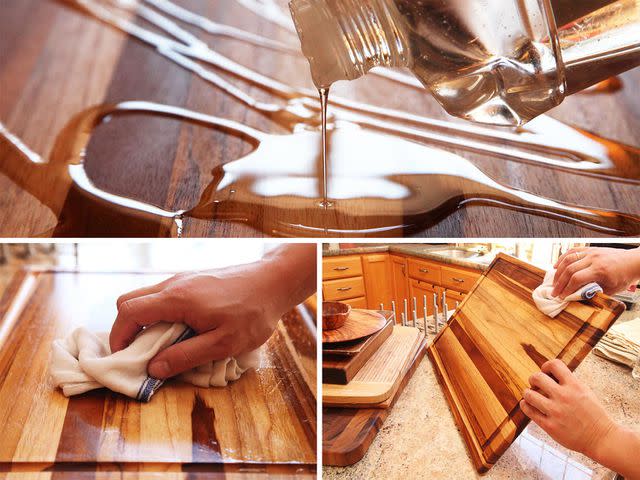
The first time you season your board, you should aim to really saturate it in oil. Pour on what looks like far too much, then rub it in with a clean dish towel that you'll dedicate as your board towel from this day forward. It may look like there's a thick oil slick on top of your board when you're done rubbing, but let your board rest for about five minutes and come back and take a look. All the oil has been absorbed! When breaking in a brand-new board, I like to repeat this process about three times to ensure that there are no thin or extra-thirsty spots.

Serious Eats / J. Kenji López-Alt
You can work on one surface of your board at a time, letting it sit with the oiled side up overnight so that it fully absorbs the oil, but a much more efficient way is to let your board rest upright in a pot lid holder. This adjustable one comes, again, from IKEA and costs about $12 (you can order it from Amazon as well). I use the same rack to keep sealed bags of food separated in a sous-vide water bath.
Maintaining the Board
After the initial seasoning, all you need to do is maintain the oil on the surface by reapplying a single thin layer and letting the board rest overnight every time it starts to wear thin. I like to oil my boards and any wooden plates and serving dishes in my kitchen every time I sharpen my knives, which for me is about once per month. If you're someone who doesn't cook for a living all day, every day, you could probably get away with oiling two to three times per year.
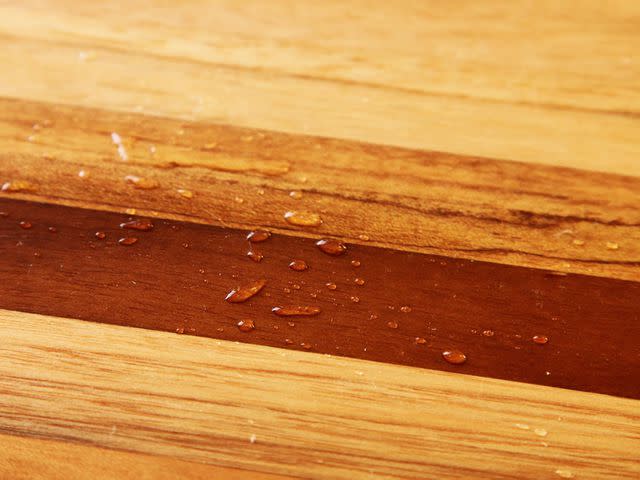
Serious Eats / J. Kenji López-Alt
How can you tell when it's time to oil? Using your fingertips, sprinkle a few drops of water over your board. If the board has been properly and freshly seasoned, water will bead up on its surface. This is a good indication that nothing is going to penetrate it. Over time, its water-repellent qualities will start to diminish, and water droplets will spread further and further out, clinging to the wood. Eventually, the water will look like it's about to get absorbed into the wood even as it first lands on it. That's a sign that you're ready for another layer of oil.
Keep up the regimen, and you and your board should be all set to be well-oiled partners for life. Haven't you always wanted a well-oiled partner?
What's that? You say your board has scratches from repeated heavy knife work that you want to get rid of? Don't worry—some light sanding by hand can take care of those. Use a fine sandpaper that is made for dry or wet surfaces. The higher the number on a piece of sandpaper, the smoother the finish it will give. I recommend a grit of at least 220, but for a buttery-smooth finish on your board, hand-sand it with a 400-grit paper. Once you've sanded your board, wipe it free of dust with a damp sponge, let it air-dry, then oil it to get it ready for your next use.
September 2015
Read the original article on Serious Eats.

