How to Save Seeds at the End of the Gardening Season
Whether you're finishing off the rest of the fruits and vegetables from your seasonal haul or cleaning up your garden and landscape this winter, take a moment to save and preserve the seeds for future use.
What's seed saving?
Seed saving is when you collect and store quality seeds from plants for future planting and cultivation. This age-old tradition is how generations have been able to preserve and adapt our food supply, especially with annual plants and heirloom varieties of vegetables and fruits.
While it's beneficial for homesteaders and gardeners, and permaculture farmers to save seeds, just about anyone can participate. From a commercial standpoint, keep in mind that some plant species are protected by patents or trademarks.
On the topic of seed saving, I always point people to Fruition Seeds. Petra Page-Mann hosts a great webinar on seed saving, and shares even more insights in the digital guide "Secrets to Storing Seeds."
Why is seed saving important?
From the standpoint of a homeowner or gardening enthusiast, seed saving can help:
save money
become self-sufficient
grow healthy vegetables year after year
design a beautiful landscape with your favorite plants
practice sustainability
enhance your recipes
make it possible to continue to grow your favorite vegetable and fruit varieties
preserve heirloom seeds
Emily Fazio
Learn How to Save Seeds
Saving seeds is a simple practice that anyone can master. Whether you are a seasoned gardener or just starting out, learn how to harvest plenty of seeds and get a lot of joy out of this simple process.
Gather Supplies
scissors | paper towel |
pocket knife | water |
bowl | marker |
spoon | unlined paper envelopes or brown paper bags |
glass jars and lids | airtight plastic containers (even old film canisters!) |
Step 1: Identify Mature Seeds
The process of identifying mature seeds differs between dry seeded plants, and wet seeded plants.
Dry Seeded Plants
When determining if dry seeds are mature and ready for harvest, look for indicators such as the color of the seed or seed pod, dryness of the seed or seed pod, and ease of detachment. Mature seeds or seed pods will be dry to the touch, and they will detach easily from the plant.
For example, in the case of sunflowers, the seeds will fall out of the flower once they are brittle and dry. When harvesting mature peas or bean seeds, the pod may have turned brown or yellow and it will be dry and crunchy to the touch.
Wet Seeded Plants
Wet seeds, such as pepper seeds, pumpkin seeds, tomato seeds, and cucumber seeds are found within the ripe (or over-ripened) fruit. Harvesting from wet-seeded plants is easiest done while preparing meals. If the fruit is under-ripened, the seeds on the inside are also likely under-developed. Are you trying to save seeds from a hybrid plants? Unlike an heirloom, hybrid seeds you save may not produce to match the parent plant.
Step 2: Harvest the Seeds
The process of harvesting seeds varies based on the type of seed being saved.
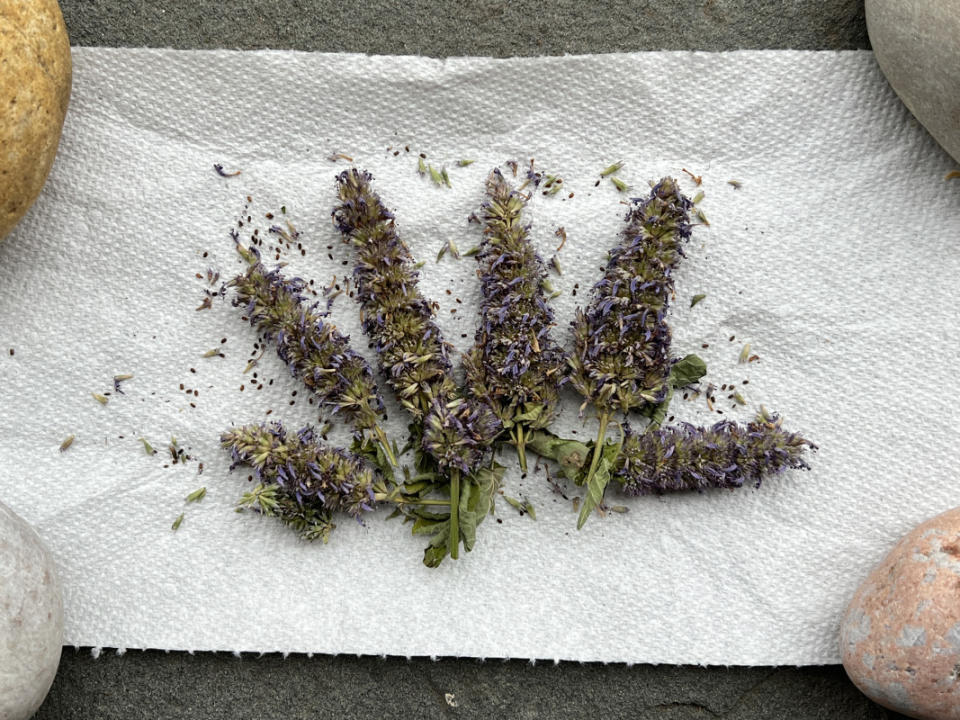
Small seeds: For the best chance at capturing small seeds in plants with high seed production, such as seeds found in flower heads and herbs, shake the dry seed heads directly into labeled paper envelopes.
Large seeds: For larger seeds, such as those found in dried vegetable plants and fruits, cut off entire seed heads or pods and put them into labeled envelopes. Seed pods can be collected in baskets, onion sacks, paper bags, or cardboard boxes, while overripe fruit and vegetables can be gathered in plastic or metal containers for cleaning and drying.
Root vegetables: Common vegetables that grow underground don't have seeds in the product we commonly eat. To harvest seeds, you need to let the plant grow past its edible stage, at which point it will bolt. Once the plant has bolted (and shot up flowers), you can harvest those flower seeds. This makes it possible to grow carrots, lettuces, radishes, beets, broccoli, and even some flowers year after year.
For wet-seeded plants: Cut fruit in half to expose the seeds. Use a spoon to separate seeds along with some of the surrounding pulp. Place the seeds and pulp in a glass jar and add a few inches of cold water, stirring to help prevent mold from forming. Allow the mixture to sit at room temperature for a few days, stirring it daily to promote fermentation.
Emily Fazio
Step 3: Process and Dry the Seeds
Processing seeds can be done in three different ways, depending on the type of seed being saved.
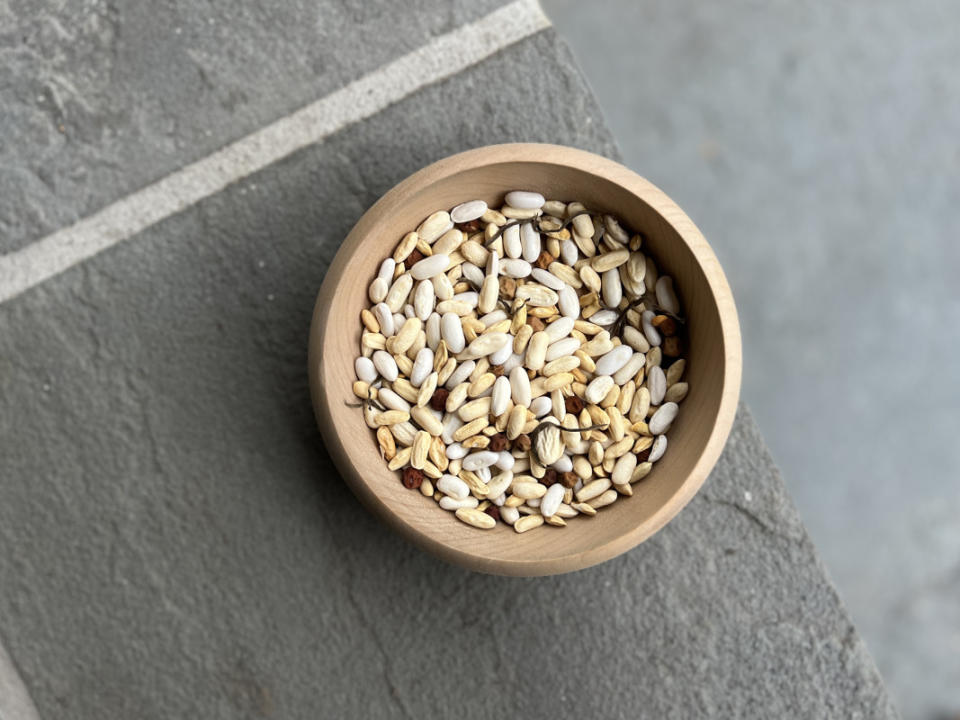
Dry-seeded crops: Clean the seeds after they are completely dried. This involves separating the seeds from the plant material and debris, and then allowing the seeds to dry.
Wet-seeded crops: After the seeds are harvested and sitting in the glass jar with a few inches of water, the fermentation process begins. After stirring the mixture for a couple of days, you'll notice that the viable seeds will sink to the bottom of the jar, while the pulp and any unviable, dead seeds will float to the top. This fermentation process also helps break down germination inhibitors, resulting in healthy seeds that yield healthy plants. At that time, you can carefully remove the floating material and tap water, leaving the single layer of viable seeds at the bottom of the jar. Rinse the seeds one more time while they're in the jar, then strain the water. Spread the seeds on a paper towel on top of a baking sheet or ceramic dish, and lay it in a dry location with plenty of air circulation. After the seeds dry completely, you can transfer them into a labeled envelope.
After processing, labeled, dry seeds should be stored in an airtight container in a dark, cool place, such as a canning or mason jar. This will help to protect the seeds from moisture and air, which can reduce their viability over time. By following these steps for processing and storing seeds, you can ensure that they remain viable for future use.
Emily Fazio
Step 4: Proper Seed Storage
Once you have collected and dried your fruit, vegetable seeds, and flower seeds, it's important to store them properly to maintain their viability. Airtight containers such as plastic containers, glass jars, or paper envelopes are ideal.
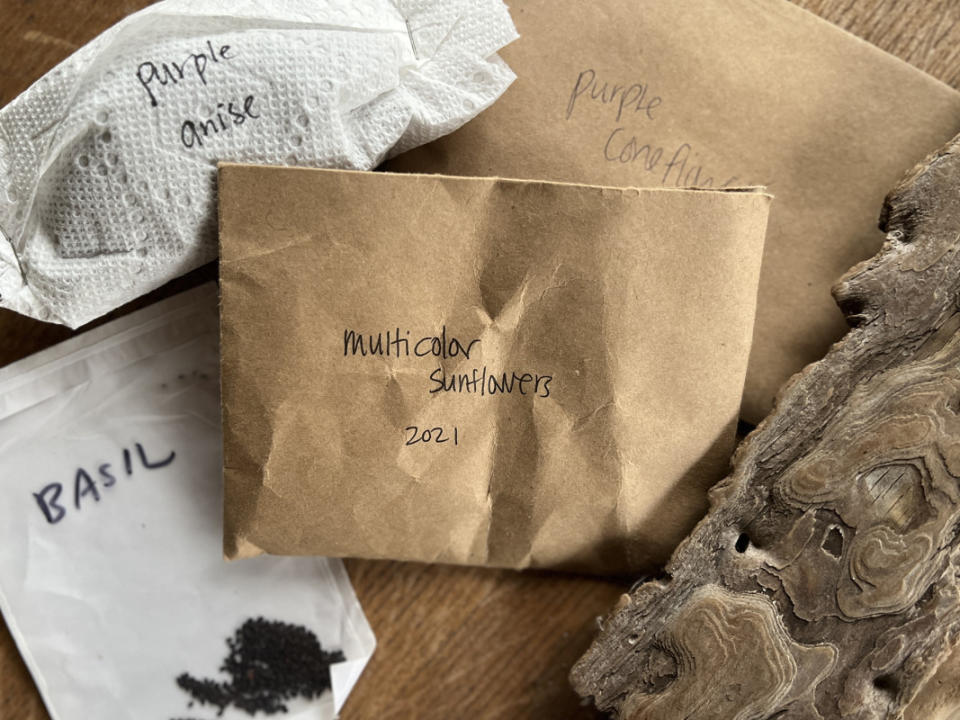
Store the dry seed packets in a cool, dark, and dry place, such as your pantry or basement. If you want to save seeds for longer periods, consider storing them in the freezer in airtight containers. Remember to label the seed envelopes with the date of collection, plant variety, and any other important details. This will help you keep track of the seeds and their viability.
By following these steps you can help ensure the longevity and viability of your seeds for future planting.

