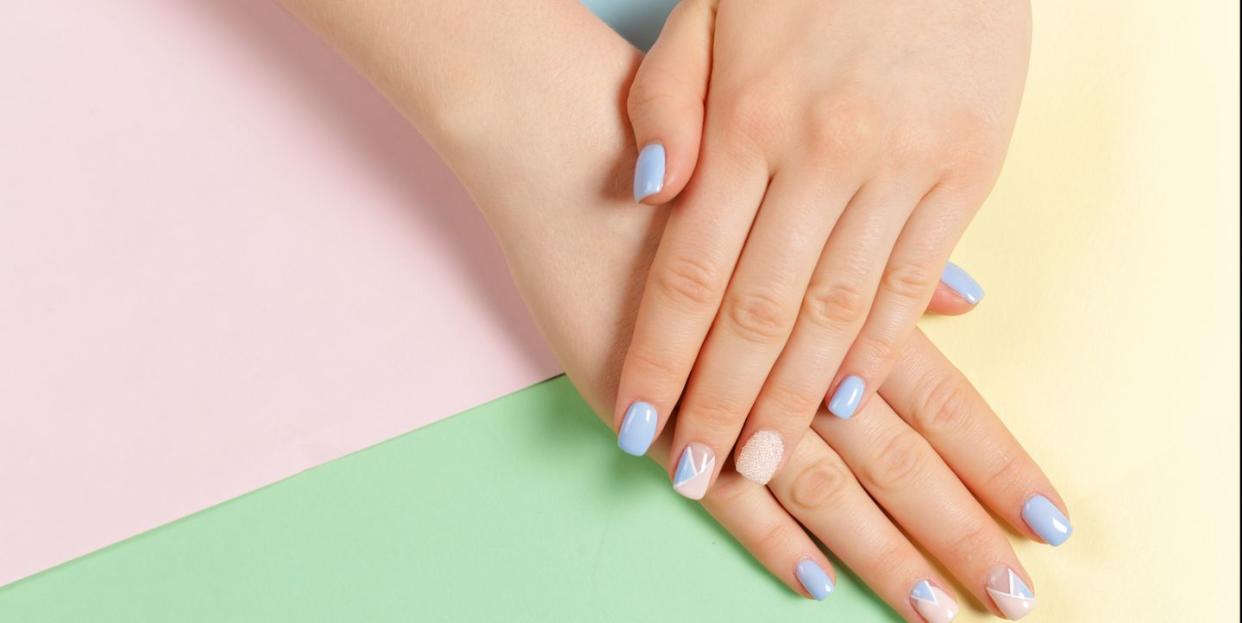
How to Remove Gel Nail Polish at Home—Without Causing Damage

Never underestimate the power of a gel manicure: They're practically indestructible, unbelievably shiny, and, best of all, they require little to no drying time, so there's virtually zero chance you'll chip or smudge your polish the second you leave the nail salon—and for weeks to come.
The downfall? Removing the LED-cured lacquer—especially when a trip to the nail salon isn't an option. (Just in case you haven't heard: It's not OK to pick or peel off your gel polish.) "Our nail plates are made up of layers of keratin," says Sigourney Nunez, OPI’s North America Education Manager. "When you improperly remove the gel, you’re unintentionally removing some of those layers, which will cause your nails to become weak and thin."
While it might be tempting then to extend the life of your manicure for as long as possible, all good things must come to an end, and, in this case, that's after three weeks, says Jin Soon Choi, founder of JINsoon Nail Lacquer and Jin Soon Natural Hand and Foot Spas in NYC. "Anything longer than that and you risk drying out your nail beds."
Ready to take matters into your own hands? Here, we asked nail experts to walk us through how to remove a gel manicure at home.
Step 1: Gather your supplies.
The good news? You probably have many—if not all—of the tools you need to do a salon-worthy job at home. You'll need 100% pure acetone nail polish remover, a coarse nail file, cuticle oil or cuticle cream, aluminum foil, cotton balls, wooden cuticle pushers, coconut oil, and a rich hand cream. (You may also want a nail strengthening treatment.) Before you begin removing your gel polish, cut the aluminum foil into small squares that will fit around your fingers, about 3 inches.
Step 2: File off the top layer of your gel manicure.
Before you break out the nail polish remover, you will need to take off the clear, glossy top coat that's applied at the end of your gel manicure. "This will help the acetone penetrate the polish, making it easier and quicker to remove," says Soon. "That's key because less time soaking in acetone means less damage to your nails." Using a coarse nail file (we like the Diamond Cosmetics 100/180 Grit Black File), sand down the top layer of polish until it looks matte and powdery.
If your not sure whether you've removed all of the top coat, place your hand under a light and inspect your nails, says Nunez. "If you see any shiny spots, that's where you still have top coat on—and still need to file." Go slowly and gently, and, most important, avoid filing all the way to your natural nail surface. "To ensure you are protecting the integrity of your nails, you want to still see some paint color on your nails before you soak," says Nunez.
Step 3: Protect your skin with cuticle oil or cream.
In addition to prepping your nails, you'll also want to prep the skin around your nails by applying a heavy layer of cuticle oil (Soon likes Essie Apricot Cuticle Oil) or cream (we recommend Burt's Bees Lemon Butter Cuticle Cream). That will help protect your skin from the acetone, which can be very drying. "Try to avoid getting any cream or oil on the nail itself, though, as that will slow down the removal process," Soon warns.
Step 4: Soak your nails in 100% pure acetone.
There are two different ways you can soak your nails, but for either method, it's essential that you use a 100% pure acetone nail polish remover. "While I normally recommend using low-acetone or acetone-free nail polish removers, these aren't strong enough to remove gel formulas," says Soon.
You can soak your fingertips in a small bowl filled with acetone, but Soon prefers to use cotton balls—which are closer to your nails' size and shape than cotton pads—saturated with acetone. "This way, your fingers don't have to be fully drenched, which can lead to incredibly dry skin," she says. Place an acetone-soaked cotton ball over the entire nail, then wrap a piece of foil around your nail to hold it in place. Repeat this process on all 10 fingers. (Warning: This will be tricky, so you may want to consider doing one hand at a time.)
Step 5: Remove your aluminum foil wraps and any remaining polish.
After your nails have soaked for 15 minutes (consider this a good time to cue up some Netflix), slide the aluminum foil and cotton off one finger with a twisting motion. "The polish should look like it’s falling off the nail and be fairly easy to remove," says Soon. "If it's still stuck to the nail, wrap it back up and let it soak longer." Use a wooden cuticle pusher or orange stick to gently lift any remaining bits of residue off the nail plate, and repeat the process until you have polish-free nails.
Got some really stubborn spots? That's a sign you need to do even more soaking. Rewrap the nail, allow the acetone to penetrate for a few more minutes, and try again.
Step 6: Give your nails some well-deserved TLC.
A long acetone adventure can be extremely harsh and drying, so treat your clean nails to some TLC: "Soak your nails in coconut oil for 5 to 7 minutes, then apply a deeply hydrating cuticle oil on your nail beds," says Choi. Finish up with a rich hand cream, like Kiehl's Ultimate Strength Hand Salve.
It's best to give your nails a break for at least a few days before your next manicure, but if you can't stand having bare nails, you can apply a strengthening treatment, like Soon's HyperRepair Treatment. It's formulated with vitamins C, E, and B5 to hydrate, reinforce, and nourish brittle nails.
For more stories like this, sign up for our newsletter.
You Might Also Like

