Put Down That Gift Bag! Here's How to Wrap a Candle in a Few Simple Steps
"Hearst Magazines and Yahoo may earn commission or revenue on some items through these links."
Candles are a great go-to gift idea because they're small, pleasing to the senses, and relatively affordable while still seeming splurgey. The next time you're gifting a candle to someone, don't just reach for a tissue-stuffed gift bag to put it in — knowing how to wrap a candle properly makes for an elevated presentation that'll wow your recipient before they even take a sniff.
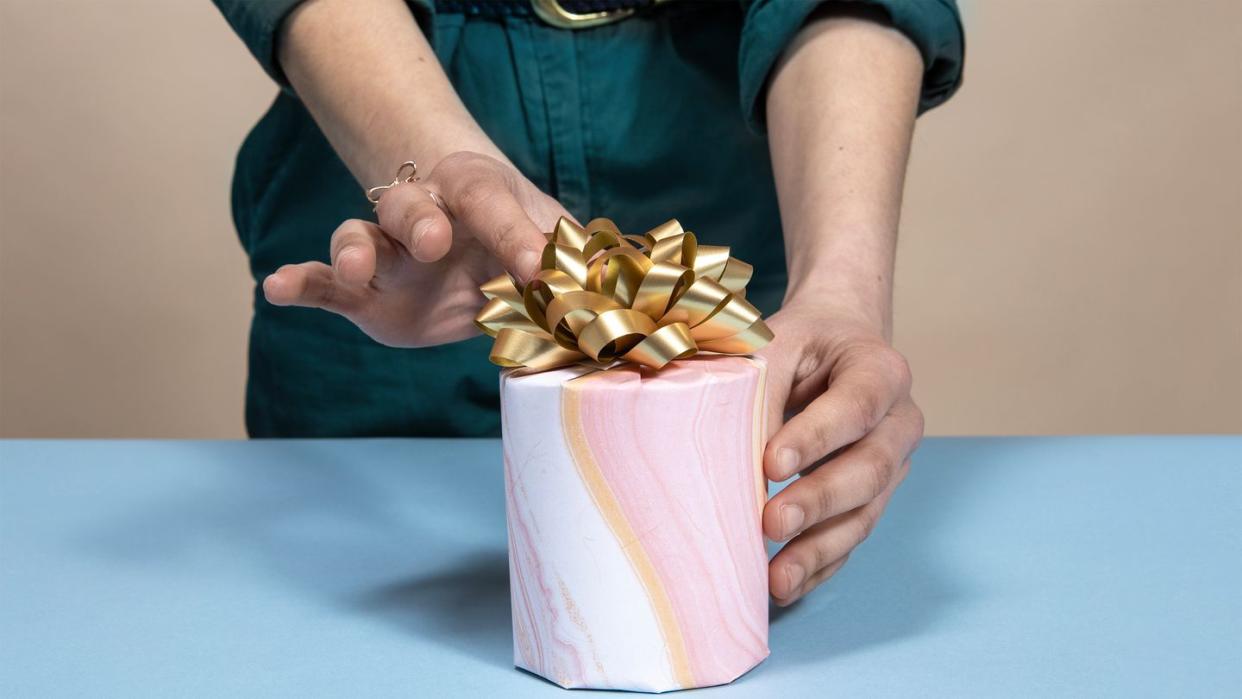
In order to wrap a cylindrical-shaped jar candle without creating any hard corners, you'll want to fold your paper diagonally across the base and top so that it creates a pleat. The result should look like a pinwheel design on the top and bottom, and you can either leave it plain or affix a bow to it — this will also designate which end is the top, so they don't unwrap it upside down.
You can use any type of paper to wrap a candle: stiff kraft paper, thin glossy paper, and tissue paper all work well using the instructions provided in this tutorial. However, these steps are best suited for cylindrically-shaped candles. Wrapping a candle with a slightly tapered base (like a Diptyque candle) is still doable, but it's a bit trickier due to the slight difference in diameter between the top and bottom.
Check out our step-by-step instructions on how to wrap a candle here!
How to Wrap a Candle
Supplies:
Candle
Wrapping paper
Scissors
Tape
Adhesive bow (optional)
Instructions:
Start cutting your wrapping paper down to size by rolling it around the width of the candle, creasing where it meets, and then cutting it on this crease.
Then slide the candle to one end and fold it so that it covers a little over half of the candle's base. Repeat on the other side, creasing where the excess starts, and then cut on the crease. Tape the middle of the candle closed, leaving the top and bottom open.
Turn to the bottom of the candle. Where the paper folds overlap, hold down the flap that's underneath the other. Hold this piece down with one finger while pinching and folding down adjacent pieces so that they form an overlapping pleat pattern. Once you've folded the entire base, secure it with tape.
You can sit the candle up on the base and smooth down any hard corners. It is also easier to work on the top this way.
Use the same pleating method on the top of the candle. If the candle doesn't have a lid and the top is open, you may have to do this slowly or make firmer creases so that they stay in place.
Once you've finished, secure these folds with tape or a decorative sticker. You can also put a bow on top to complete the presentation.
Product credits: Minted Modern Marble Wrapping Paper, Otherland Berkshires Granola Candle, Hallmark Invisible Tape, Scotch Precision Scissors, Special Bowcations Gold Bow
You Might Also Like

