Give your product photography some sparkle! Try this easy lighting effect at home
Makeshift gels
You can buy colored gels for your flashes, but sometimes it's much easier (and cheaper) to use colored translucent materials from around the house. Plastic bags, perspex, or in our case, a plastic cup can effectively produce a gelled effect. Watch out for over-saturation as these materials are not balanced specifically for photography. Control intensity with your white balance.
We love product photography, not least because it's so much fun, but also because it calls on (and therefore trains) many photographic skills. If you're feeling in a bit of a creative rut, look for items around the house that you can use as your next subject. Perfume bottles, watches, clocks, tech items and even instruments make fantastic subjects to examine more closely the next time it's raining outside and you're lost for what to photograph.
While products may seem a highly niche area, this type of photography really stretches your creative muscles and helps you see the world around you in new ways. If you have an external flash, or even if you only have continuous household lighting, try getting artistic with directional light.
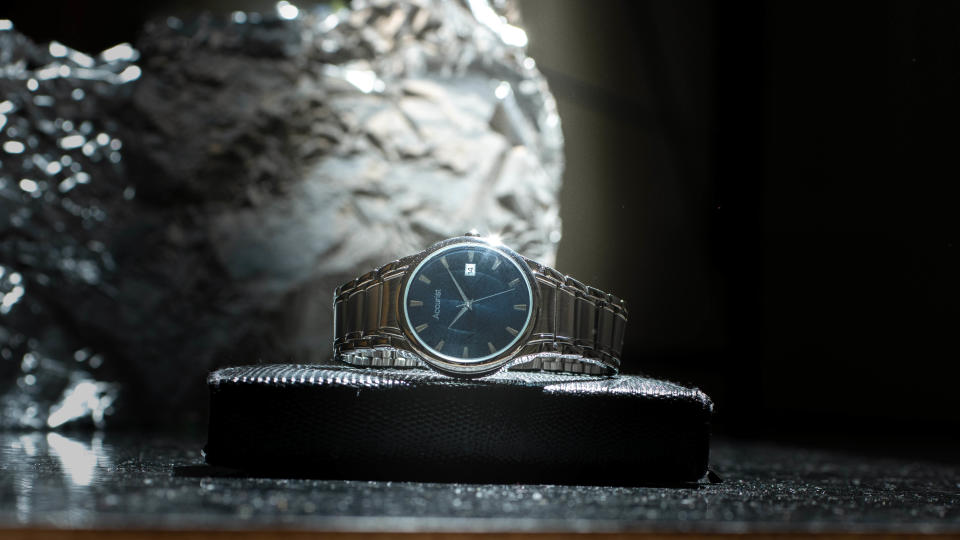
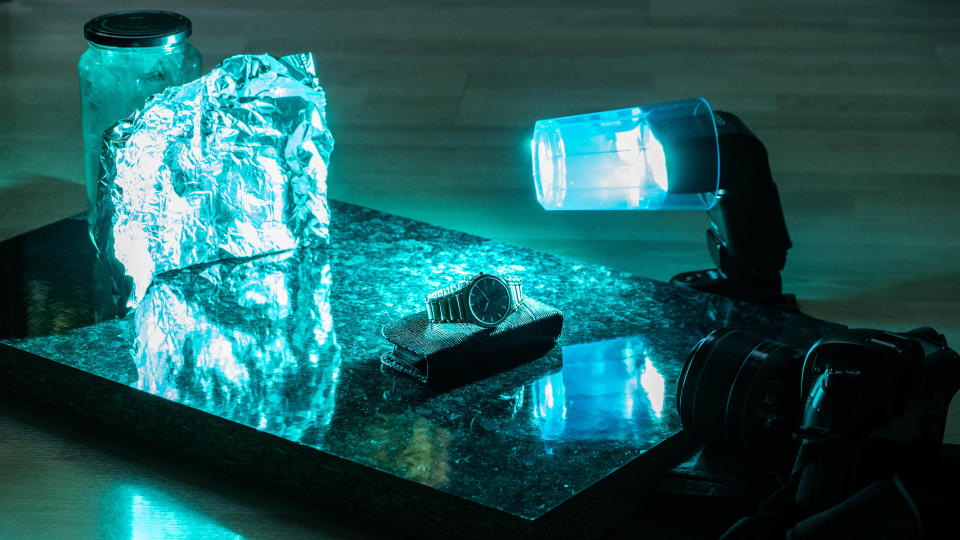
For this shot, we focussed on a watch, with the aim of creating a contextual ad shot. We used some crinkled-up foil as a glitzy background element and tried to find easy ways of lighting both the subject and it's environment.
The aim of any environmental shot is to make the subject seem like it fits in with its surroundings. The light, color and texture need to seem compatible. Here we've gone for a familiar ultra-colorful branding theme. You'll need a camera for product photography and a flashgun before getting started.
1. Separate the elements
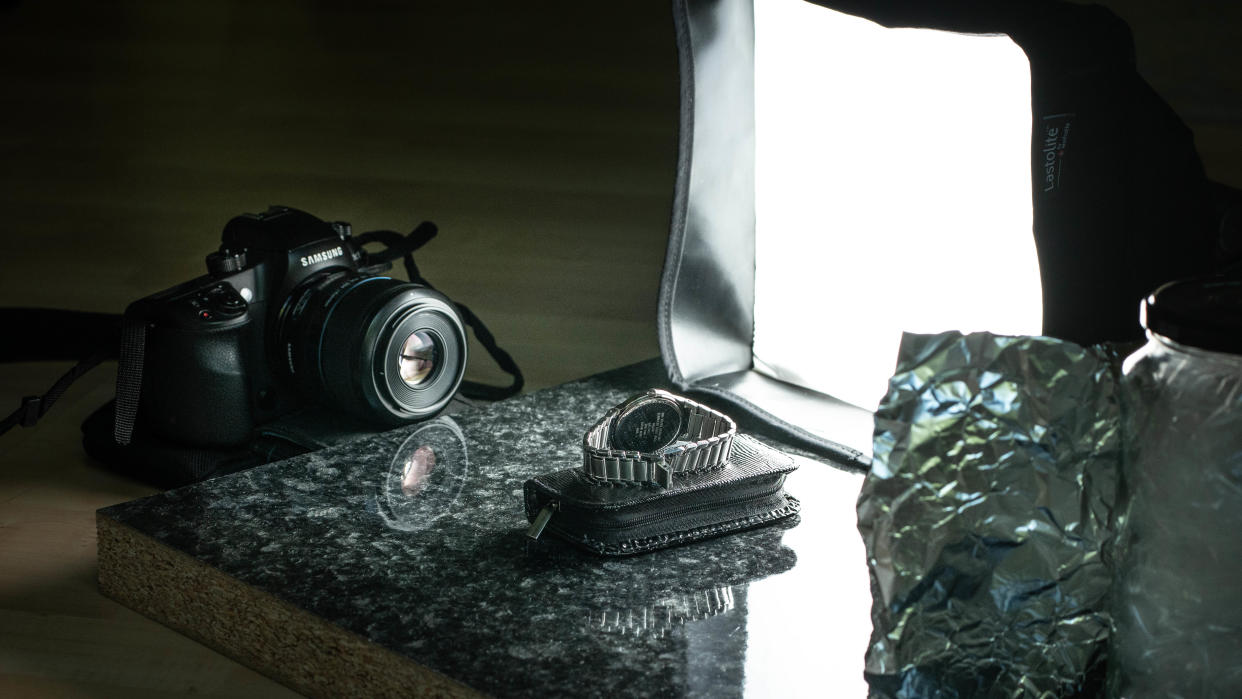
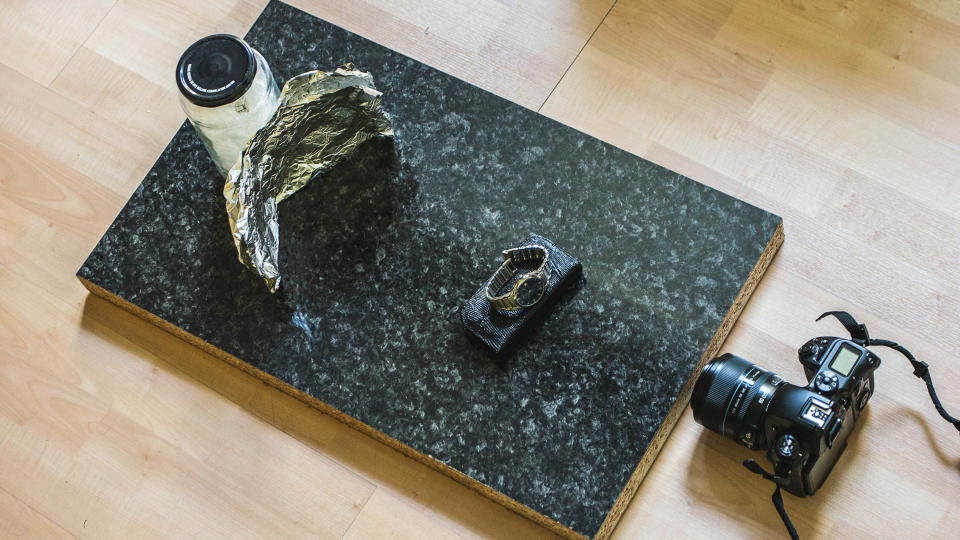
Place the subject on a non-reflective surface, to avoid unwanted highlights and color casts, and support a crumpled sheet of aluminum foil behind it. Ensure the bottom of the foil is not visible to create the impression it is seamless. Lower the camera to the subject level.
2. Focus the subject
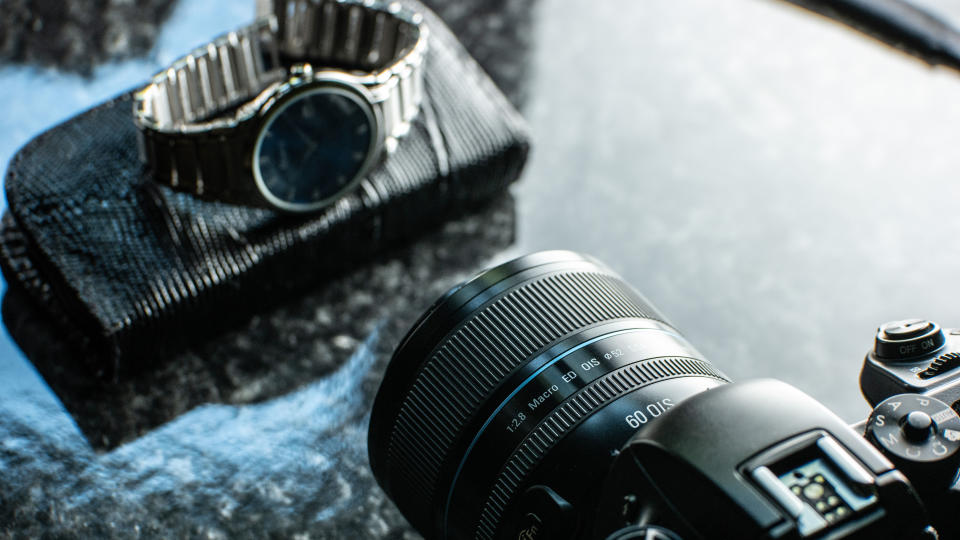
Shooting at 90° to the product will extend depth of field without stopping down excessively. Switch to manual focus and zoom in to fine-tune the focus position over logos or key features. We used a 60mm macro lens to get closer to the watch face.
3. Turn out the lights
To ensure we have full control over the light and color in the shot, with no ambient interference, turn out all of the room lights. This will mean we can control image brightness through flash intensity and distance between the source
and subject.
4. Place main light
To illuminate the subject without throwing too much light onto the supporting surface fire the main flash over the subject, to feather the spread without an excessive spill. Here the bevel on the softbox helped, but a black flag beneath the flash will create a sharper beam.

5. Color the background
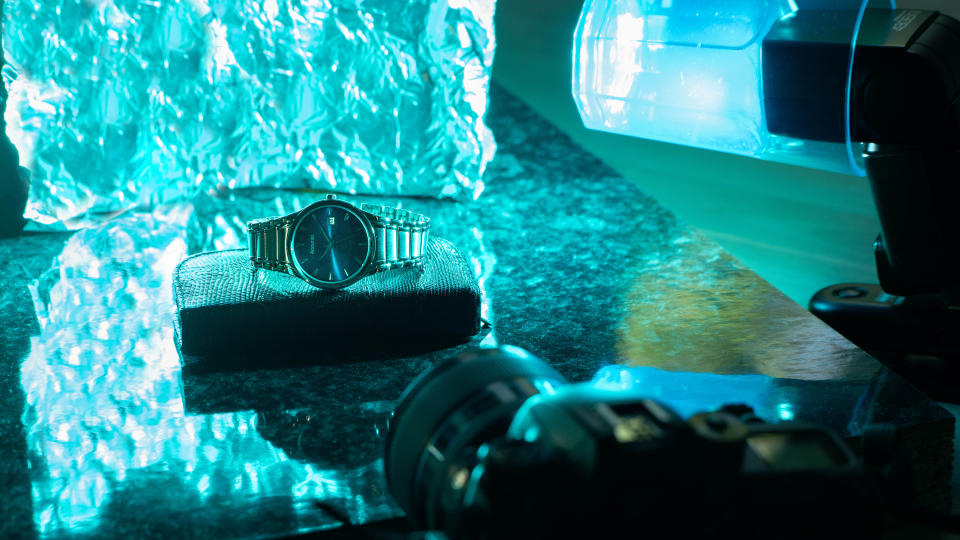
Fire a second speedlight or shine a strong torch at the foil background to create dazzling and unique bokeh effects. We passed the flashlight through a colored plastic cup to achieve a gelled look without additional accessories. Avoid overly bright highlights.
6. Control bokeh styling
Vary the distance between the foil background and product, while also experimenting with different aperture settings, to produce a range of sizes of the specular highlights. We also added a spray of water to the foil for greater highlight visibility, without becoming distracting.

Digital Photographer is a monthly magazine, and the kitbag essential for pros, enthusiasts and amateurs alike!
Inside, you'll find practical guides, shooting tips and techniques from working photographers, plus all the latest industry news.View Deal
Read more:
Make a DIY photo studio for peanuts!
Use overlays to transform your photography

