How to use Procreate's text tools
Procreate is a great art app, but you can also use Procreate's text tools, which are great for experimenting with in downtime. For those of us in a creative field, it can be hard to come home and fit in time for our own pursuits. For me, Procreate was a huge help to get me painting for fun again.
In fact, I do most of my personal work on my iPad in Procreate these days. It feels less like work and more like sketching did when I was young. Something about sketching in a coffee shop, at the park or on the sofa puts me in a different mindset than sitting at a desk. (Read our iPad generations guide to find the right tablet for you.)
Procreate’s streamlined interface has encouraged me to paint more intuitively and less technically. So I was very excited when I discovered the text tools. And sure enough, they are true to form and very approachable. You should read our Procreate review to find out more.
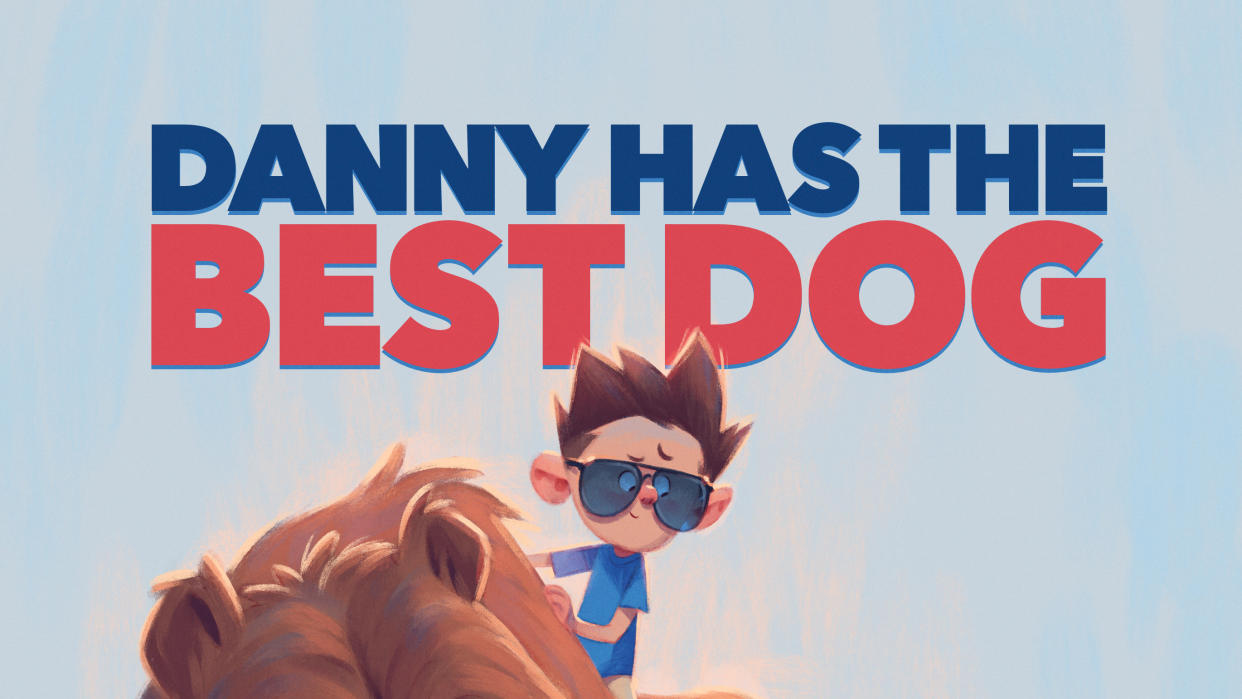
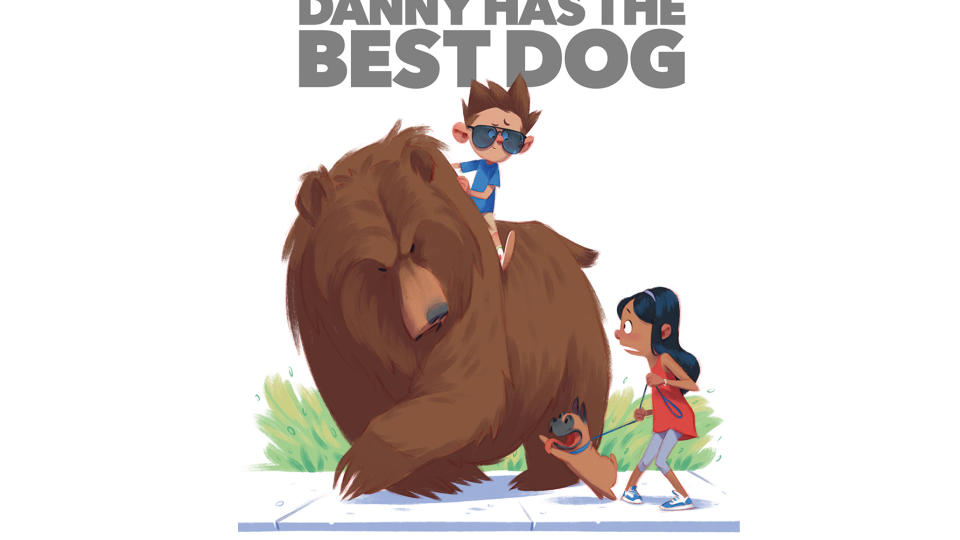
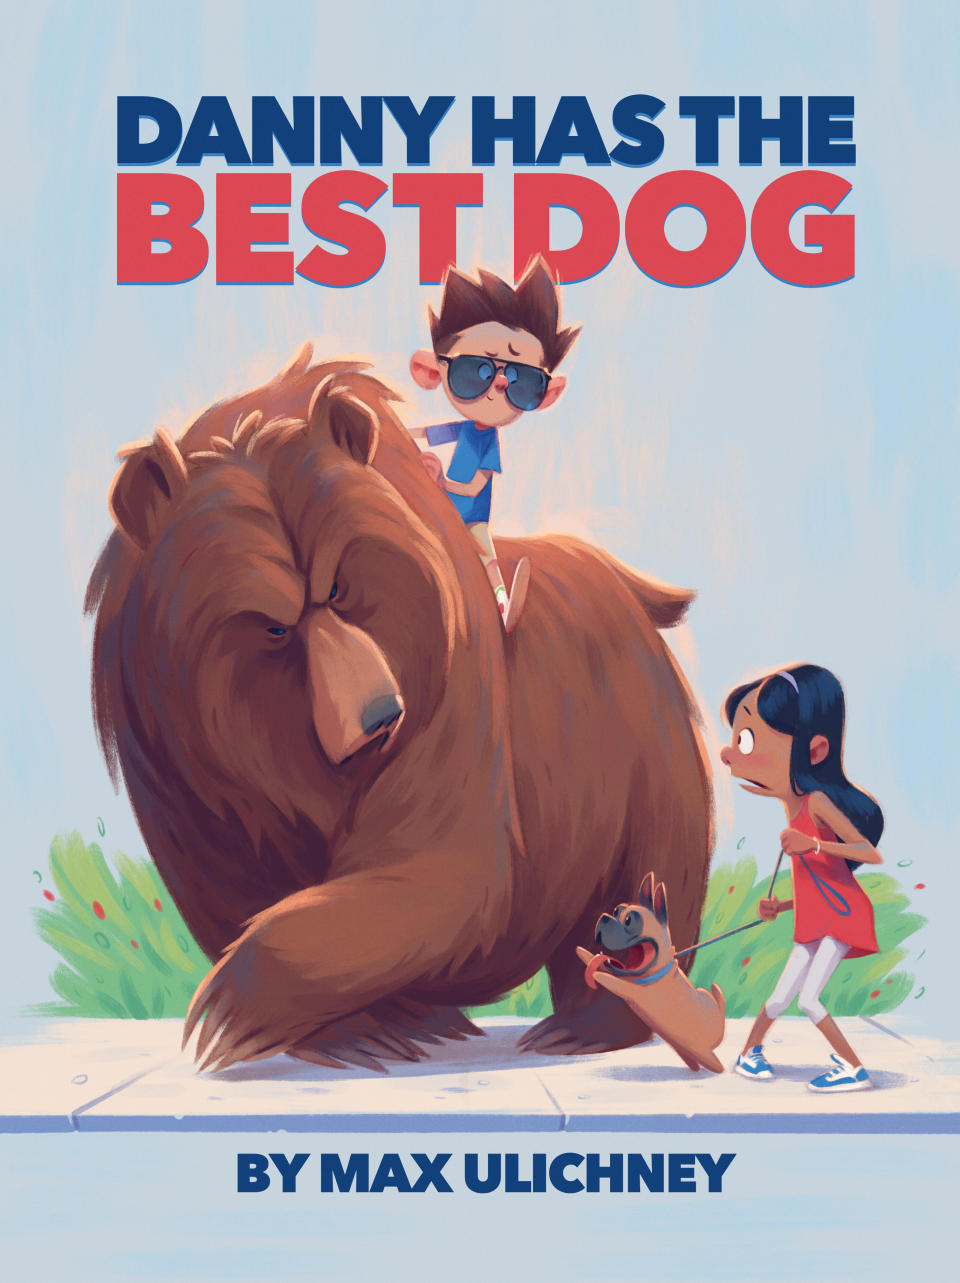
I took the opportunity to put these new features through their paces in service of a hypothetical picture book about a boy and his new friend. I want to focus on the feeling of boundless possibilities and fantasy we had as kids. I settle on a story in which all the characters in this story are naively excited about this amazing "dog" that Danny has found.
So with that, I saw the chance to show off Danny’s gloating pride, his classmate’s tentative caution and her dog’s utter excitement. And it's a great excuse to play around with, and make use of Procreate's text tools.
Tutorial: how to use Procreate's text tools
Procreate tutorial: my brushes
Here are the brushes I'll be using for this cover design in Procreate.
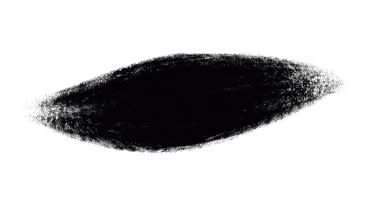
Custom brushes: MaxU 600 Series Pencil
Used to create a rich pencil sketch. Try using it with the Tilt action.
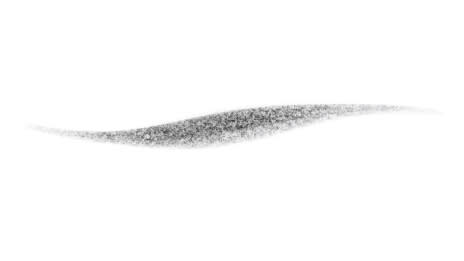
MaxU Gouache Grainy
Capable of laying down both clean flats and controllable shading.
MaxU Smudge Gouache Grainy
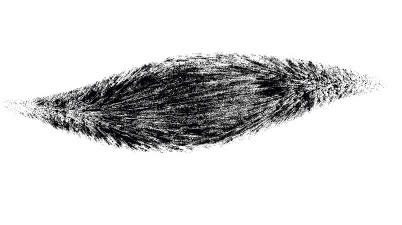
Made to be used with the Smudge tool. Built to be paired with MaxU Gouache Grainy for softening shading and adding texture.
Tutorial: how to use Procreate text tools
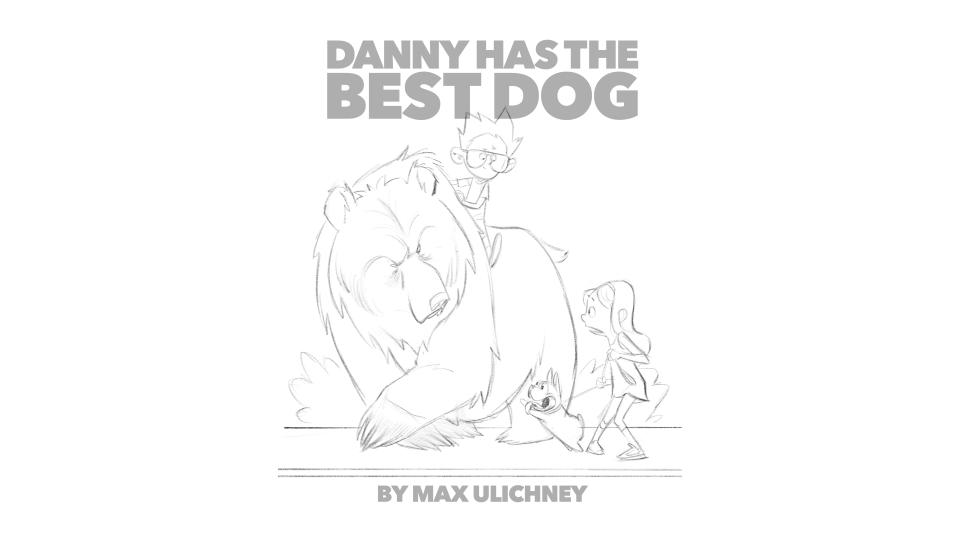
Read our full Procreate review to learn more about the software, how it works and which types of users it's best suited for. I hope you enjoy this tutorial – you can scroll to the bottom of the page to see the completed book cover.
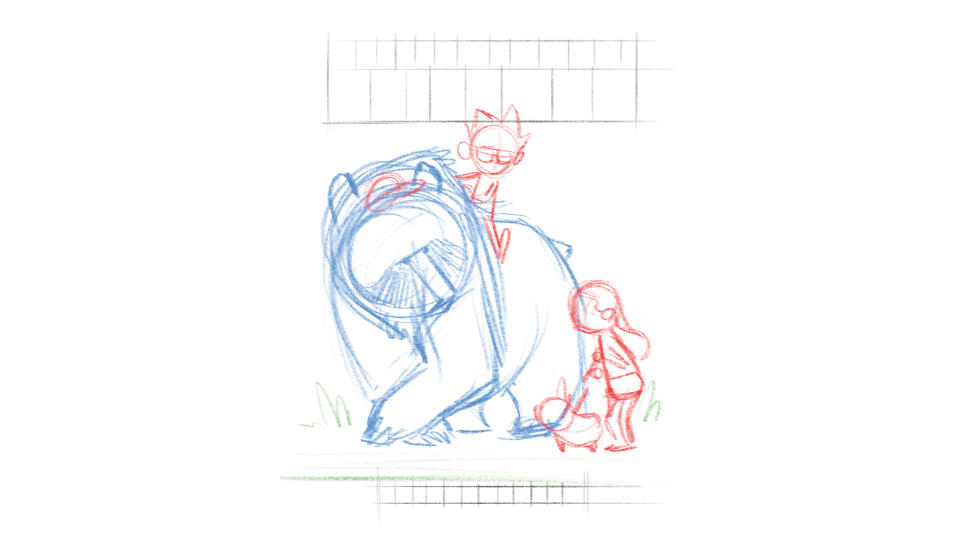
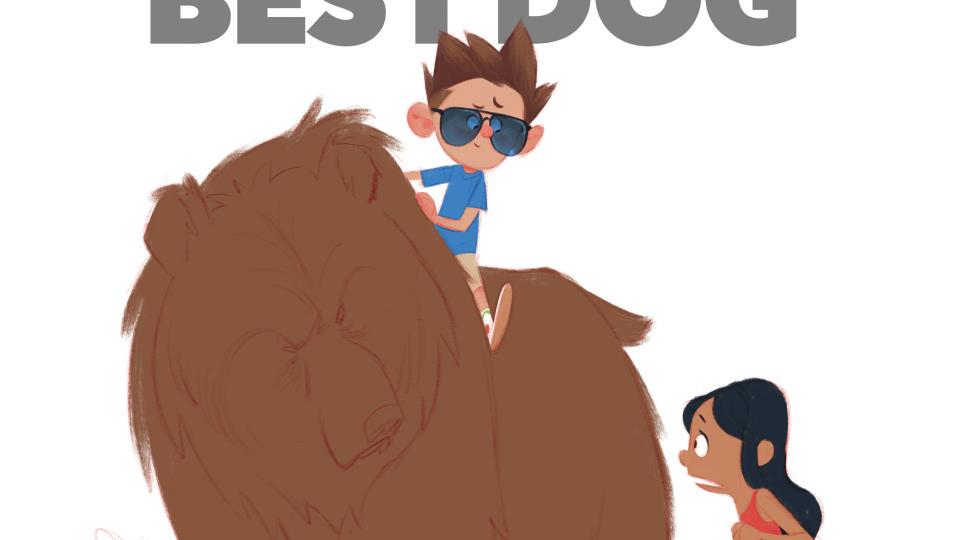
01. Developing the rough layout
(Image: © Max Ulichney)
I begin with a rough sketch and then set the type right away, so that I can establish my composition and work out any trouble areas early rather than fight them later on. This way I can work the tight pencils around the title and avoid tangents, overlap Danny’s hair and have a sense for what my negative spaces will look like.
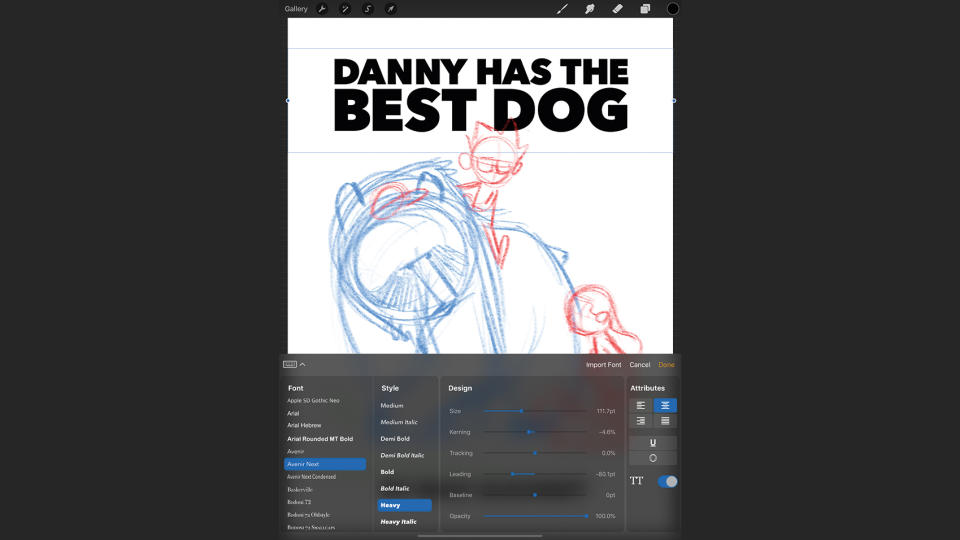
02. Adjusting the type setting
(Image: © Max Ulichney)
Click the Wrench icon to add text. In the Add tab, click Add text to create a text box. In my case, when I’m done typing I click the blue Edit Style button. I drag the text box to fit the width of my image, and set my justification to centred to more easily line up my title. I set my font to Avenir Next (bold), and adjust my size, tracking, leading and kerning to create a chunky title.
03. Creating the line work
(Image: © Max Ulichney)
I’ve created a new pencil just for this workshop, which I’ll be using to lay down the line work for the scene, called the MaxU 600 Series Pencil. It’s inspired by the iconic Blackwing 602 pencil. I erase with the same pencil brush as needed.
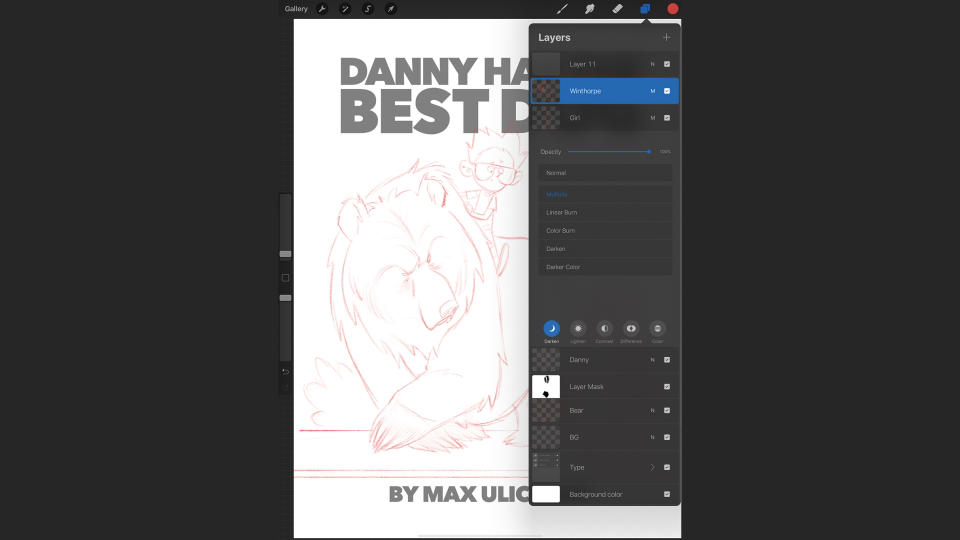
04. Tinting the sketch
(Image: © Max Ulichney)
As I finish, I alpha lock the sketch layers by twofinger swiping right on the layer until I see the background of the thumbnail turn into a checkerboard to indicate that it worked. I could also have tapped the layer to pull up the Layer settings palette and selected it from there. I paint my lines a soft red to mimic a Vermillion Prismacolor Col-Erase pencil that I use in my sketchbook. I set the sketch layers to Multiply and group them.
05. Flatting the figures

(Image: © Max Ulichney)
Below the sketch layers, I start flatting my characters. I begin with the bear because he’s the most dominant figure, and his fur will help me establish how loose or tight my silhouettes will be. I’m painting this with my new MaxU Gouache Grainy brush that I made for this workshop. The brush responds well to soft pressure for shading and soft falloff on the edges of the fur.
06. Painting the features of the children
(Image: © Max Ulichney)
This stage helps me to define the level of detail of rendering that I want to apply, going forward. The first thing that I detail are the kids’ faces and hair. I paint Danny’s sunglasses on their own layer set to Multiply.
07. Defining the colour and clothing
(Image: © Max Ulichney)
I paint the clothing on layers clipping-masked to the flat layers. To make a clipping mask, make sure your desired layer is on top of the layer you want to clip it to. Tap the top layer and select Clipping Mask from the menu.
Now when you paint you’ll only see paint where the layer on the bottom is opaque. Because I know that I’ll want to dial in these colours a bit later on, I’m keeping things separated and will flatten my layers later.
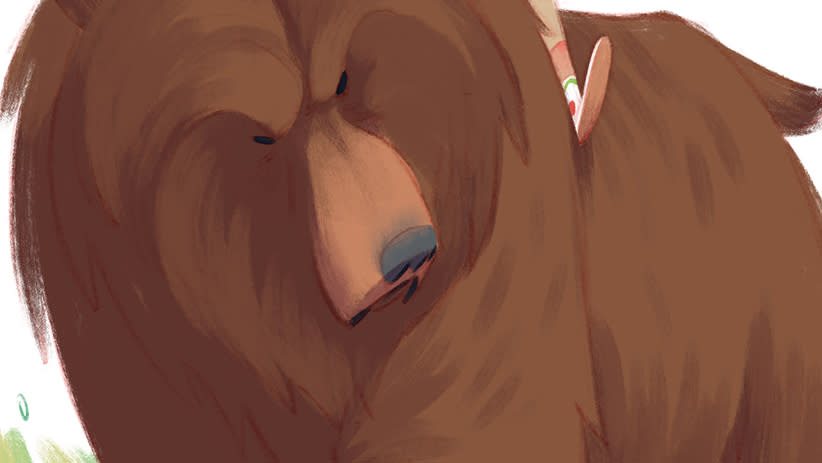
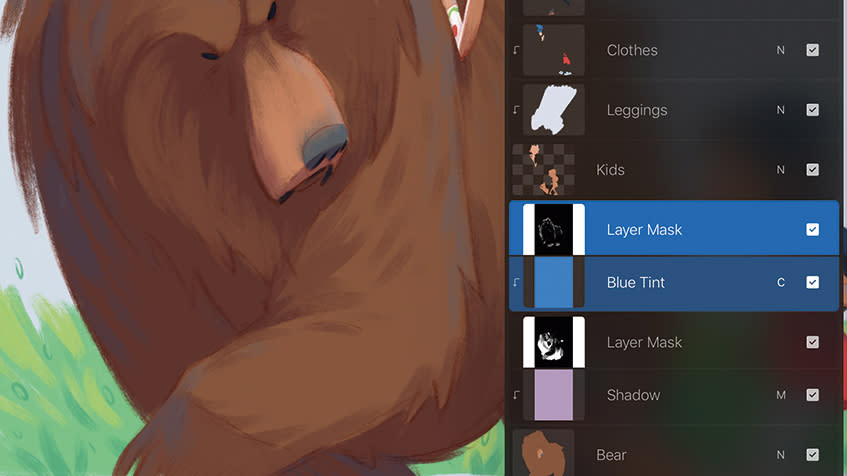
08. Defining the bear through shading
(Image: © Max Ulichney)
It’s important that I start my shading with the bear, because while the kids are well defined by their flat colour, the bear will be defined almost entirely by shading. I pick a soft lavender colour and fill a new layer by dragging from the Color Picker at the top right of the interface into the canvas. I clip this layer on to the bear, set it to Multiply, then add a mask to the layer by tapping once on the layer and selecting Mask.
Next, I tap the new mask layer and invert the mask to make it black. Now I can paint white or shades of grey, and blend transitions using my MaxU Gouache Smudge Grainy in this mask layer to paint shadows where I want them.
The benefit of this technique is that I can duplicate this shadow layer for the other characters and only replace the mask. I don’t intend for this shading to be the finished product, but it forms a good base to paint more sophisticated detail on later.
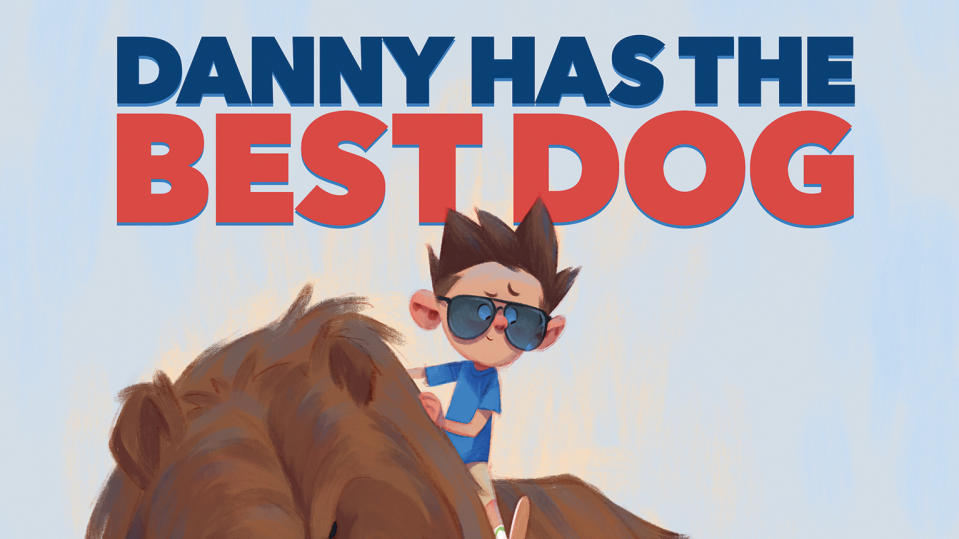
09. A spot of graphic design
(Image: © Max Ulichney)
The colour palette is coming together now, but I know that I want to define a rim light from behind Danny and the bear later on, so I need to darken the background slightly to allow me some room to go brighter than that. I make my background a light blue to help balance all of that brown, and set the type to a dark blue and a bright red.
To change the type colours, select Edit Text when you click the text layer. The colour of the Color Picker on the top right will change the colour of the text. The dark blue helps give me contrast so that I can more confidently paint darker shadow colours in the next step.
10. Adding sky lighting
(Image: © Max Ulichney)
I need to break up the colours, so I fill a layer with a sky blue colour and give it an inverted mask, similar to the shadow layers but this time set to Color rather than Multiply, with low Opacity. I paint this mainly on topfacing surfaces and to break up the fur.
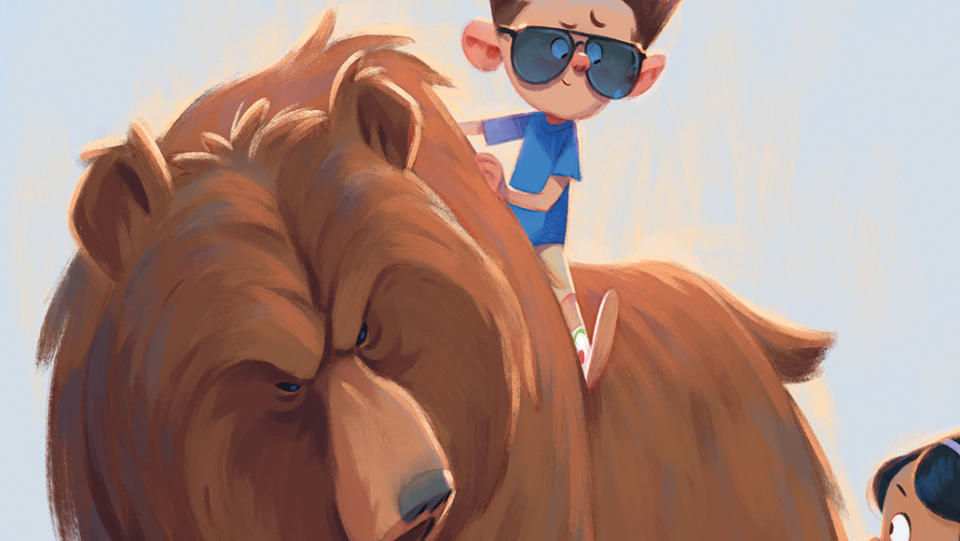
11. Further detailing
(Image: © Max Ulichney)
Finally, on a new layer over the line group, I begin cleaning up transitions in the shading, paint deeper shadows in the bear’s fur, define his face and eyes better, and generally add nuance to the piece.
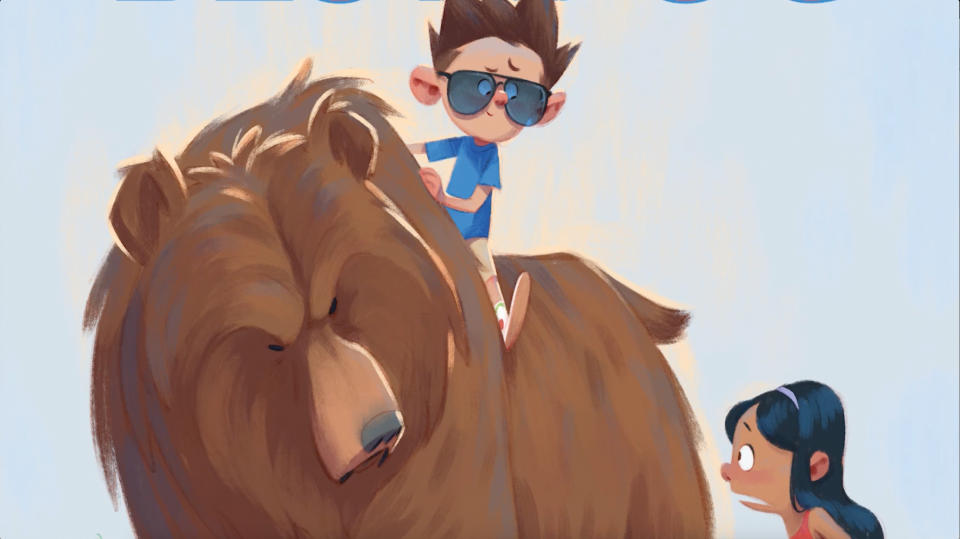
12. Painting rim lighting
(Image: © Max Ulichney)
As we wrap up, the last element is a strong rim light to help to frame Danny and his bear. This lends them a triumphant mood.
13. Colour correcting the piece
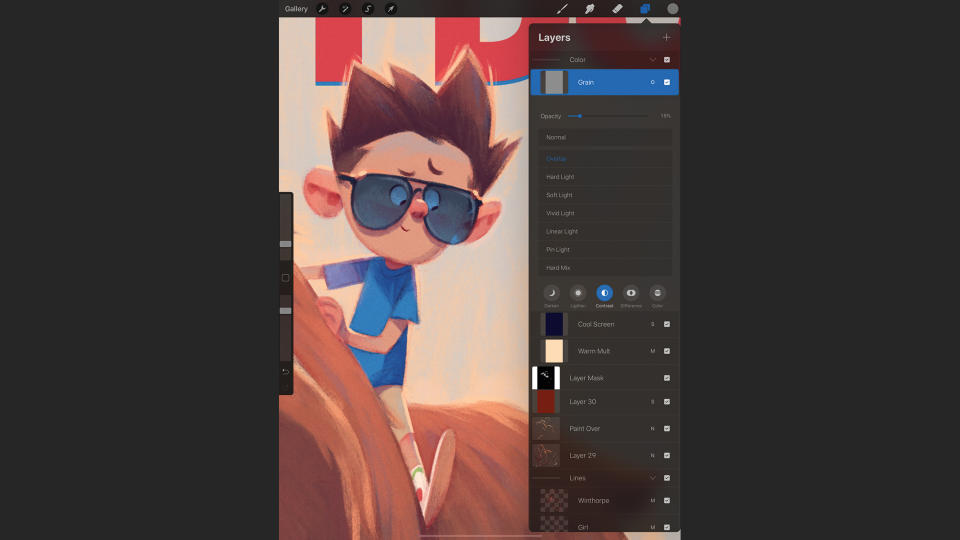
(Image: © Max Ulichney)
I want to bring greater harmony to my colours. At the top of the layers I fill a layer with a soft light yellow set to Multiply, to warm up my highlights. Above this I fill a layer with a dark blue and set it to Screen.
I also add a layer of grain on top by making a 50 per cent grey Overlay layer. I add Adjustments > Noise, and apply a few pixels of Gaussian Blur. The result is subtle, but it adds a sense of atmosphere and light that makes all the difference.
Get more Procreate tutorials in ImagineFX
This content originally appeared in ImagineFX magazine, the world's leading digital art and fantasy art magazine. ImagineFX is on sale in the UK, Europe, United States, Canada, Australia and more. Limited numbers of ImagineFX print editions are available for delivery from our online store (the shipping costs are included in all prices)
Alternatively, you can access us instantly through our digital options:
• Apple app (for iPad or iPhone)
• Pocket mags (multi-platform app, great for Android users)
• Zinio (multi-platform app for desktop or smartphone)

