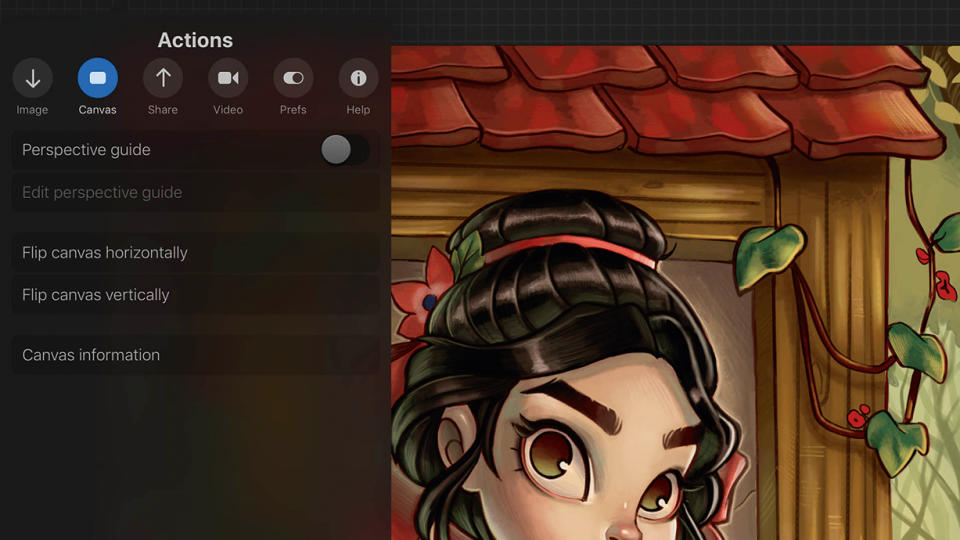
How to use Procreate to paint a classic fairy tale scene
- Oops!Something went wrong.Please try again later.
Learning how to use Procreate will open up all kinds of opportunities. Procreate has quickly become my go-to digital painting app. Thanks to the portability of the iPad Pro, its appeal to me was to be able to create high-resolution digital paintings from anywhere, with the same quality you would find in a desktop program.
Procreate’s clean and simple interface makes it welcoming to new and novice artists alike, and once paired with the Apple Pencil, I found it to feel the most natural way to draw digitally. Don’t be fooled by appearances, though: this application offers all the tools you’ll need to create higher-level artwork. The more I use this app, the more new tools, adjustments and shortcuts I find.
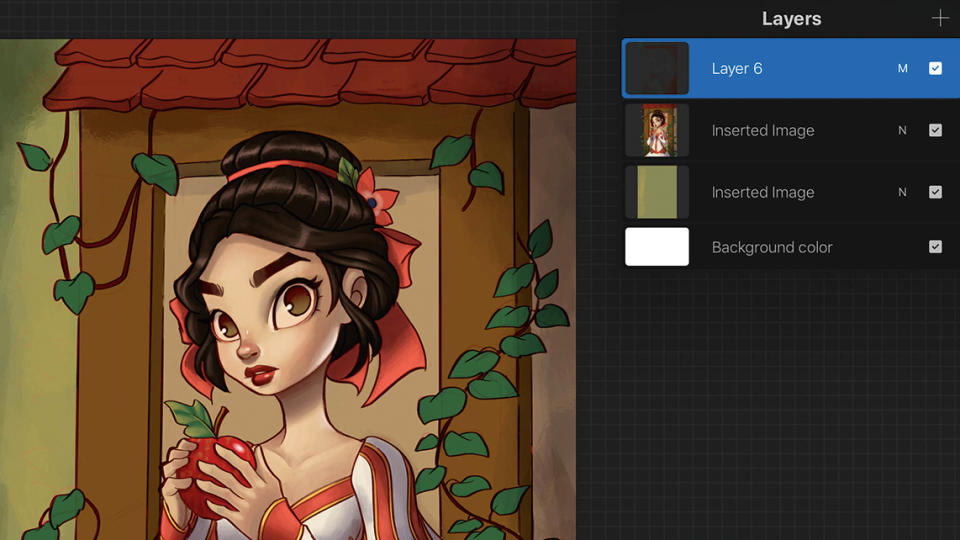
For this workshop, I’ll be painting entirely using the Procreate app (read our Procreate review). The process is similar to working in Photoshop: making use of multiple layers, colour adjusting and using a variety of brushes. All of the brushes I use are straight from the Procreate library, but the app allows for easy import of downloaded or imported brushes as well (read our guide to create custom Procreate brushes). I try to work in the least amount of layers possible, so it feels more like painting on a canvas.
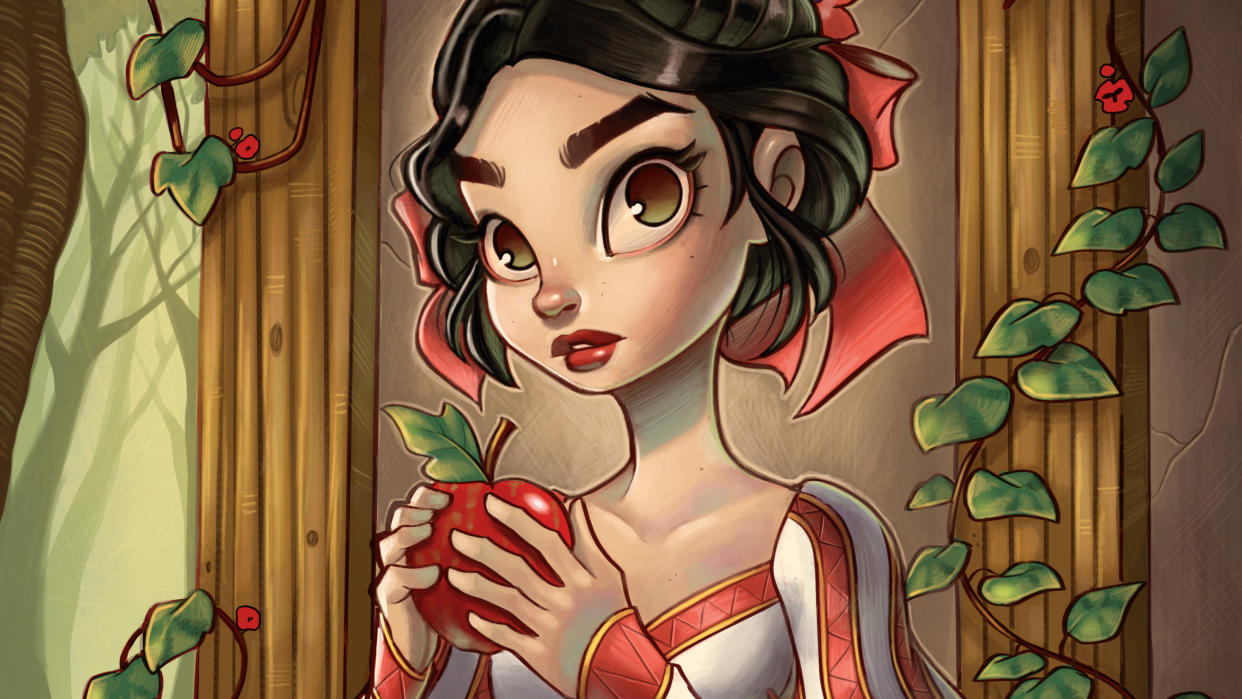
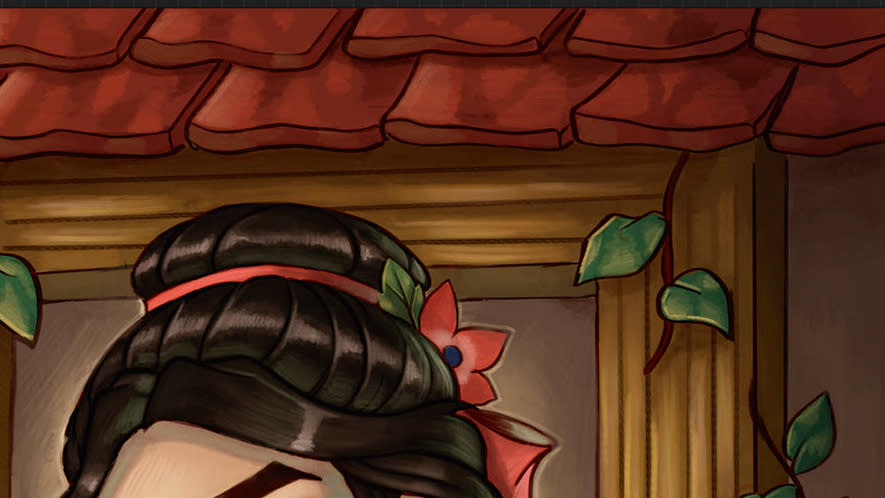
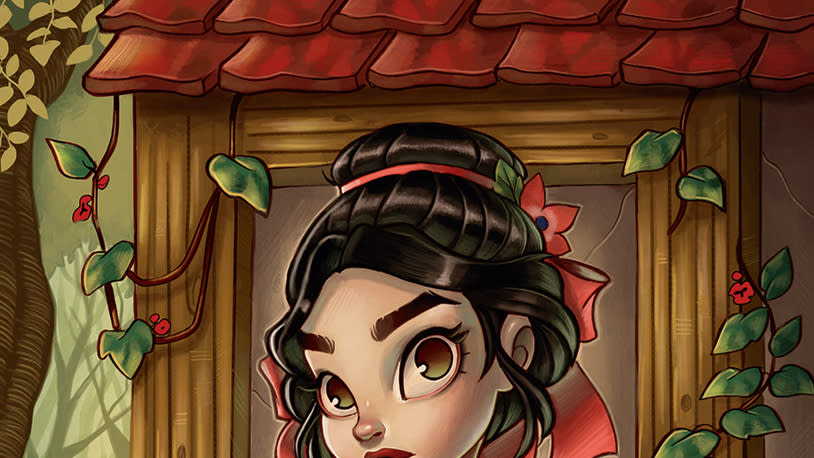
I decided to pay homage to classic fairy tale illustrations for this piece – in this case, Snow White and the poison apple. I love the old storybook paintings, and decided to try my take on the subject matter.
How to use Procreate to paint a classic fairy tale scene
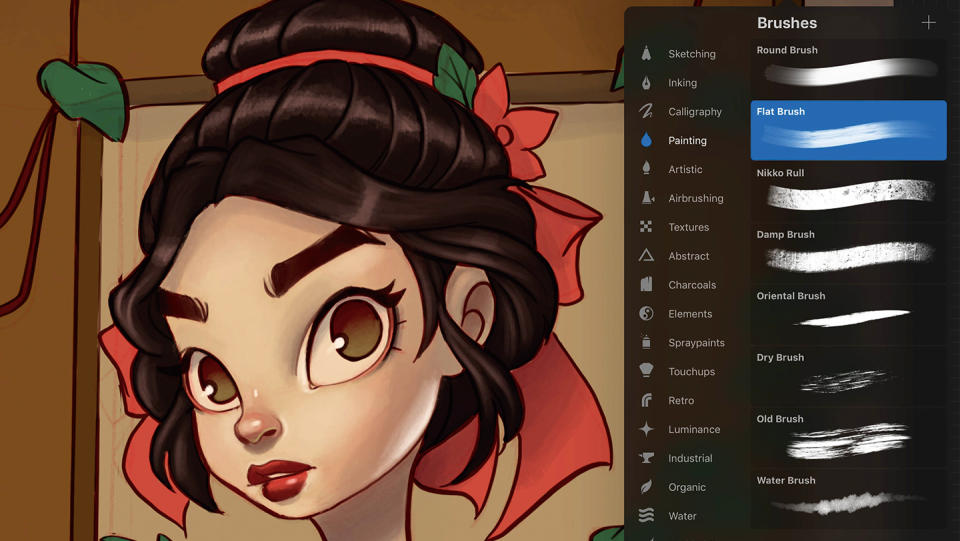
Procreate tutorial: my brushes
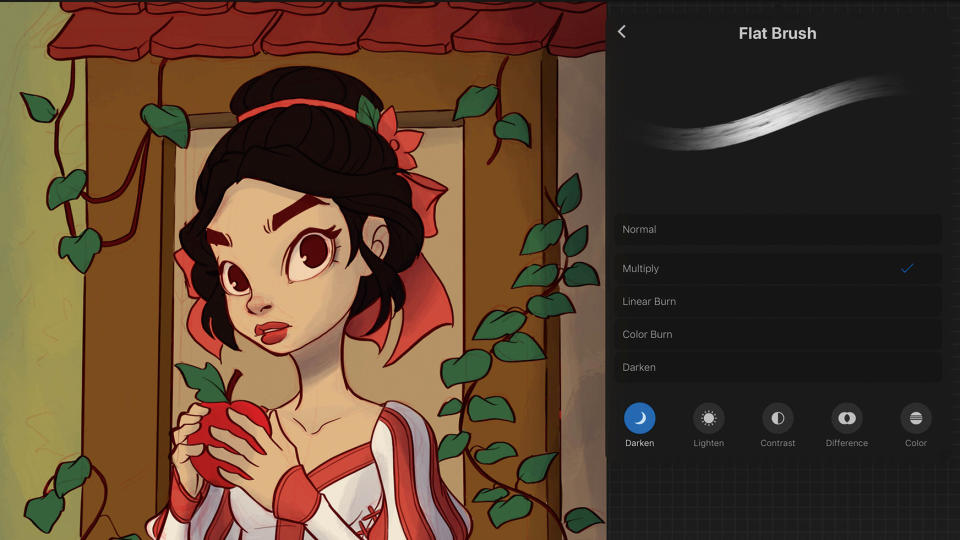
Here are the brushes I'll be using in this workshop.
Custom brushes: Flat brush
I use this brush, similar to a chalk, for most of my painting and rendering.
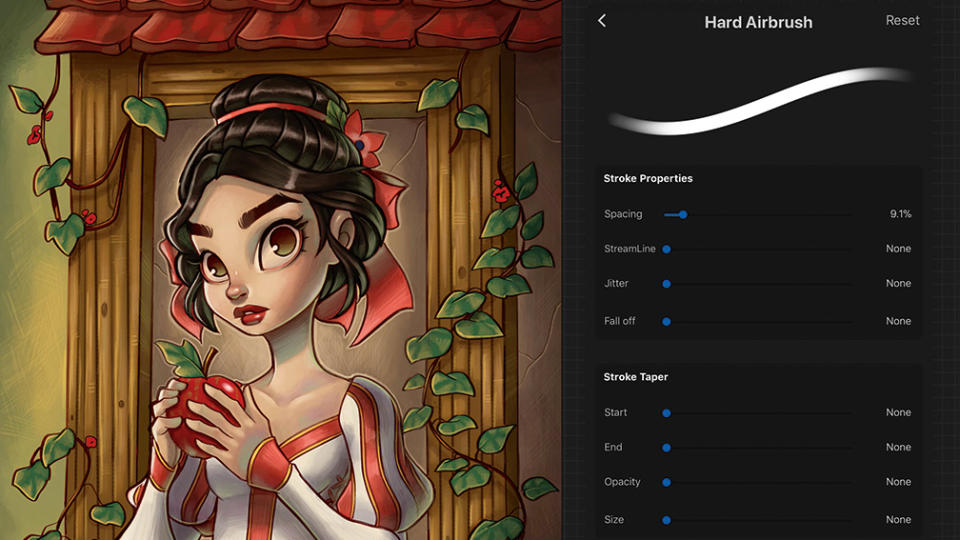
Hard Airbrush
Ideal for finer detailing and highlights, due to its opacity and hardness.
Brush Pen

This is my favourite brush for inking because it has a variety of line weight.
6B Pencil
This is my go-to for sketching. Tilt the pencil to achieve a softer effect.
Procreate tutorial: create a fairy tale scene
I hope you enjoy this Procreate tutorial and find it useful for your own practice. Read the full Procreate review for more on this digital painting software and how it works.
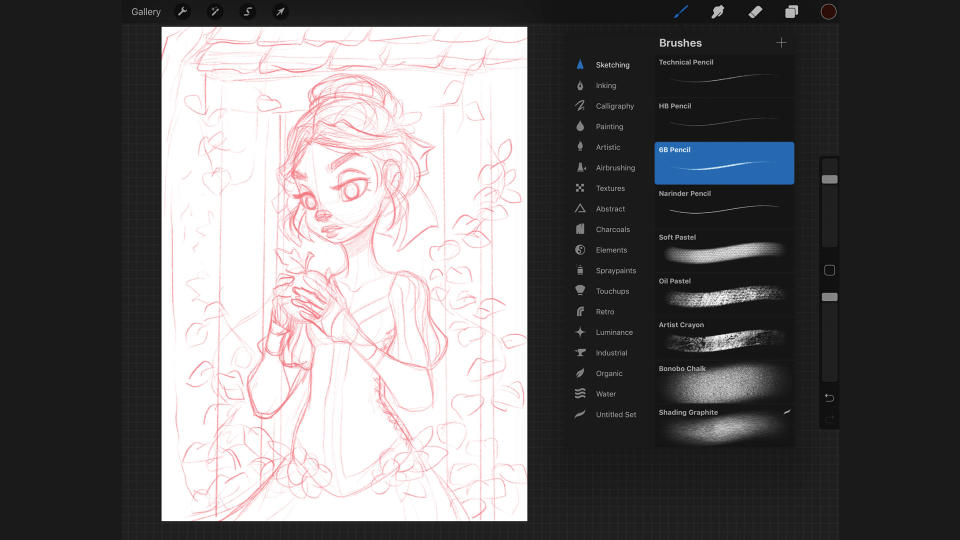
01. Starting with a sketch
(Image: © Chrissie Zullo)
Procreate has a great selection of 'Sketch' brushes, and my go-to is the 6B Pencil brush. I loosely sketch out the concept of Snow White and the apple, not worrying too much about details and specifics, but just blocking in very general ideas. I know I can change and tighten ideas later on, so I keep the sketch simple.
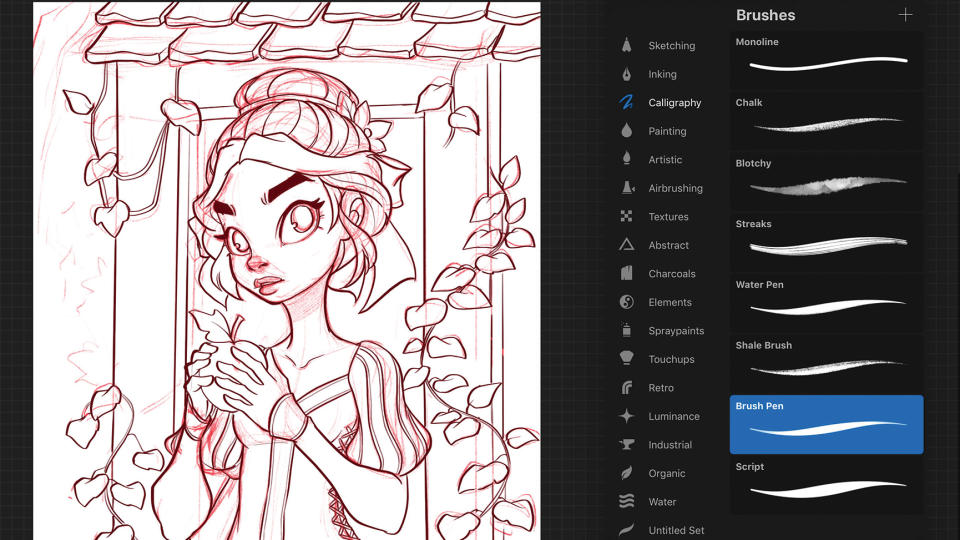
02. Refining the idea and inking
(Image: © Chrissie Zullo)
Next, I lower the Opacity of the pencil sketch layer. I create a separate layer on top and choose the Brush Pen from the Calligraphy Menu. I choose a dark brown colour to ink, avoiding black (for now) for a softer look. Using simple strokes, I ink over the drawing.
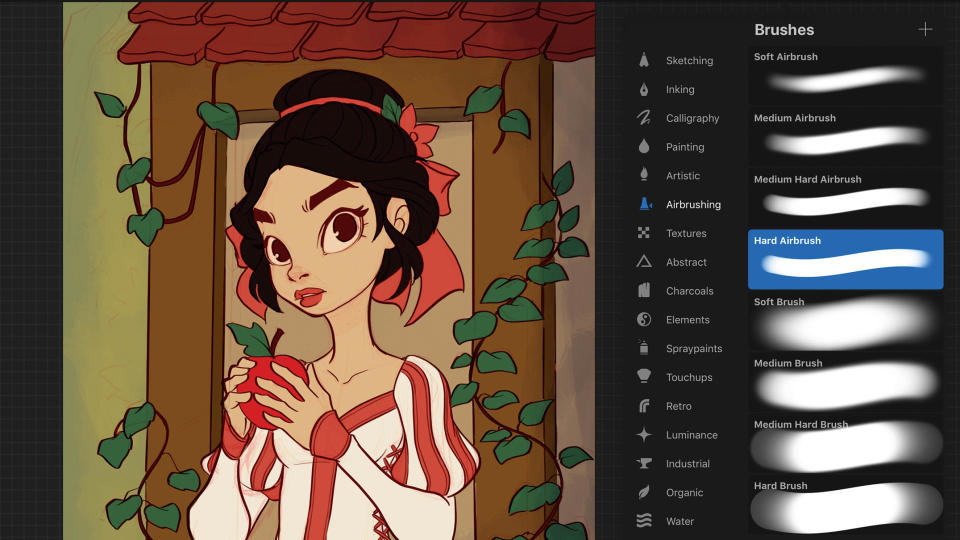
03. Blocking in flat colours
(Image: © Chrissie Zullo)
Now having both the light pencils and inks, I merge the two layers and set the combined layer to Multiply. Then I create a layer underneath and then fill the background with a green colour using the Paint Bucket tool. Next, I select the Hard Airbrush and fill in the very basic, flat colours of the drawing that are underneath the lines.
04. Know your light source
(Image: © Chrissie Zullo)
I select the Flat Brush and set its brush properties to Multiply, before choosing a grey-blue colour. I decide that one light source should come in from the left, so I lightly paint in a thin layer of shadows on the figure and start to define her shape. I tackle a bit of the shadows in the background at the same time.
05. Using the paint brushes
(Image: © Chrissie Zullo)
Now that I have the basics laid out, I create a layer on top and set the Flat Brush properties back to Normal. I eye-drop the colours, then choose lighter colours to push things forward and darker colours to pull things back. I also try to choose colours that are already on the screen, which keeps the colour palette cohesive.
06. Pushing the values
(Image: © Chrissie Zullo)
Now that the basic textures are painted on Snow White’s face, dress and hair, I create a Multiply layer on top. Still using the Flat Brush, I lightly go over the painting with a dark brown colour to intensify the shadows. I also make the four corners darker, which places more emphasis on the centre of the painting.
07. Painting over shadows
(Image: © Chrissie Zullo)
I like to pick a lighter colour (in this case, a light turquoise/blue) and paint inside the shadows. I do this in thin, gradual layers and build up the Opacity where it’s closest to the edge or where it’s the darkest. This can help to create a rim lighting effect.
08. Playing around with Curves
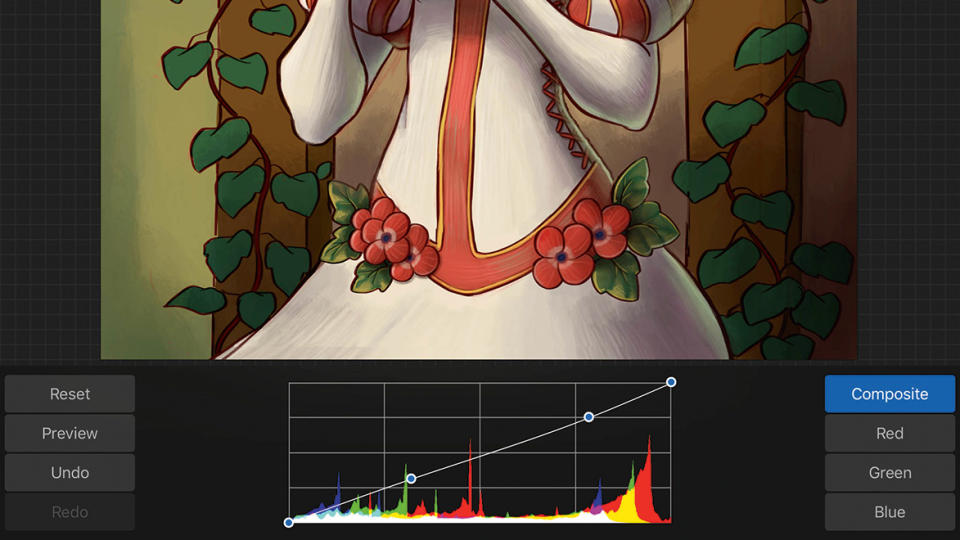
(Image: © Chrissie Zullo)
Procreate has different colour adjustment options. I like to use the Curves tool to play with contrast, and Color Balance to tweak the colours in the shadows, midtones and highlights of the painting. Since I’m working in one layer at this point, the adjustments change all aspects of the piece.
09. Working on the background
(Image: © Chrissie Zullo)
Using the same principles as painting Snow, I start defining the background. I use colours that are local to the painting, eye-dropping yellow for highlights and dark browns for shadows. I slowly start to render out the leaves, roof tiles and wood grain, still using the Flat Brush.
10. Adding the details
(Image: © Chrissie Zullo)
After using the Flat Brush for the bulk of the painting, I select a Hard Airbrush to focus on details, reducing the diameter to make the brush head smaller. Since this brush is opaque, I try to make bold decisions in colour and highlights, giving the painting a crisper look.
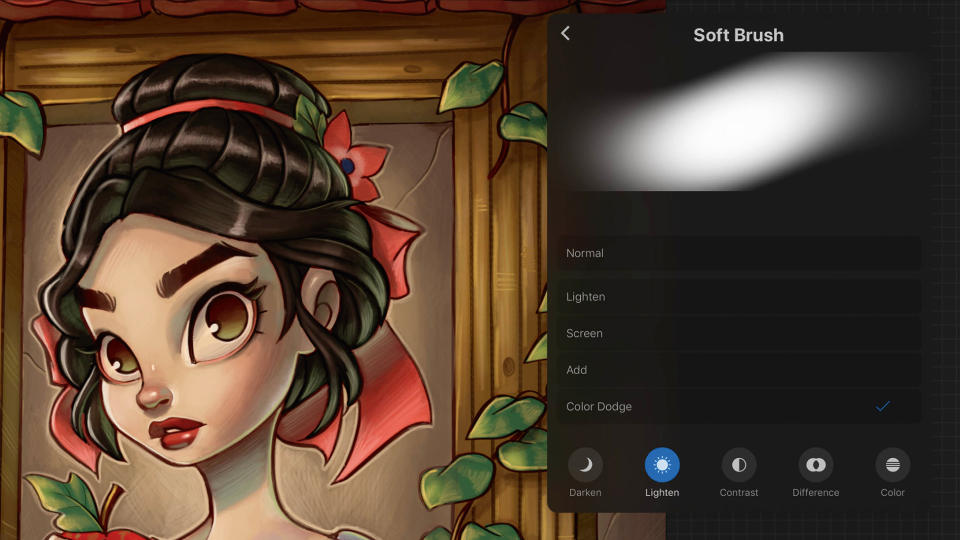
11. Brighten the scene with the Color Dodge setting
(Image: © Chrissie Zullo)
Now moving on to a soft airbrush, I pick a local yellow colour and set the brush properties to Color Dodge. Then I very lightly paint in some highlights around the leaves, wood and face of Snow White. I try to keep these highlights to a minimum to avoid a heavily airbrushed look.
12. Going a bit further
(Image: © Chrissie Zullo)
Next I switch back to the Hard Airbrush and add elements that were not originally in my sketch. I paint in some trees, flowers and a subtle background to suggest a forest location. I use the Brush Pen from the Calligraphy menu to paint tree branches and grass blades, because it tapers off nicely at the ends.
13. Adopting a different perspective
(Image: © Chrissie Zullo)
Throughout the process and more often at the end, I like to flip the canvas horizontally. If something seems off, seeing the mirrored version of the painting usually helps to identify any problems. This is also a great way to check symmetry. The painting should make sense both normally as well as mirrored.
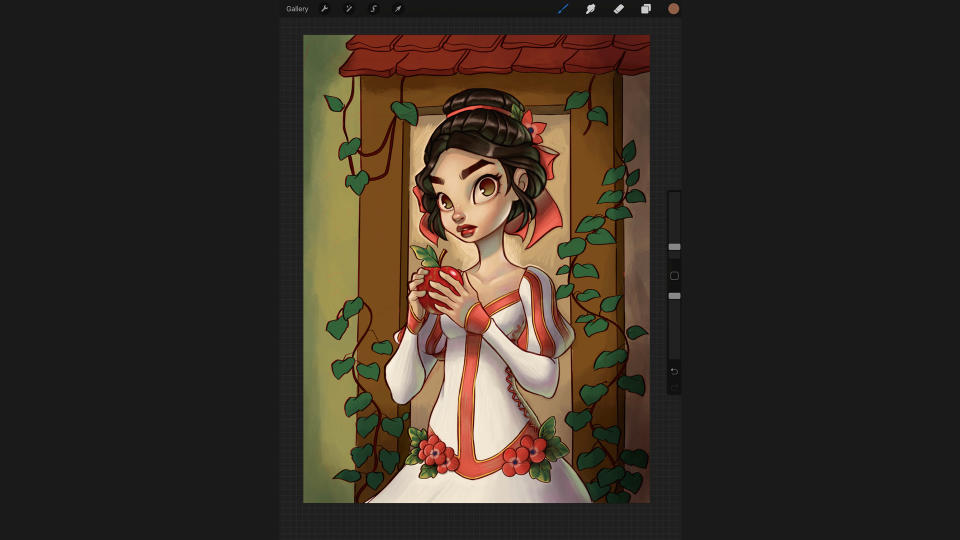
14. Step back, make some changes
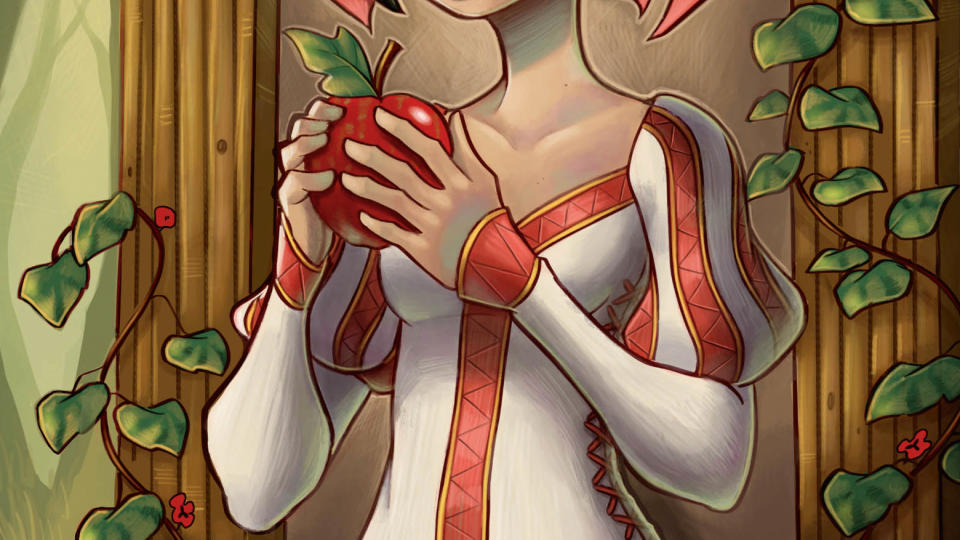
(Image: © Chrissie Zullo)
I feel like I’ve come to a point where the painting is almost complete. Using the Hard Airbrush, I look for places to add minor details and make any adjustments and tweaks. This is also the point where I play with the Curves and Color Adjustments one last time. And with that, the painting is finished!
Procreate tutorial: professional tips
Want to try this for yourself? Here are a few more top tips that I use to make things easier in Procreate.
Secrets of the layers
If you have multiple layers that you are ready to combine, you can place two fingers on the top and bottom layer and “push” them together. Pressing the layer once reveals different options, such as locking transparency, filling, merging or masking. Swipe a layer left to Lock, Duplicate, and/or Delete.
Speedy Cut, Copy & Paste
After making a selection using the selection key, use three fingers and swipe in a downward motion on the iPad screen. This brings up a shortcut menu with the options of Cut, Copy and Paste individually, as well as Cut & Paste or Copy & Paste to speed things up.
Import files and images
If you want to drop an image for reference that you’ve found online, simply hold down the image, double-tap the home button to bring up the application tabs, and drop it into Procreate. This will drop and image without having to save it or manually copy. This works for brush files, too.
Get more Procreate tutorials in ImagineFX
This content originally appeared in ImagineFX magazine, the world's leading digital art and fantasy art magazine. ImagineFX is on sale in the UK, Europe, United States, Canada, Australia and more. Limited numbers of ImagineFX print editions are available for delivery from our online store (the shipping costs are included in all prices)
Alternatively, you can access us instantly through our digital options:
• Apple app (for iPad or iPhone)
• Pocket mags (multi-platform app, great for Android users)
• Zinio (multi-platform app for desktop or smartphone)

