Use Procreate to create a detailed illustration
If you want to learn how to use Procreate to create a detailed illustration, you've come to the right place. For this Procreate tutorial I’m going to explain every step of my creative process, including my painting techniques and highlighting the key brushes I use in Procreate. I’ll share how I take the illustration from very rough sketches, to loose thumbnails and then all the way through to the final render.
You’ll also see how, as a full-time freelance artist, I develop and grow an idea for an illustration with my client and how I follow a set progression of steps while sticking to the brief. For more advice and Procreate process, read my tutorial 'Use Procreate to create a fantasy character'.
For this tutorial I'm painting a young female elf. Creating this workshop, I found it easy to be inspired and come up with some fun ideas, but in the end it turned out to be quite difficult for me to finish the piece. The experience ended up being more about patience and maintaining the excitement of my ideas as the illustration progressed. I found that I had to work hard to get past the frustration of messing up and feeling stuck. I think these little battles are all part of the craft as much as anything else.
If you've yet to use Procreate, you can read more about it in CreativeBloq's Procreate review. You will of course need an Apple tablet, so read our guide to the best iPads for drawing.
Procreate tutorial: my brushes
These are the key brushes we'll be using in this workshop.
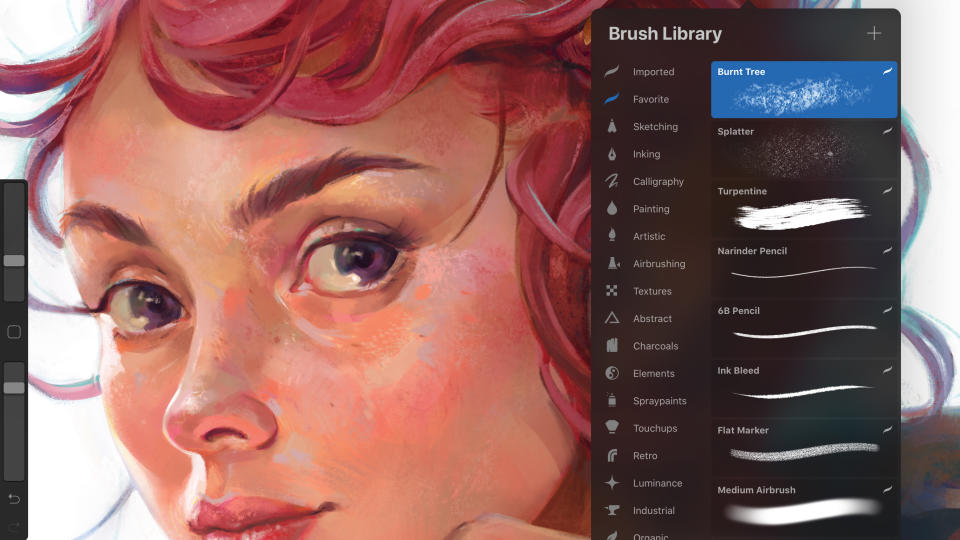
Default brushes: Burnt Tree
Useful for adding texture to a painting – in this instance the skin.
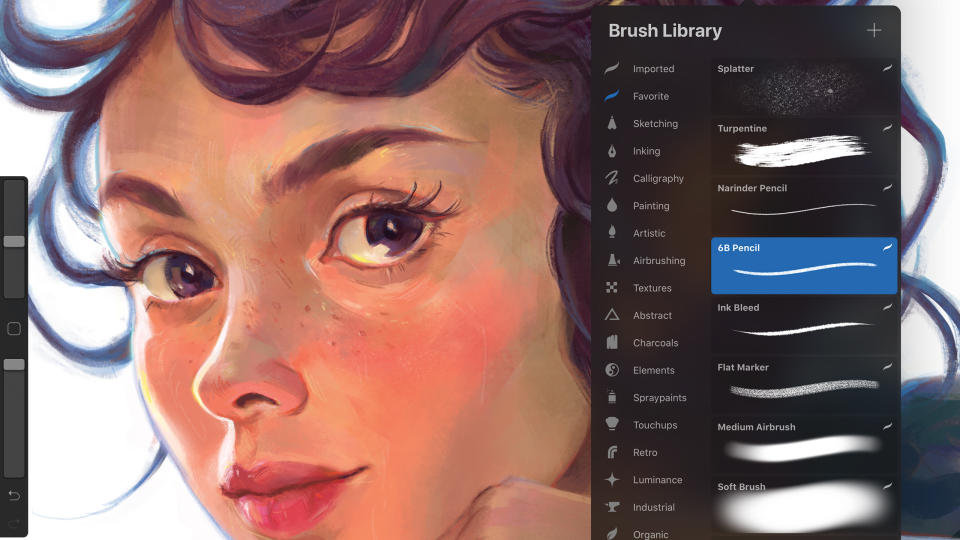
6B Pencil
This pencil brush is ideal for creating clean line-art for an illustration.
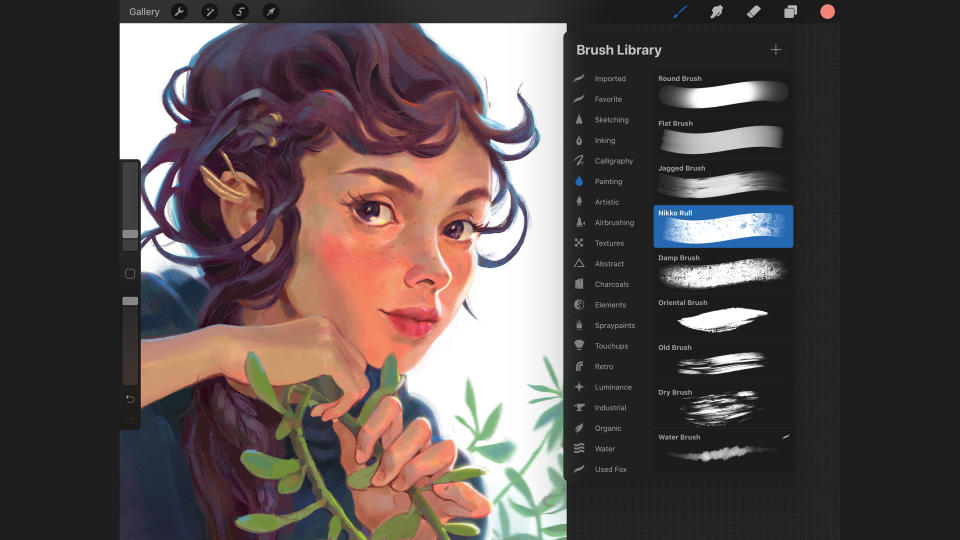
Nikko Rull
Acrylic is my favourite medium and this brush mimics it well.
Use Procreate to create a detailed illustration
There are a number of Procreate tutorials on CreativeBloq if you want to learn more, including how to draw a dramatic female figure, and how to use the new tools in Procreate. I hope you enjoy this tutorial – you can scroll to the bottom of the page to see the completed piece.
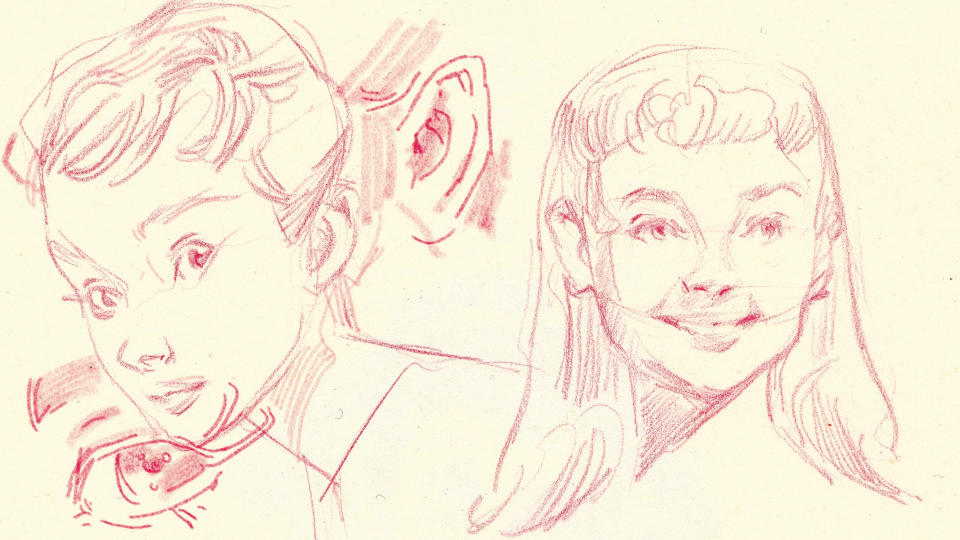
01. Creating loose facial studies
(Image: © Fatemeh Haghnejad)
It all starts with a brief; the idea is to illustrate a female elf. The character is to be around 20 years old, with a charm and beauty reminiscent of Hollywood superstar Audrey Hepburn. I produce some loose studies, which helps me become familiar with the actor’s distinctive facial features and her characteristic gaze.
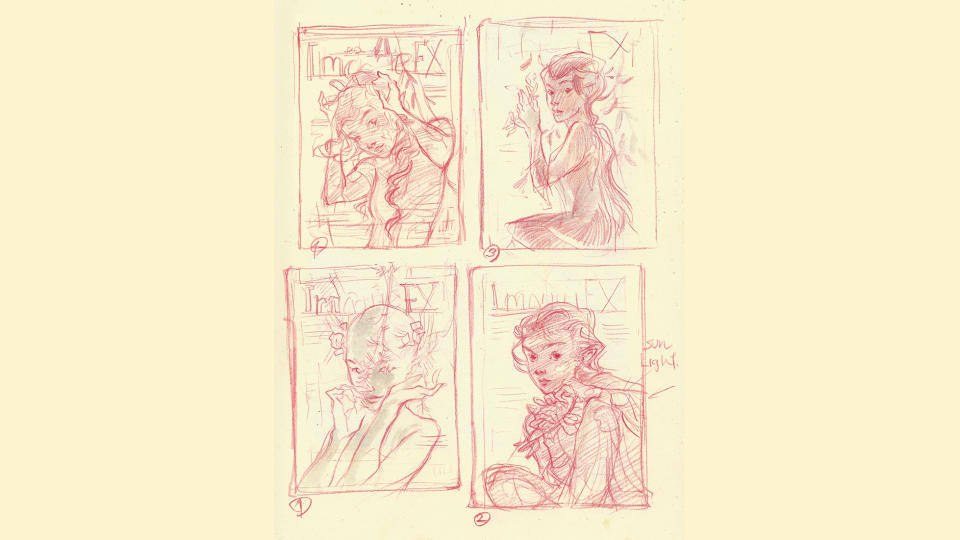
02. Creating some thumbnails
(Image: © Fatemeh Haghnejad)
I write down keywords that spring to mind as I create thumbnails of the character: green, elf, red, happy, playful, contact. I use these prompts to generate small sketches, focusing on drawing interesting poses. I want to capture a moment from the character’s life, like a candid snapshot taken during their day. Using this approach can help to make my characters feel real and rounded.
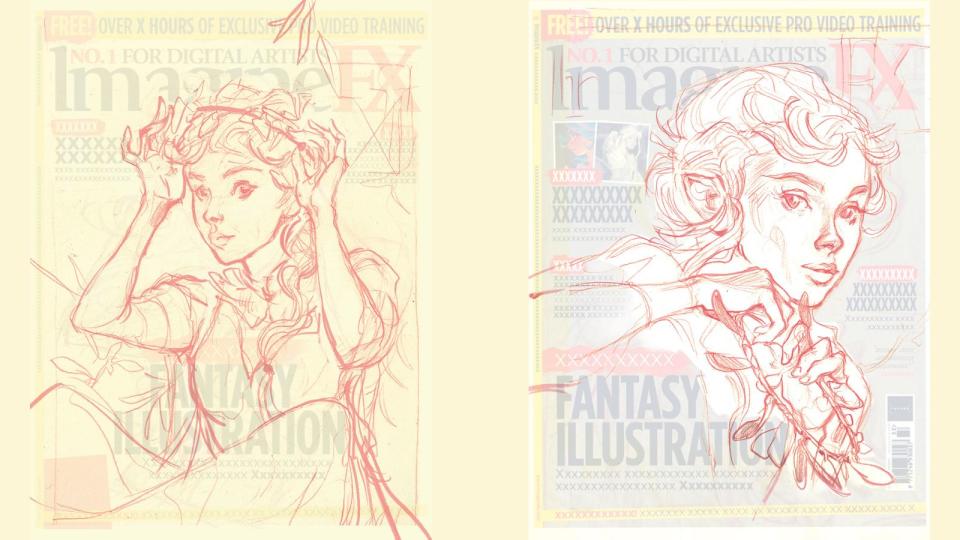
03. Working up the selected sketches
(Image: © Fatemeh Haghnejad)
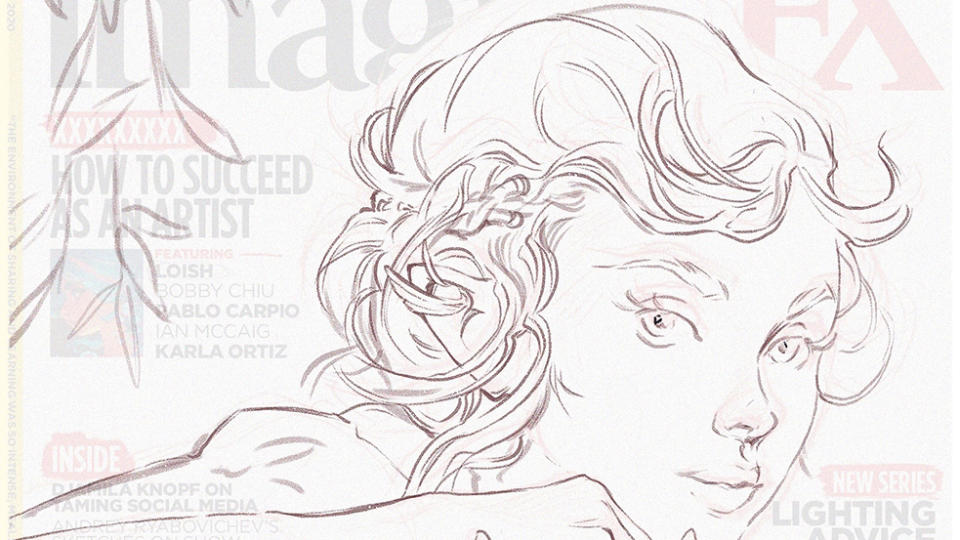
This illustration was created for a cover of fantasy art magazine ImagineFX, so I'm adjusting the image to suit a cover with space for text. These two sketches are ones that work in this context and I begin to develop them further. So the next step is to turn them into worked-up sketches.
04. Getting to know the drawing
(Image: © Fatemeh Haghnejad)
The image I choose to continue with is one I really connected with during the thumbnail stage. Taking it to the line-art stage is more than just cleaning up the drawing. It’s a chance to get to know the drawing and to become fully aware of every detail, so that you’ll know what’s involved once it’s time to start painting.
05. Breaking up the colouring process
(Image: © Fatemeh Haghnejad)
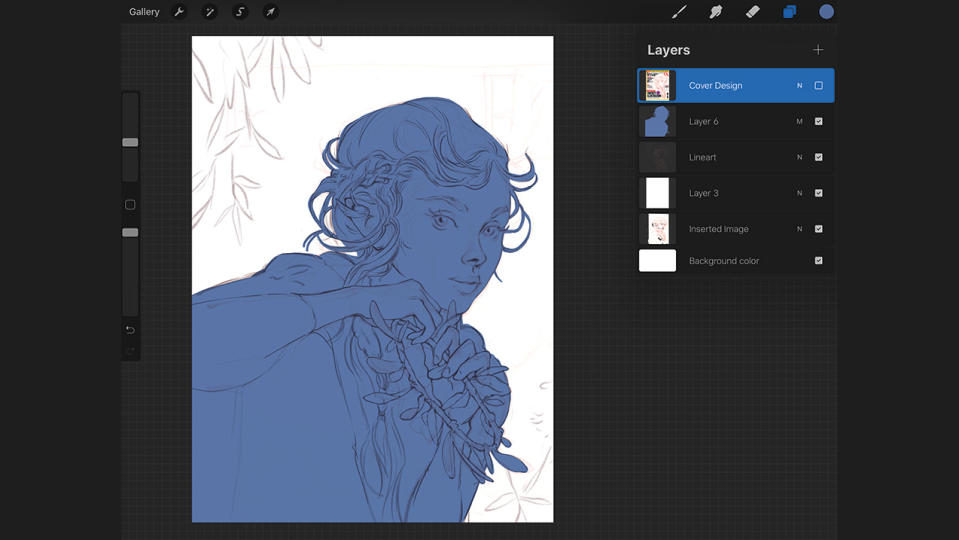
This stage is made up of a few key steps, the first of which is to create the silhouette. I’ll also take this opportunity to choose my base colours. These initial steps enable me to focus on the character and helps me to keep the painting process clear in my mind.
I add the individual base colours on different layers, which means each element can be easily selected and adjusted when necessary. This type of planning ahead can take some time at the start, but it always pays off later on.
06. Isolating elements in the art
(Image: © Fatemeh Haghnejad)
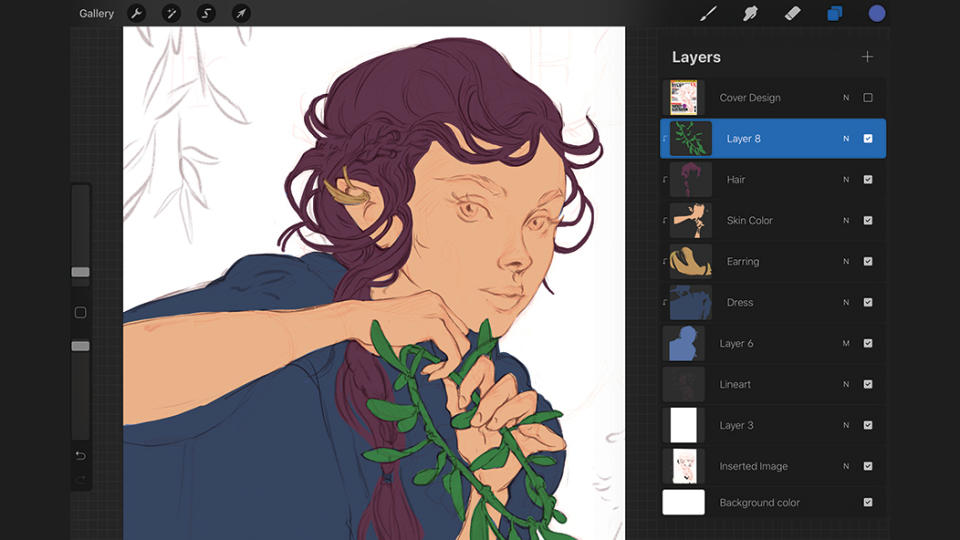
I carefully separate elements such as the face, hair and dress, and then use Procreate’s Clip Mask function to attach them to the silhouette layer. I’ve discovered that taking this approach means less cleaning up is required at the end of the painting process.
I still strongly connect with my traditional art background, so for a long time I felt these types of digital painting techniques were slowing me down compared to working with traditional media on the canvas. However, I’ve come to learn how these techniques can actually save me time.
07. Generating tones and textures

(Image: © Fatemeh Haghnejad)
I start on the face, using flat colours to pick out details that I want to emphasise. I select Procreate’s default Nikko Rull brush and add my base colours, before switching to the Inked Blink brush and drawing key facial elements such as the eyes and eyebrows. I then go back to the Nikko Rull to go down through the layers and add some texture, using a slightly offset colour to make the tones vibrant.
08. Directing the painting’s atmosphere
(Image: © Fatemeh Haghnejad)
Now I’m thinking about emotions in the scene. I want to push a happy, relaxed atmosphere so I use bright orange and green colours that convey the light and shadow of a gentle afternoon. I’m keen to capture that feeling of a moment suspended in time. I also add the strongest light source because I want the artwork to feel painterly, drawing on my experience as a traditional painter to keep control of the creative process
09. Developing the lighting in the scene
(Image: © Fatemeh Haghnejad)
To offset my strong greens and oranges I choose a desaturated purple coming into the scene as a blooming light. Because this light affects the entire scene, the plants will give off a green light as the sunlight passes through the leaves, and this is important to get into the piece.
After I add the colours with a heavy hand, I go back over with a Smudge tool using the Grunge brush to blend and make the transitions. As a final part of this step I began limiting my darks, because I know the art will appear on the cover, and it needs to be bright and eye-catching.
10. Constructing the background
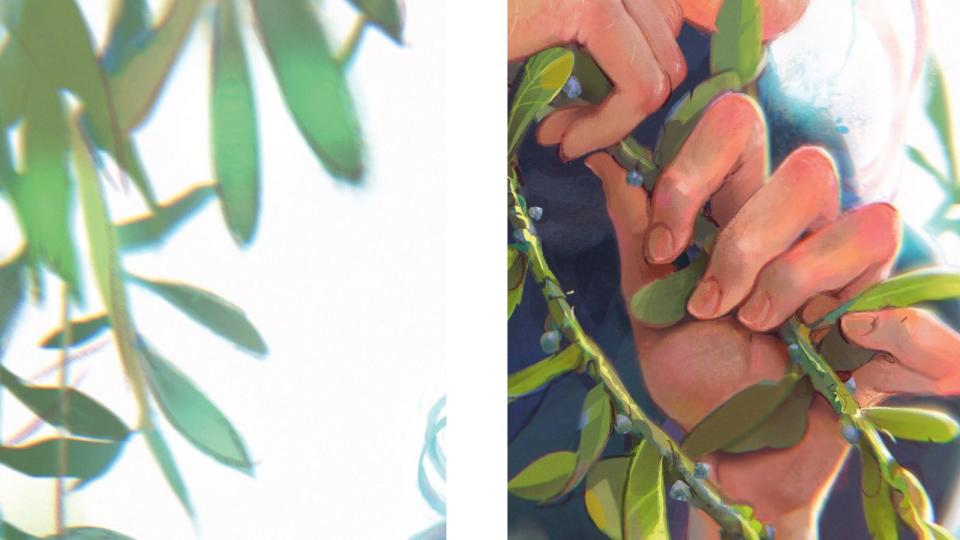
(Image: © Fatemeh Haghnejad)
Inverse selecting the character’s silhouette means I can work on the background without worrying about the figure’s edges. I use the Lasso tool to select the leaves, painting them in light green tones to echo the happy colour motif of the character, then use a Blur filter to make them recede into the background so they don’t distract from her.
The leaves act as a framing device for the character: their cast shadows help me darken the parts of her that feel a little busy.
Next, I select the white of the background and build up colours to imply it’s a sunny afternoon. I add texture using the Nikko Rull brush and play with saturation and juxtaposed colour tones. I treat the direct light as initially cold, becoming warmer once it hits objects in the scene.
11. Rendering the artwork
(Image: © Fatemeh Haghnejad)
The first thing I do as I commit to the rendering stage is to colour my line-art. This helps it to blend into the painting more easily, in turn aiding the process of turning a coloured drawing into a painted picture.
Now that the painting is nearing its finish, I want to try and bring everything together into one lovely package. My next step is to merge everything into one workable layer.
I copy and paste them so I still have the individual layers underneath, but from here on in I treat the painting as a single image. Of course, keeping the original layers means I can still go back and select individual elements for working on, and make use of those clean outlines.
12. Fixing minor mistakes
(Image: © Fatemeh Haghnejad)
At this point every little mistake in the artwork start to become obvious. For example, I notice that her ear isn’t sitting on her head correctly, so I use Procreate’s Warp tool to grab the point of the ear and pull it closer to her face. I use the Recolor tool a lot during this step, too. It’s a good way of changing colours and trying out new ideas that come to you during the creative process.
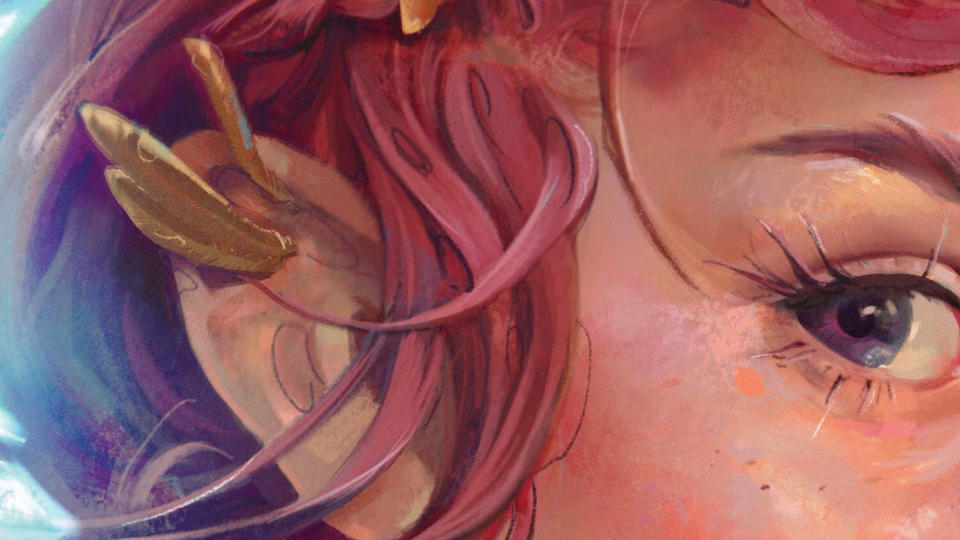
13. Adding texture to elements
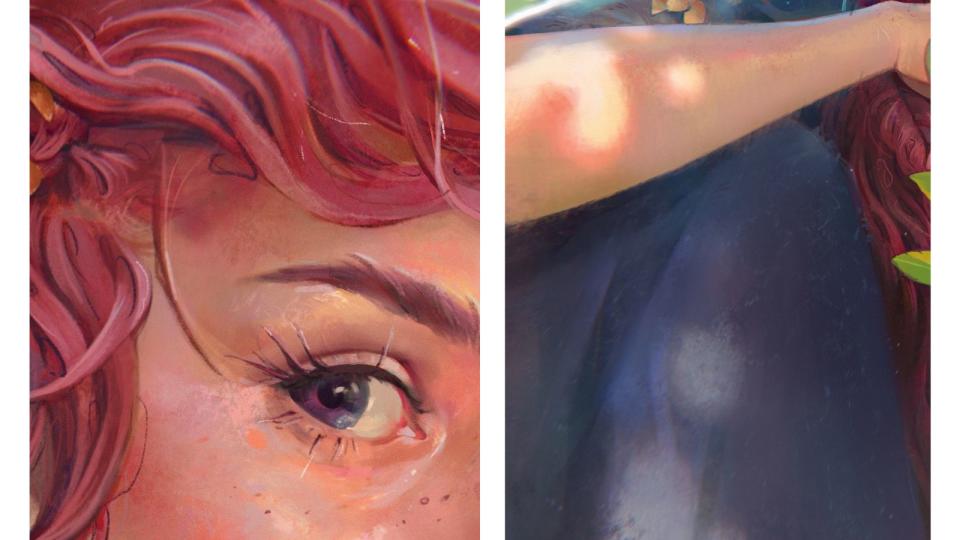
(Image: © Fatemeh Haghnejad)
I go back to my traditional roots here as well, using Procreate’s Stucco and Pencil brushes to add texture. I draw a myriad of lines to wrap around the various forms such as the clothing, skin and hair, which soon adds depth to the character. It’s a great way of creating a solid, finished feel in your artwork. Another great Procreate brush to use is Burnt Tree, which produces especially good results when detailing the character’s skin.
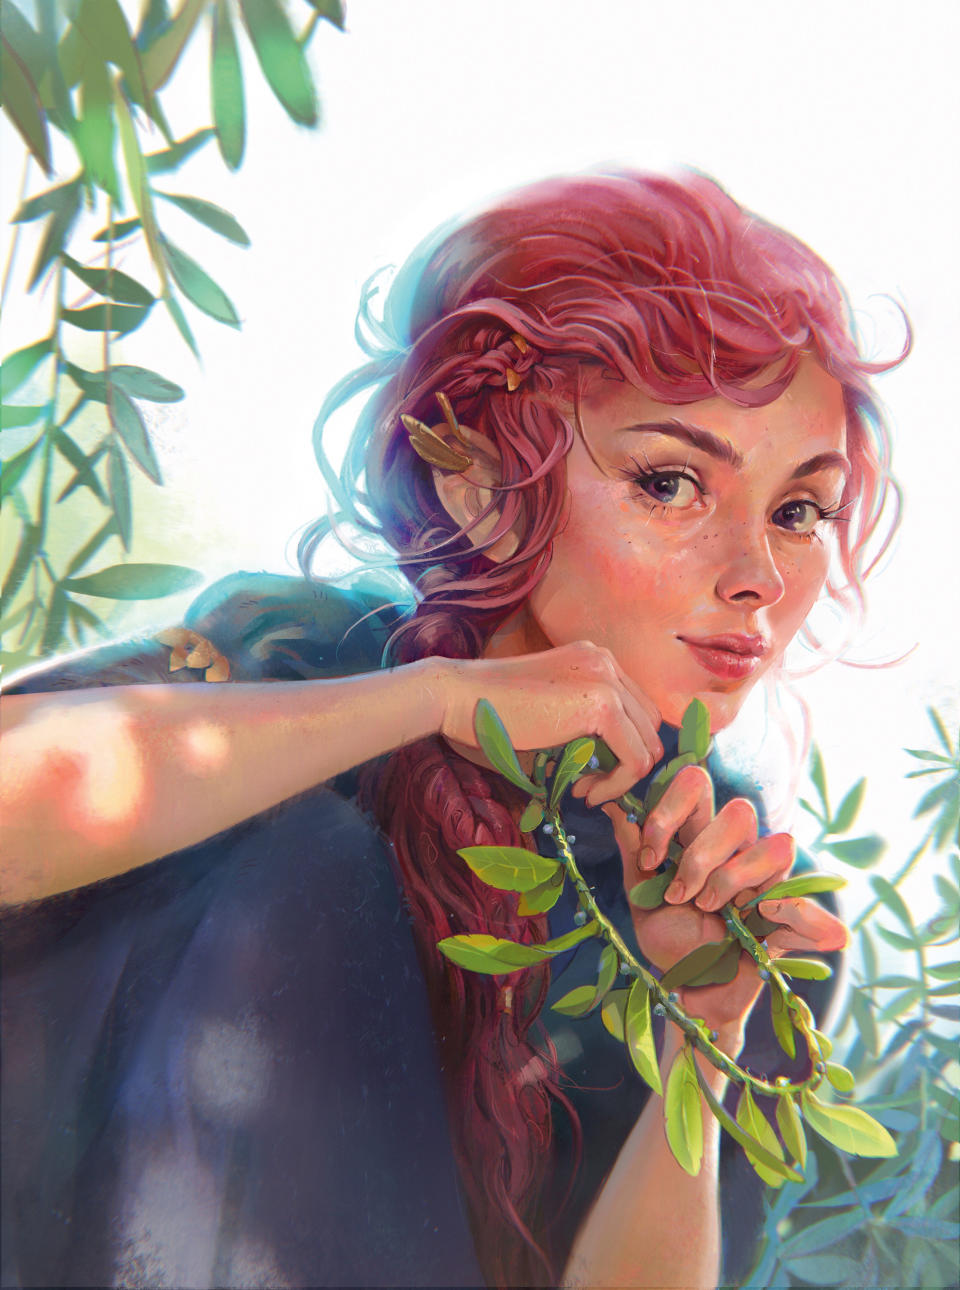
14. Now it’s over to you!

(Image: © Fatemeh Haghnejad)
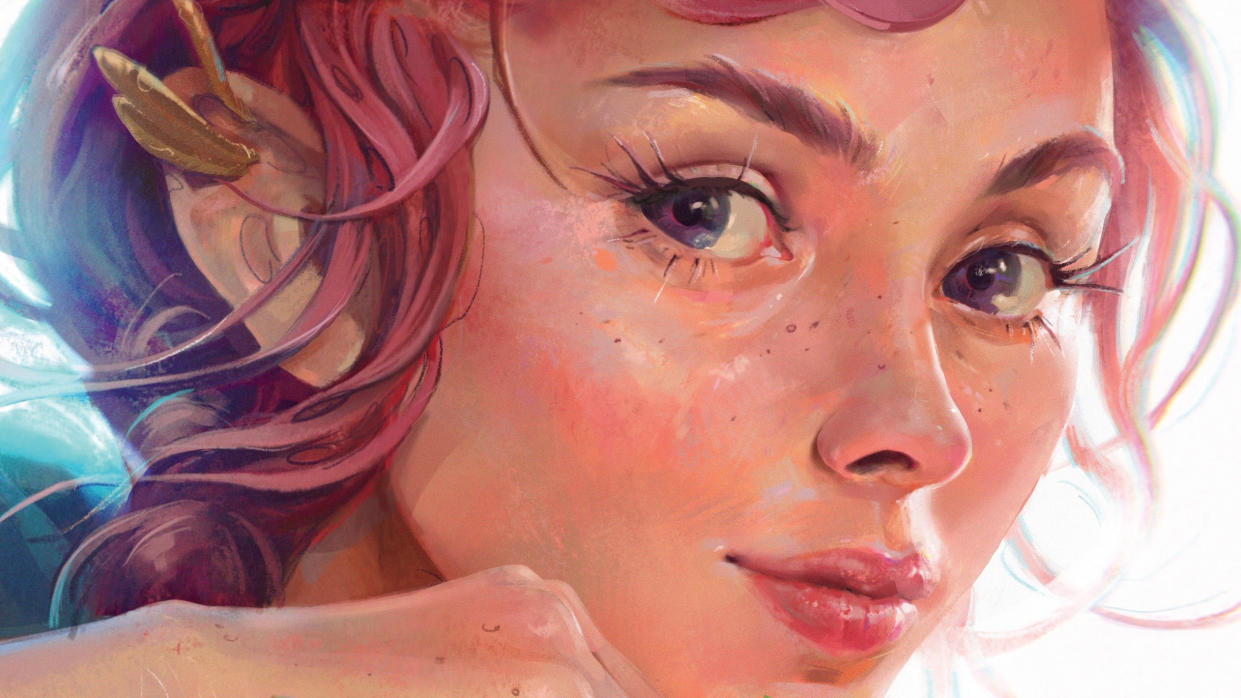
Once I’m happy with the level of texture in the painting I call it finished. Feel free to use the techniques I’ve explained here in your own work, and share the results with me on Instagram. I can’t wait to see what you come up with!
Get more Procreate tutorials in ImagineFX
This content originally appeared in ImagineFX magazine, the world's leading digital art and fantasy art magazine. ImagineFX is on sale in the UK, Europe, United States, Canada, Australia and more. Limited numbers of ImagineFX print editions are available for delivery from our online store (the shipping costs are included in all prices)
Alternatively, you can access us instantly through our digital options:
• Apple app (for iPad or iPhone)
• Pocket mags (multi-platform app, great for Android users)
• Zinio (multi-platform app for desktop or smartphone)

