How to use Procreate to analyse master artworks

In this tutorial I will show you how to use Procreate to analyse master artworks. This is an unusual Procreate tutorial, as I'm going to be using the software to recreate someone else's work rather than creating our own. As we develop in life, one of the many ways we learn is through the emulation of others. Emulating and studying from successful pieces of art is a way to connect with the thought process, the techniques and choices historical artists made. Through this process we can grow as artists.
The great thing about master studies is that both amateur artists / illustrators and experienced industry-working professionals can benefit from them. There's always something new to learn from the Old Masters, whether it's composition, lighting or even a storytelling technique. (Read our Procreate review to get up to speed on this Apple-exclusive digital art software.)
What's most important while doing these is to be present; it's very easy to fall into a trap of just mindlessly copying. I made this mistake when I was starting out seven years ago. Ask as many questions as you can while studying from the image, such as: how is the composition designed; why are the shapes arranged in this way; why did the Master use this group of values for this part of the image; or how did the artist draw your eye to the focal point. (Read our tutorial on how to paint a portrait like the old masters for more advice.)
Studying the Masters is a great way to improve your skills. However, the real magic is when you apply a new trick or method that you learned from an old painting. By taking this new-found knowledge into your own imaginative work, you’ll really find yourself growing quickly.
Use Procreate to analyse master artworks: my brushes
Here are the Procreate brushes we'll be using for this workshop.
Custom and Default Brushes: Razum_inc Pro II for Hair and Fur I

Part of Ilya Tuljakov’s Brush Pack Pro II, and ideal for texturing.
Razum_inc Pro II Canvas Crayon UPD
This brush, part of Brush Pack Pro II, has a lovely canvas texture quality.
Script

I used this default brush for blocking shapes for the four-value study.
Nikko Rull

A standard brush that comes with Procreate – it’s a real workhorse.
How to use Procreate to analyse master artworks
01. Choosing the right Master
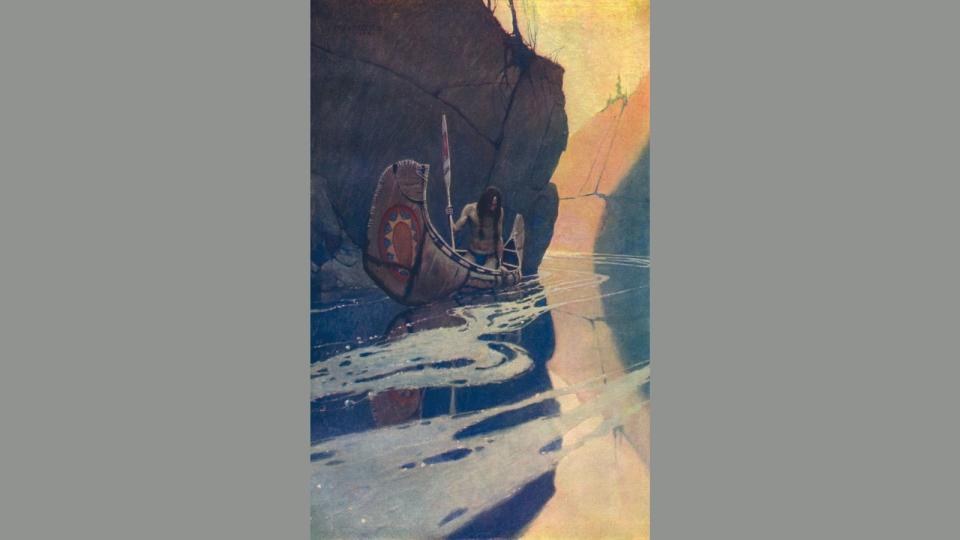
(Image: © NC Wyeth)
I’d suggest looking for an artist from the past. One thing to be aware of when looking for versions of Master paintings online is that they’re not all accurate to the original. Sometimes the colours might be off or the image isn’t crisp. Do your research to find the best one before committing to an image. I’ve chosen the image Painting of Native American from one of my favourite artists, NC Wyeth.
02. Setting up Procreate
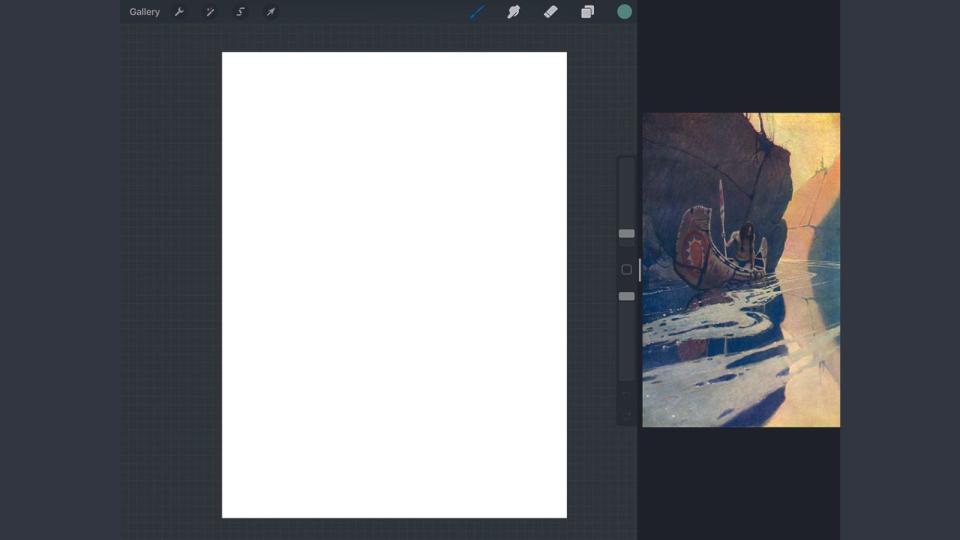
(Image: © Gavin O’Donnell / NC Wyeth)
I use the split screen function on the iPad when doing these studies, putting the study image on the Image Viewer on the right-hand side of the screen as I’m left handed. You’ll also need a couple of different versions of the image in your viewer: one flipped horizontally and another in greyscale. (Read our iPad Pro (M2) review for more on Apple's leading tablet.)
03. Setting a time limit
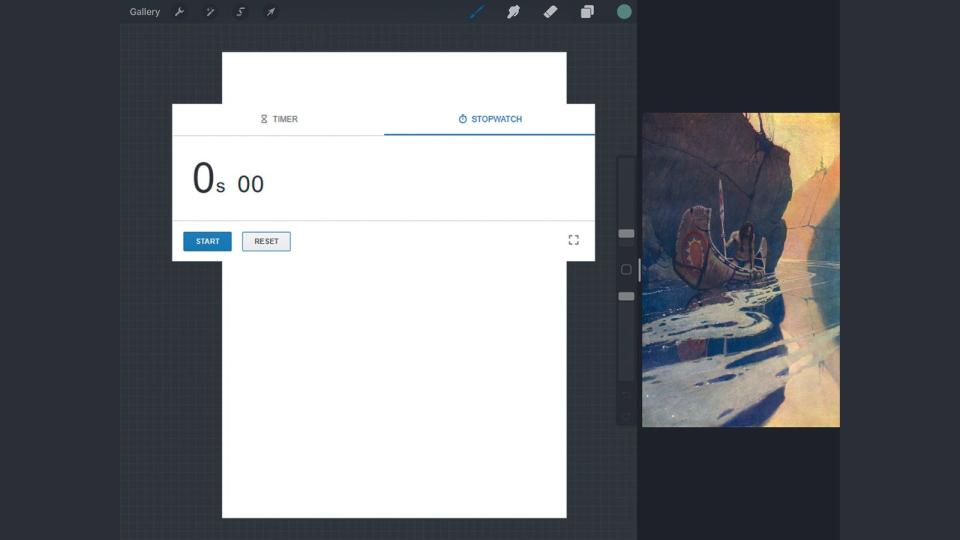
(Image: © Gavin O’Donnell / NC Wyeth)
It's important to limit your time when doing these studies, because it's easy to fall into the trap of rendering too many details. If you’re new to this approach then give yourself maybe 20 - 40 minutes for the value study (explained in step five) and between one and three hours for the full study, whatever you feel comfortable with.
04. Creating a rough sketch
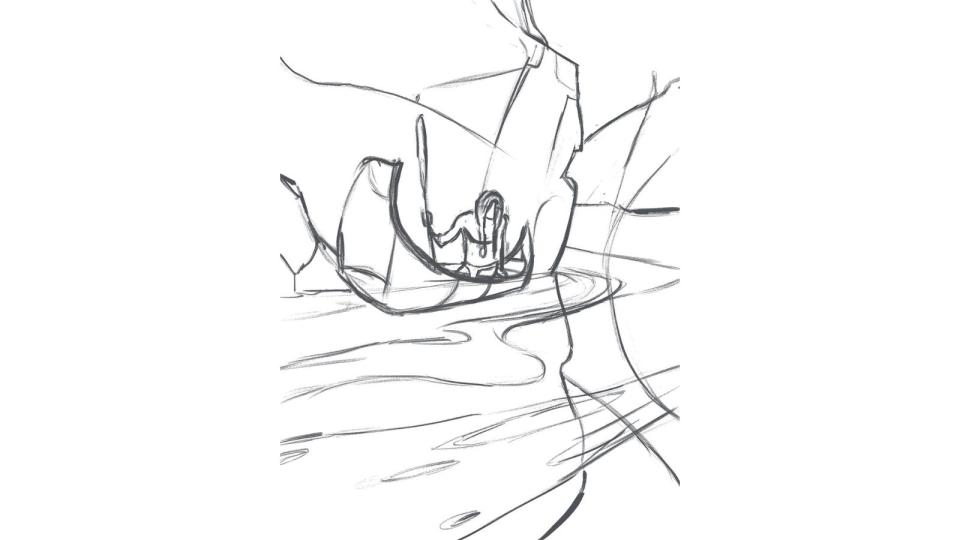
(Image: © Gavin O’Donnell / NC Wyeth)
Sometimes I start my studies by roughing in a guideline sketch or doing a cleaner sketch. In this case I just do a rough sketch to suggest the placement of the shapes. This will evolve over the course of the study, but for now just rough in your lines.
05. Four-value structure study
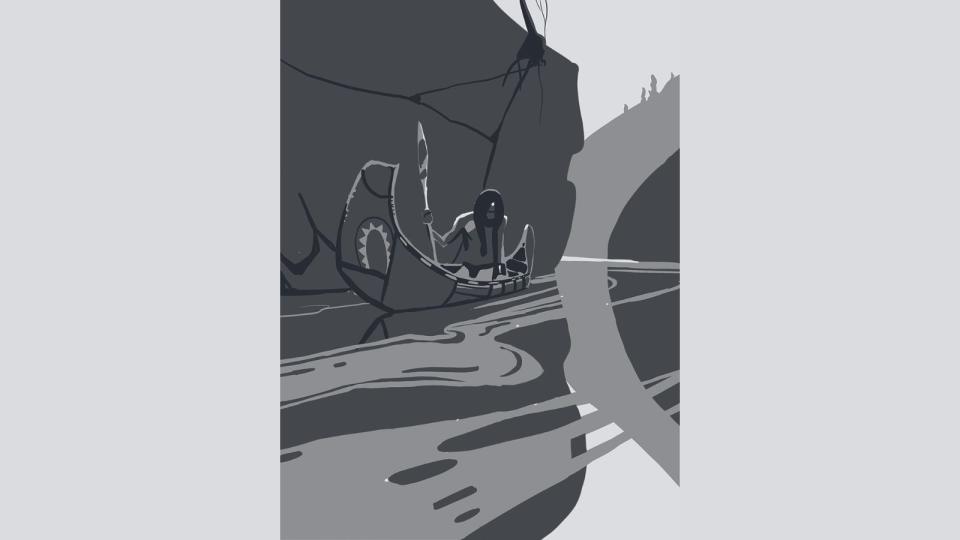
(Image: © Gavin O’Donnell / NC Wyeth)
On the Value slider in Procreate I choose 10, 25, 60 and 90 per cent and only work with these four values. This enables me to see how the shapes of the composition are arranged through simple values. Sometimes the values in the image might not match one of the four values I have, so I need to choose a group to place them into. Squinting your eyes can help with this.
06. Analysing the image
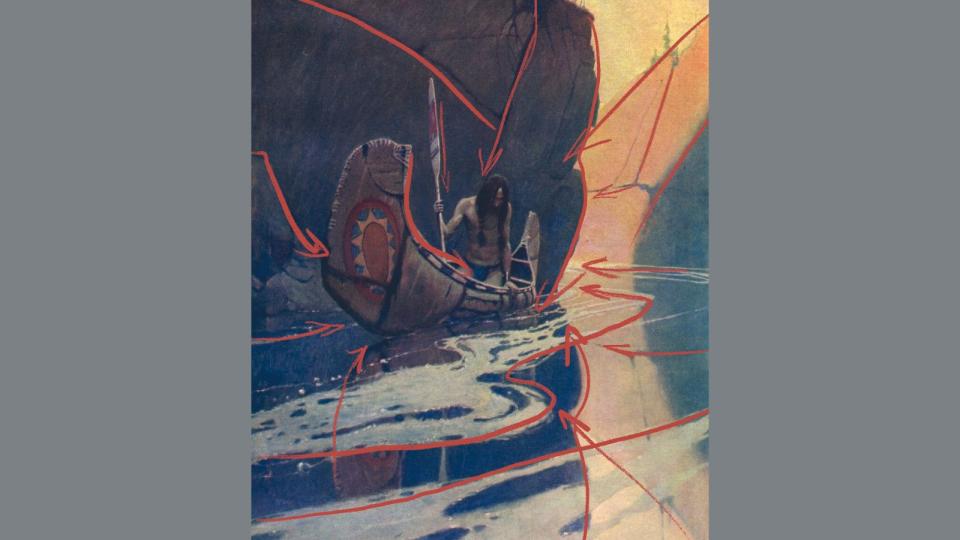
(Image: © Gavin O’Donnell / NC Wyeth)
It can be useful to drag your Color Picker around the image before starting the full colour study. This gives me an idea of where the colours fall on the colour wheel. I also look at how the composition is arranged. Look closely – almost every line in the image has been designed to bring our eye into the focal point (the man).
07. Blocking in the background
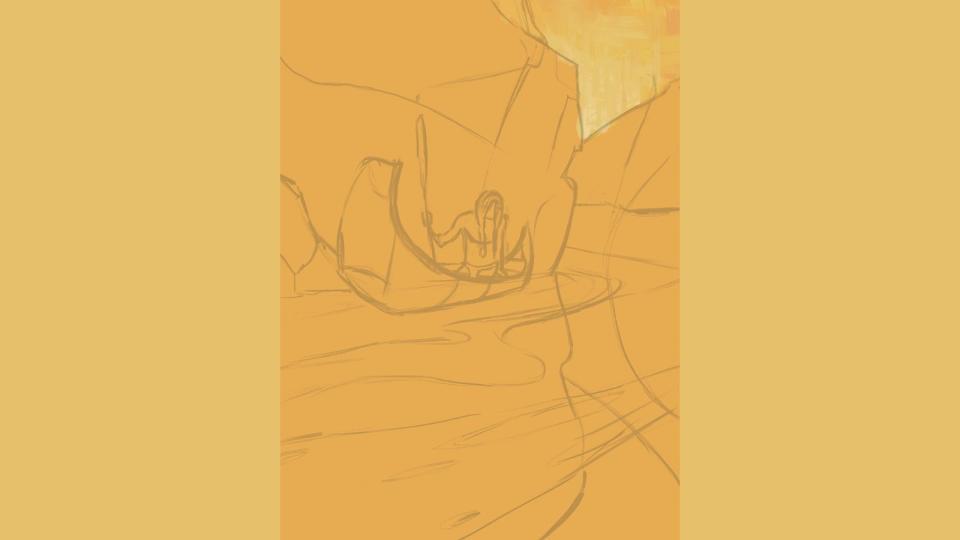
(Image: © Gavin O’Donnell / NC Wyeth)
I break the image down as much as possible and generally work from the background to the foreground. I use different layers for the major elements of the image. I use the Fill Layer option to quickly get rid of the white canvas. I now search for the sky colours without using the Color Picker, to test my eye.
08. Working in the rocks
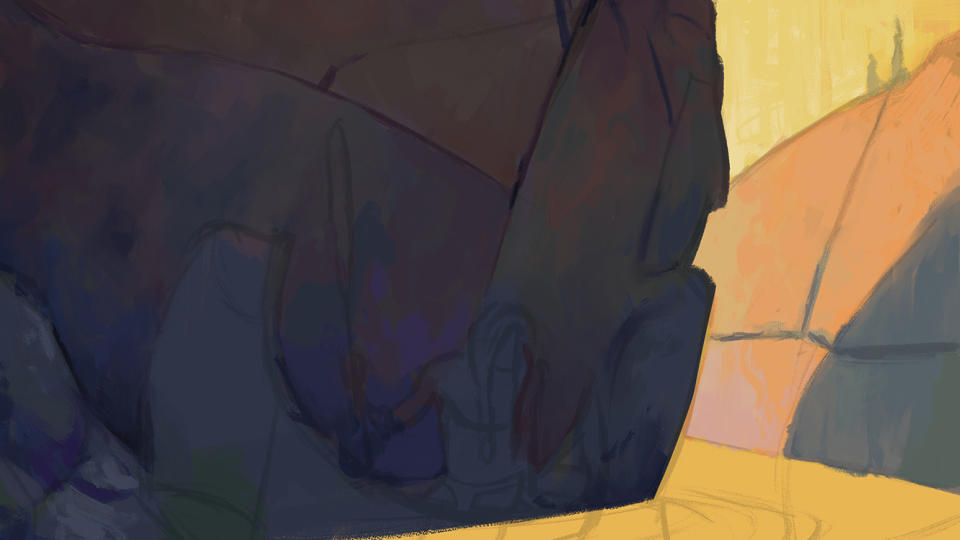
(Image: © Gavin O’Donnell / NC Wyeth)
Now I start with the warm background rock, which is half in shadow. Wyeth has used these desaturated oranges for the bottom of the rock that appear near-pink. This is due to the colour relativity. Colours can appear different depending on the other colours that surround them. I continue with the rock areas in shadow, paying close attention to all the subtle shifts in hue.
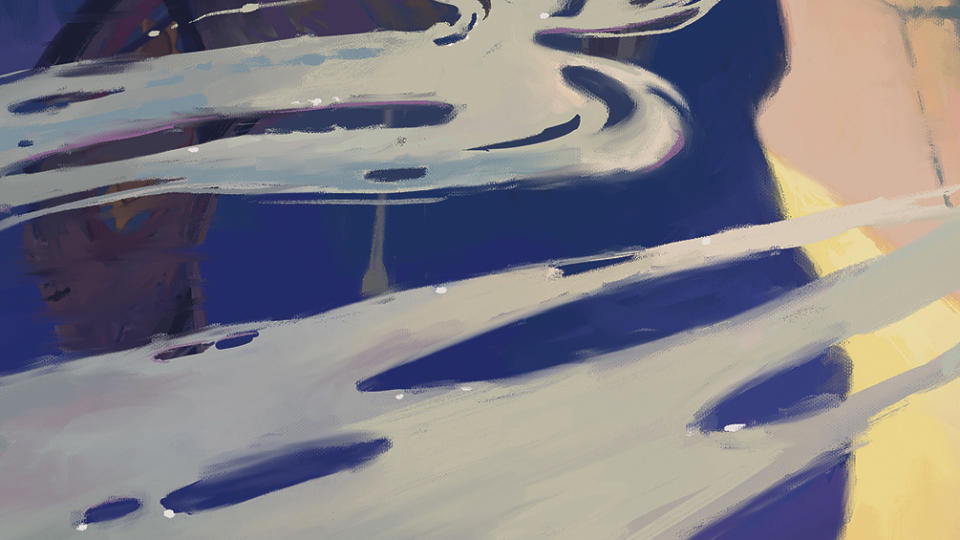
09. Simplifying the water
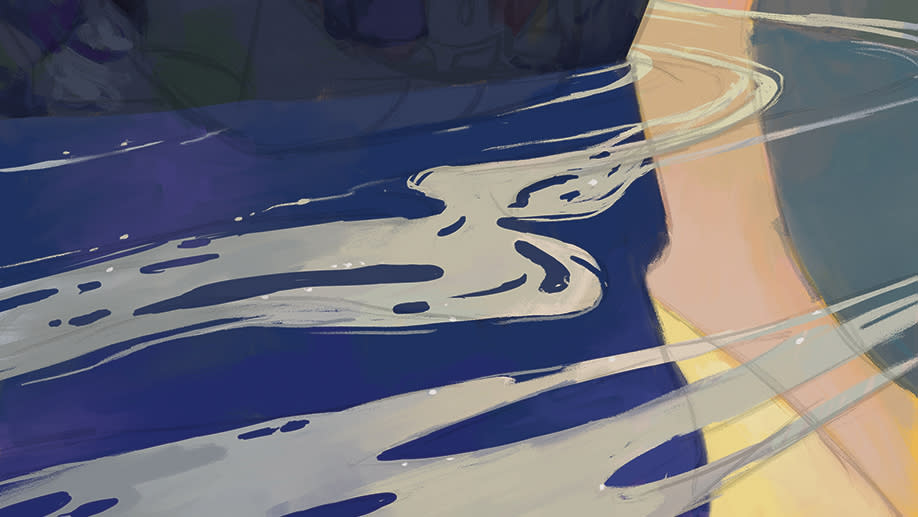
(Image: © Gavin O’Donnell / NC Wyeth)
After I block in the shapes, I alpha-lock each layer (select Layer > Alpha Lock); this way I know I can do broad strokes that will stay confined to the blocked shape. I repeat the same process for the foam on top; I push, pull and erase parts of the shape until I’m happy with it.
10. Adding the boat
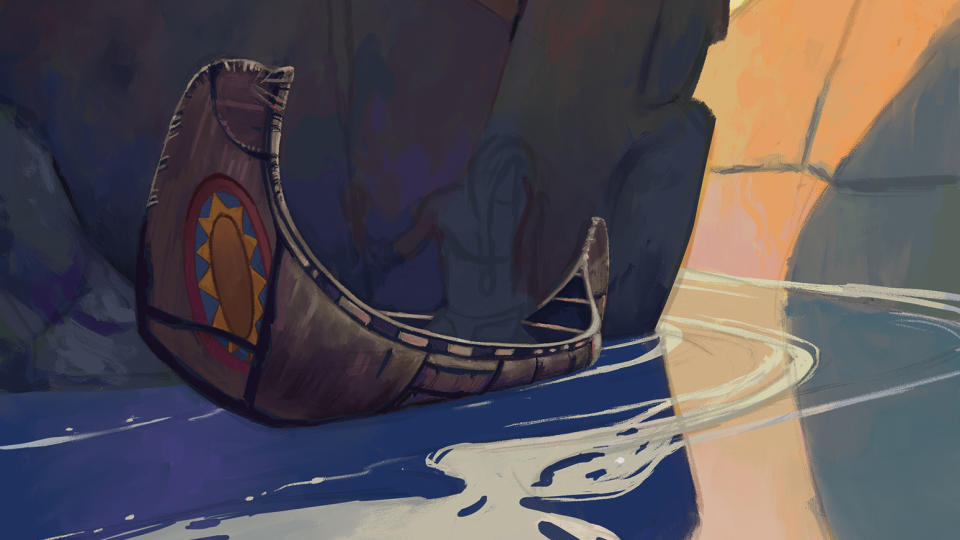
(Image: © Gavin O’Donnell / NC Wyeth)
Once I block in the shape, I Alpha Lock the layer and start building up the details. I start by finding the base colours of the boat, which turn out to be these desaturated pinks and purples. I slowly add the decals and other details, using the main shapes of the boat as a guideline for the placement of details.
11. Bringing in the lone character

(Image: © Gavin O’Donnell / NC Wyeth)
When approaching the figure I build upon my first sketch; it wasn’t that accurate and I need to recheck the proportions. I use the boat as a guideline for where certain parts of the character fall. I block in the body starting with the head, then hitting the chest, pants, hands and the oar.
12. Analysing the progress
(Image: © Gavin O’Donnell / NC Wyeth)
I often flip the image horizontally every few minutes or even vertically to give my eyes a fresh look. You’ll often see mistakes almost jump off the page when doing this. There’s a few small details such as the boat reflection to paint. I select my boat layer and tap Duplicate > Flip Vertical. I place this underneath my foam layer, reduce the Opacity and then distort it into place.
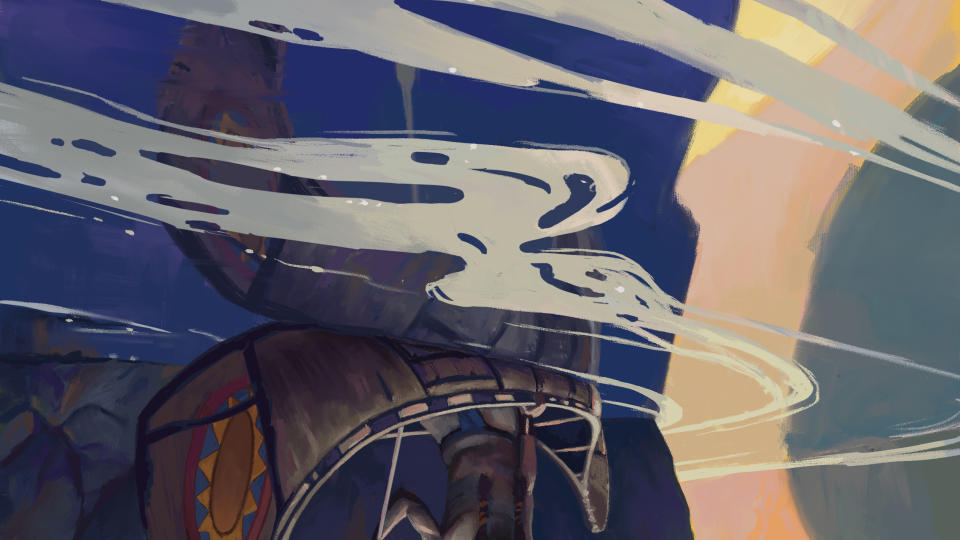
13. Finalising the study
(Image: © Gavin O’Donnell / NC Wyeth)
When you find yourself getting caught up in tertiary details, especially outside the focal point, it’s a good sign that you should move on. However, I’m going to unify a couple more things around the image; the edges on the foam are way too harsh in places. I use my Smudge brush and gently soften the edges.
14. Making final adjustments

(Image: © Gavin O’Donnell / NC Wyeth)
At the end of my studies I normally make the image slightly brighter and add a subtle Sharpen filter just to crisp things up a little bit (tap Adjustments > Sharpen > 20 per cent). You can also play with the colour balance, such as adding some very slight blues to the shadows and warms to the light. And that’s me done. Hopefully you’ve found this workshop useful. Good luck on your artistic journey!
Get more Procreate tutorials in ImagineFX
This content originally appeared in ImagineFX magazine, the world's leading digital art and fantasy art magazine. ImagineFX is on sale in the UK, Europe, United States, Canada, Australia and more. Limited numbers of ImagineFX print editions are available for delivery from our online store (the shipping costs are included in all prices)
Alternatively, you can access us instantly through our digital options:
• Apple app (for iPad or iPhone)
• Pocket mags (multi-platform app, great for Android users)
• Zinio (multi-platform app for desktop or smartphone)

