How to Preserve Jam
Here is the information and tools you need to can like a pro.
Matt Taylor-Gross / Food Styling by Debbie Wee
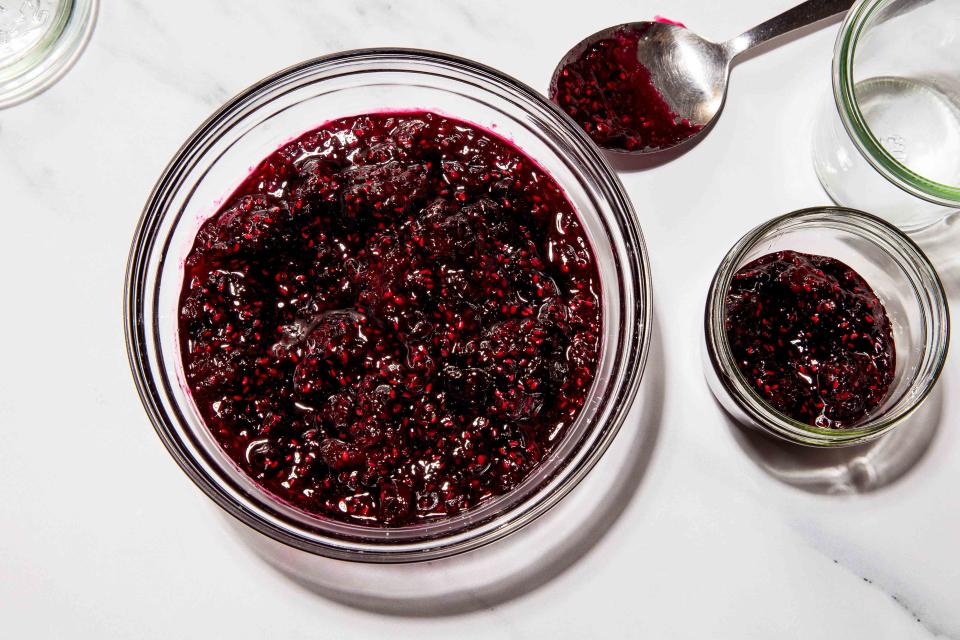
Homemade jam is one of the luxuries of seasonal cooking, especially when it captures the sweet freshness of spring berries, summer stone fruit, or autumn’s figs and pears in a jar to enjoy months later.
Related:How to Make Jam
Jam does not need to be canned; if you can consume it within a month, you can store it in the refrigerator without it going bad. But if you make a lot of jam, or want to save it to make jam-filled cookies or another winter baking project when fresh fruit is nowhere to be found, you should preserve it. Canning the jam makes it shelf-stable, so it can be given as a gift or stashed for eating later in the year. This process seals the jars, protecting the jam from mold or bacteria. Here’s what you need to know (and what you need to have) to get started.
Related:The 12 Best Canning Products of 2023
Here is the canning equipment you need to get started
Canning rack
A canning rack holds jars in place and acts like a barrier between jars and the pot surface to prevent breakage. It also creates circulation for even processing. If you don’t have one, you can use a cake rack, steaming rack, or a silicone or metal trivet.
Canning tongs
Sometimes sold as jar lifters (I call them “turbo tongs”), these are much safer than regular tongs, which will not grip jars enough to use while canning. Canning tongs have a super-hero grip that lets you lift jars in and out of the water bath. When it’s time to lift jars in and out of the steamy cauldron, I’m especially grateful for these. They give this canner peace of mind so I don’t have to worry about jars slipping and splashing boiling water everywhere.
Deep pot with a lid
A giant canning pot is nice, but a deep pot with a lid does the job. Make sure that your rack fits inside the pot and double-check that the lid fits snugly on top. Your pot should also be deep enough to accommodate both the rack and filled jars plus enough water to cover the jars by two inches.
Jars and lids
For shelf-stable jam, the USDA recommends jars with the two-part lids (a metal ring and flat lid with rubber gasket). The lid covers the jar, and the ring holds the lid in place as it seals during processing. Jars and rings can be reused for canning, but the lids cannot. (However, you may reuse lids for storage.) Lids are sold separately and can be a substantial savings for your next canning adventure. There are two “mouth” sizes: regular and wide.
Refrigerator jam is less particular and is happy to land in any clean, sanitized jar. If you like the look of the French jars with the spring hinge, go for it.
Ladle
This isn’t required, but an ordinary soup ladle is handy for filling jars.
Wide-mouth funnel
A wide-mouth funnel rests snugly in the mouth of a canning jar, keeping things tidy as you fill jars. You will likely find other uses for this outside of canning season. I highly recommend this.
Matt Taylor-Gross / Food Styling by Debbie Wee
How to can
Prepare a water bath
Use a pot that is deep and wide enough for a canning rack or basket (which holds the jars in place). Make sure that the lid to the pot can sit snugly on top with the rack inside.
Place jars in the rack. Add enough cold water to cover the jars by at least two inches. Cover the pot and bring the water to a boil. Reduce heat to low and keep the jars in the water bath until you’re ready to process.
Fill the jars
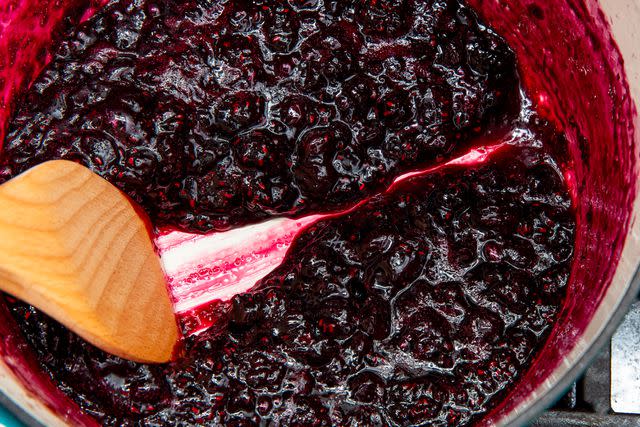
Using canning tongs, lift the jars out of the pot one by one, tipping the hot water back into the pot. Carefully transfer empty jars to a kitchen towel or wooden work surface. (Temperature-sensitive surfaces such as granite can crack the jars.) Keep the water bath covered and the water simmering. Set a wide-mouthed funnel on top of jars and ladle in the jam, leaving about 1/4 inch at the top (look for the 1/4-inch line on the jar.) This extra space is important: The unfilled space between the top of a jar and its contents is known as headspace. As filled jars process in the boiling water, the heat forces out the air inside the jar, creating a vacuum seal for the lid. If we fill jars all the way to the tippy top, the contents would bubble over during processing, and your jars will not seal. Conversely, we don’t want to process a jar that’s three-fourths full of jam. Too much headspace translates into too much trapped air, which also gets in the way of a sealed jar.
Use the ridged lines at the top of two-part canning jars as a guide; the first one below the rim is 1/4-inch below the rim; the next one is 1/2 inch and the third line stands at one inch. Headspace guidance varies by recipe.
After filling the jars, use a damp towel to wipe clean the rim of each jar. Place the lids on top and lightly tighten the rings (don’t make them super tight; if the rings are too tight the air in the jars can’t escape, and they won’t seal properly).
Process the jam
Using canning tongs, carefully place the filled jars into the water bath, one at a time. Cover the pot and bring to a rolling boil over high heat. Keep the jars in the water bath for 10 minutes, then turn off the heat and remove the lid. Carefully transfer jars to a kitchen towel or wooden work surface, where they need to completely cool.
Listen for the “ping” of each jar as the lid seals, a good indicator that you have a proper seal. As you prep, you’ll notice that the unused lids have a bump in the center. If there’s a proper seal, that lid becomes flat and concave, resulting in a popping noise that is better known as a “ping.”
You may hear the ping right away or after a few hours. Once the jars have completely cooled, check once more for a proper seal: Lift each jar by its lid, an act which should be uneventful. If you end up with an unsealed jar with a lid that pops up and down, let it cool to room temperature, refrigerate it, and use it within a month.
Store the jam
When the jars are completely cool (after about 12 hours), remove the rings. Removing the rings gives you a complete view of the jar, so you can spot any seepage or discoloration around the rim of the jar and the lid. It makes it easier to stack the jars. Date and label the jars, and store them in a cool, dark place for 12 to 18 months.
For more Food & Wine news, make sure to sign up for our newsletter!
Read the original article on Food & Wine.

