How to Prep Your Nails for Gel Polish, According to Celebrity Manicurists
@melanated.mani / instagram
Whether you want to treat yourself to a self-care moment or save a few dollars, there are so many benefits to doing your own gel manicure. And with endless design inspo on social media and every tool just a click away, it's never been easier to achieve a gel mani at home.
But before you swipe on your favorite gel polish, there are a few things you should do to prep your nails first. Why? Well, not only does proper nail prep prevent the gel from lifting, but it also prevents damage to your nails. Ahead, professional nail artists Jenna Bee and Melissa Samuel break down everything you should know about prepping your nails for a flawless gel polish application.
Meet Our Expert
Jenna Bee is a North Carolina-based salon owner and celebrity nail artist. Her clients have included Coco Jones and Sevyn Streeter.
Melissa Samuel is the founder of Finesse Your Claws. The New York-based nail artist has worked on campaigns for Moschino, Brandon Blackwood, Adidas, and more.
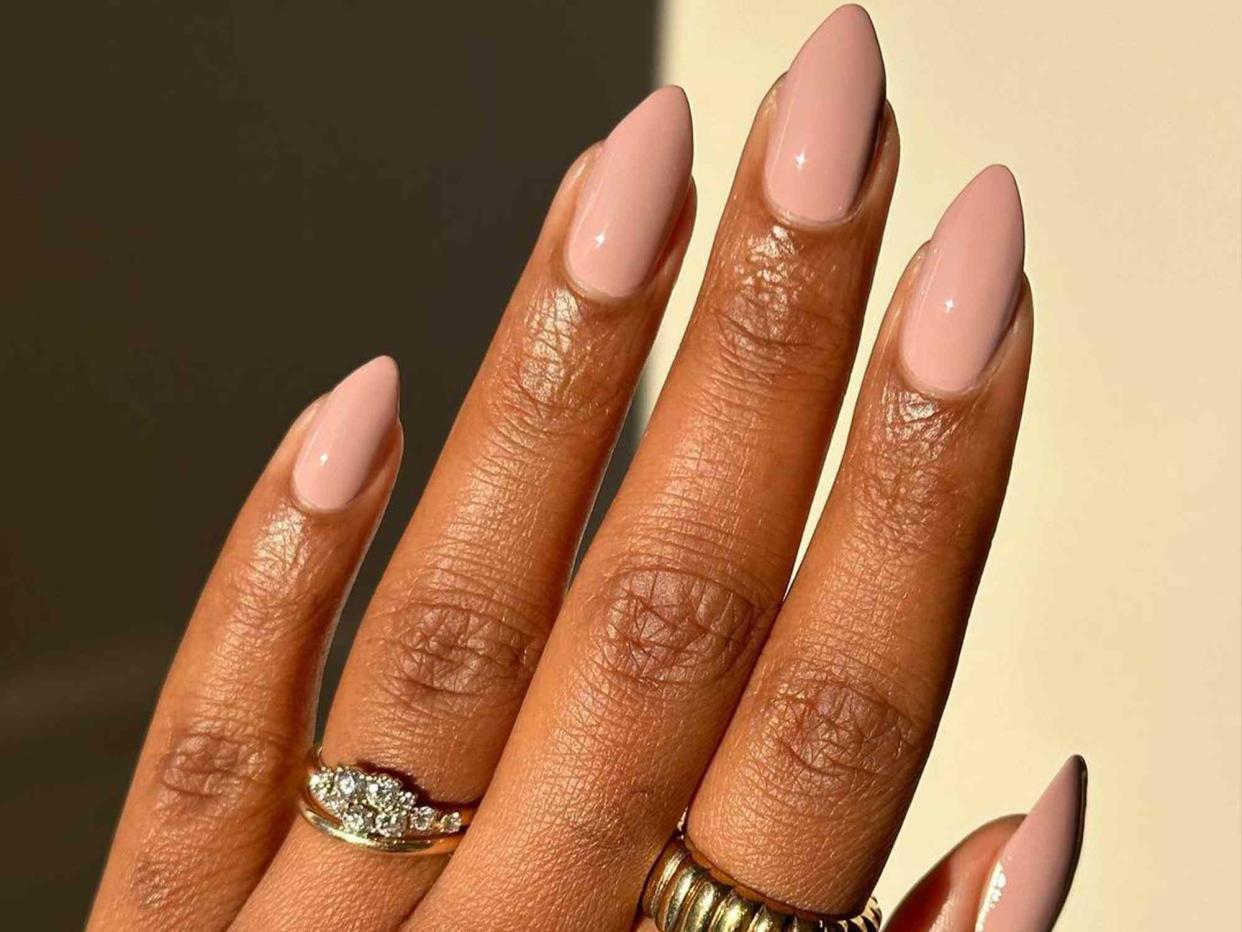
Shape Your Nails
The first step? Shaping your nails. Samuel says that caring for your nails during the shaping process is critical. You can use a nail clipper to trim your nails to the desired length before using a nail file to achieve a shape that suits you (some common shapes include square, round, and almond). "You should file in one direction rather than back and forth," Samuel adds. "This prevents the nail from splitting."
Gently Push Your Cuticles
Painting over your cuticles can lead to your gel polish lifting prematurely. To ensure your gel mani lasts, Bee suggests pushing back your cuticle with a gentle motion. "To do this without causing damage, use a cuticle remover to soften the dead skin and then gently push it back using a cuticle pusher." If you're looking for a cuticle remover, we rounded up the 14 best options here.
Tips
Samuel recommends non-professionals use a wooden stick over a metal pusher, as it is less likely to cause damage.
Gently Remove Dead Skin
"Removing dead skin promotes smooth gel polish application," Bee says. Aside from utilizing a cuticle remover and pusher, you can also use a cuticle nipper to clean up the area. However, using this tool carefully is vital to avoid overcutting the cuticle and causing damage to your skin. We suggest using the Tweezerman Rockhard Cuticle Nipper ($27) or Manicurist Cuticle Clippers ($45).
Buff Your Nails
According to Samuel, the purpose of buffing is to "remove all shine from the nail plate." Giving your nails a "slightly rough" finish helps the gel polish adhere to the nails better. She recommends buffing in one direction to avoid removing multiple layers of the nail and weakening it.
Cleanse Your Nails
Cleansing your nails is crucial, especially if you've applied cuticle remover. This step helps to remove oils and dust (from filing) so your gel application adheres properly and lasts as long as possible. "[You can] use alcohol or nail cleanser [to remove residue]," Bee says. Another option? Use nail prep pads like Le Mini Macaron's Nail Cleanser Pads ($5) and Butter London's Nail Scrubbers ($10).
Apply Adhesion Enhancers
Adhesion enhancers, like dehydrators and primers, can help remove additional oil and shine. Samuel advises sticking with a nail brand's complete system. "For example, if you use Gelish gel color, use their bonder and primer too," she says. "Their products are made to work in conjunction with each other." Bee often uses Kreativ Nail Supply's system for nail cleansers, dehydrators, base coats, and adhesion enhancers.
Apply a Base Coat
Applying a base coat will increase the longevity of your gel manicure and prevent the polish from bleeding onto and staining your natural nails. "You want to protect the natural nail and provide a smooth foundation for color application," Samuel says. For long-lasting results, Bee advises applying your base coat in thin layers.
Up Next: 5 Ways to Strengthen Nails After a Gel Manicure, According to Experts
Read the original article on Byrdie.

