How to Pit Cherries 8 Ways (Even if You Don’t Have a Cherry Pitter)
You’re just seconds away from having pitted and pie-ready fruit. 🍒
There are certain produce prep steps that tend to get a bad rap. Chopping onions, peeling pounds of apples, shucking corn, peeling garlic…and come summer, we have another to add to the list: pitting cherries.
That last one comes with the added stress of splatters; all of us who have tried to master how to pit cherries can likely verify that the splatters can most definitely leave stains. (So before we dive further into this guide for how to pit cherries, we’d be remiss not to mention that this is one task that’s best to tackle while donning an apron, regardless of the technique you try.)
You don't special piece of equipment to pit cherries. Ahead, we spill about how to choose cherries, how to store them, when to wash them to max out their lifespan, and, of course, how to pit cherries any and all the ways.
How to Select Cherries
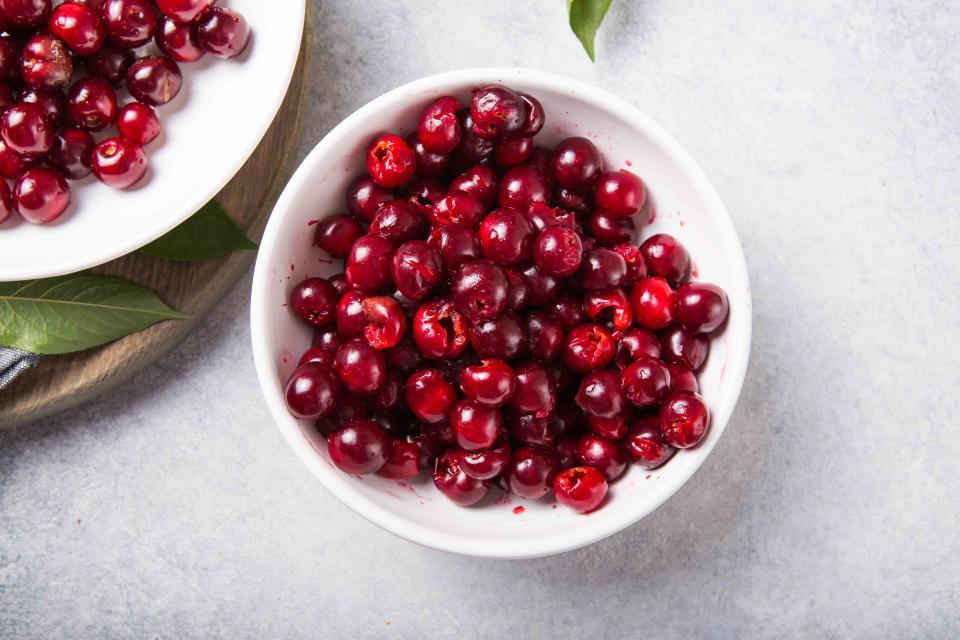
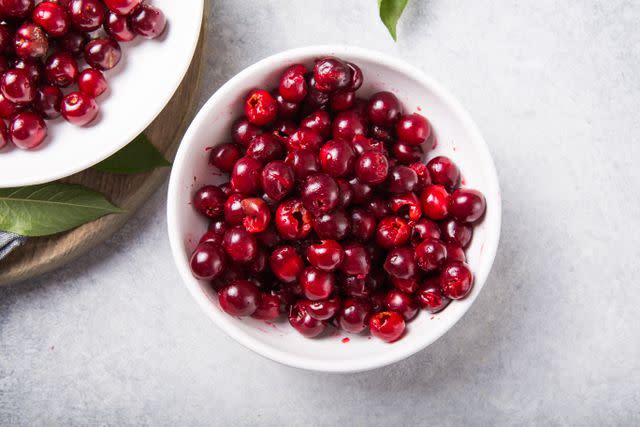
Cherry season is easy to remember; it aligns with the warmest months of late spring and summer. Look for the best cherries between May and August. They’re typically red, although you’ll likely come across cherry varieties that range from a burgundy-like hue to a yellow-red ombre to dark pink.
There are two main categories:
Sour cherries: As the name might suggest, these are fairly tart in flavor. The most common sour cherry varieties include English Morello, Early Richmond, and Montmorency. Tart cherry juice is also widely available, and packs some legit health benefits.
Sweet cherries: Richer in sweetness, and likely to be the cherries you find at most supermarkets. The most common sweet cherry varieties include Bing, Chelan, Lapin, Rainier, and Tulare.
Regardless of the style, “look for cherries that are firm, but give a little bit when gently squeezed,” recommends Sarah Brekke, M.S., Better Homes & Gardens Test Kitchen culinary specialist. “Discard any cherries that are bruised, wrinkled, too soft, or split. If the cherries still have stems, look for bright green ones.”
Plumpness, firmness, and glossiness are all signs of quality, the experts at fruit company Stemilt confirm. Reach for ones that appear darkly-colored for their variety.
How to Store Cherries
Some produce-lovers rush home and wash their ruby beauties so that task is done ahead of time. But just like with grapes and strawberries, your best bet is to wait until just before you pit and enjoy the fruit to wash it. Rinsing cherries before storing can cause them to spoil quicker.
It’s also wise to wait to pit: “Pitted cherries will last for a significantly shorter amount of time due to the exposure to moisture,” Brekke advises.
Pick through the cherries and remove any that are soft, split, or moldy. Then “store cherries dry, ideally unwashed, unpitted, and in a bag or container that allows for some air circulation,” Brekke says. The crisper drawer of your refrigerator, or any icebox location far away from odorous foods, is the best locale.
“For added insurance, in the Test Kitchen, we often transfer cherries to a wide, paper towel-lined container so that the cherries can rest in a single layer.”
Dry, unpitted, and refrigerated cherries should last about 5 to 7 days, Stemilt pros say, but enjoy (or freeze cherries) ASAP for the best flavor experience.
Related: Fruits and Vegetables You Should Never Store Together (Unless You Want Them to Spoil Faster)
The Best Way to Pit Cherries
The best option for how to pit cherries, and definitely the most efficient way, is to employ a cherry pitter.
BHG Test Kitchen staff members who test cherry recipes frequently, are particularly fond of the OXO handheld cherry pitter. To pit up to six cherries at once and trim down on the time standing between you and your favorite cherry recipe, try Brekk’s runner-up pick: the OXO Good Grips Quick Release Multi Cherry Pitter. (It gets second place, by the way, since it takes more effort to clean and costs about 50% more.)
To pit cherries using a cherry pitter, simply place the fruit in the tool's slot(s), then squeeze or press to push the pit(s) out.
If you happen to be anti-unitasking kitchen gadgets, take note that this pitter is great for more than just cherries. Try it to remove the pits from olives, too.
Blaine Moats
How to Pit Cherries Without a Cherry-Pitter
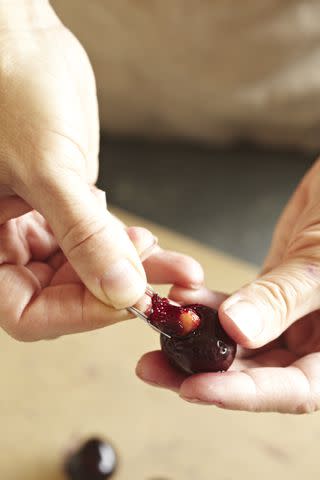
These ideas for how to pit cherries without a cherry pitter “definitely work in a pinch, but are slower and require a bit more fussing to get the pits out,” Brekke says. Plus many of these strategies will leave you with smashed or less-than-perfect flesh, so plan accordingly based on how you want to use the cherries.
Rinse the cherries and remove the stem, then try…
A chopstick. Push a chopstick through the stem-end of the cherry to press the put out the other side.
A drinking straw. Use the same technique described above, just with a beverage straw instead.
A skewer. Insert the pointy end of a wooden or metal skewer into the stem-end, then swivel it around the pit to loosen and remove the pit.
A paper clip. Bend the smaller clip portion at a 90-degree angle from the larger clip. Stick the larger clip side into the stem end of the cherry. Rotate the clip around to dislodge the pit, then pull it out.
A round pastry piping tip. Place the tip on a cutting board with the pointy end up. Center a cherry over the tip, then firmly press down so the tip pushes the pit out.
A knife. Similar to how you might crush a clove of garlic, use the flat side of a chef’s knife to gently flatten a cherry. The pit should slide right out, or at least see it to remove the pit by hand.
Your hands. Speaking of which, you really don’t need to have any extra tools besides the clean multitaskers at the end of your arms. This option for how to pit cherries works best for ripe fruit. Hold a cherry in one hand, then gently squeeze it to press the pit right out.
How to Freeze Cherries
If you don’t use them immediately, store pitted cherries in an airtight, paper towel-lined container in the refrigerator. Pitted cherries usually last about 5 days—but we often snack on all of them far sooner than that! To preserve cherries even longer, put them on ice. To flash freeze cherries, scatter pitted cherries on a baking sheet, making sure that no pieces of fruit touch. Freeze for 2 to 3 hours, or until firm. Remove the frozen cherries from the baking sheet, then transfer them into freezer-safe zip-top bags or food-storage containers with tight-fitting lids. Label the package with the name and date, then store the cherries in the freezer for up to 6 months.

The Bottom Line
Fresh or frozen cherries work beautifully in an array of savory salads and mains, as well as sweet cherry desserts. From cake-inspired Black Forest Smoothies to classic Cherry Cobbler to a thoroughly modern Cherry Caprese Salad, now that you know exactly how to pit cherries, you’ll be well on your way to making any cherry recipe a reality as part of your meal plan.
For more Better Homes & Gardens news, make sure to sign up for our newsletter!
Read the original article on Better Homes & Gardens.

