What Are Pie Crust Shields?
They're the secret to perfectly golden pie crusts.
Caitlin Bensel; Food Stylist: Torie Cox
If you've ever scorched the edges of your pumpkin pie, then you need a pie shield. Even if you haven't heard this term, we guarantee you’ve seen some form of it in action—likely in its worst form: just a few pieces of foil hanging on for dear life from the edge of the pie plate.
If you want a perfectly golden brown pie crust and a fully set center, then you should know what a pie shield is and how to use one.
What Are Pie Crust Shields?
These ring-shaped gadgets are designed to protect your crust (in particular those beautiful crimped edges) from burning while the filling cooks. Since many pies, especially those with wet, custard fillings require blind-baking the crust first, the edges of the pie crust often quickly brown to perfection long before the custard is cooked.
Like any baked good that is browning too fast, you can tent the whole thing with foil, but a pie shield is a better solution. These thin silicone or metal rings are placed around the edges of the pie without covering the center. This allows the center to cook evenly while heat is deflected from the crust.
Before reusable gadgets, the traditional solution for overbrowning pie crusts was to scrunch strips of aluminum foil around the edges of the pie, but if you realize halfway through baking that the crust is getting too dark, it’s not easy to apply the foil to the pie when hot. Aluminum placed only the edges is also prone to falling off, defeating the entire purpose. Pie shields achieve the same results with a lot less hassle.
How To Use a Pie Crust Shield
Simply place the pie shield over the top of the pie either at the beginning of the cooking process and then remove it in the last 10 to 15 minutes of baking, or place the shield over the pie in the last 10 minutes of baking (or sooner if you notice the crust browning even faster).
The nice thing about pie shields is that they can be washed and reused, and many are adjustable to match any-size pie plate you have.
How To Make a Homemade Pie Crust Shield
You don't have to buy a pie shield to protect your pie crusts. In fact, unless you make lots of pies, it's likely not worth it and will just take up precious cabinet space. Instead, make one at home using foil.
Forget the flimsy strips of aluminum around the edges of the pie as a last ditch effort. Instead create a uniform ring that will stay on from a single square of aluminum foil.
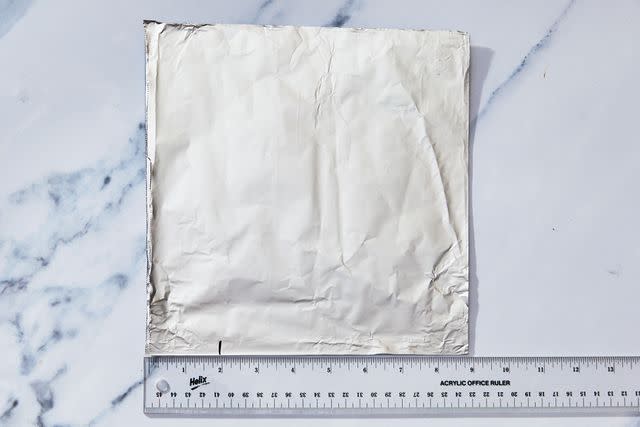
Step 1: Tear off a piece of aluminum, and fold it.
Fold a sheet of aluminum foil a few inches wider than your pie plate in half, and then in half again to create a square.

Caitlin Bensel; Food Stylist: Torie Cox
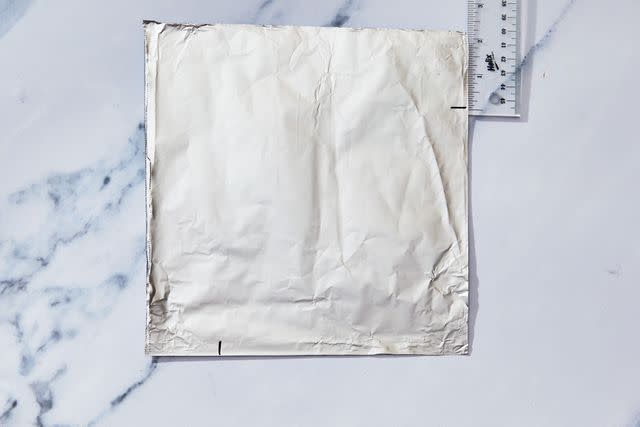
Step 2: Mark lines on the foil.
On the side of the square you creased, make a mark about two inches towards the inside of the square from the far left corner.
Caitlin Bensel; Food Stylist: Torie Cox
Do the same thing on the right side of the square.
Caitlin Bensel; Food Stylist: Torie Cox
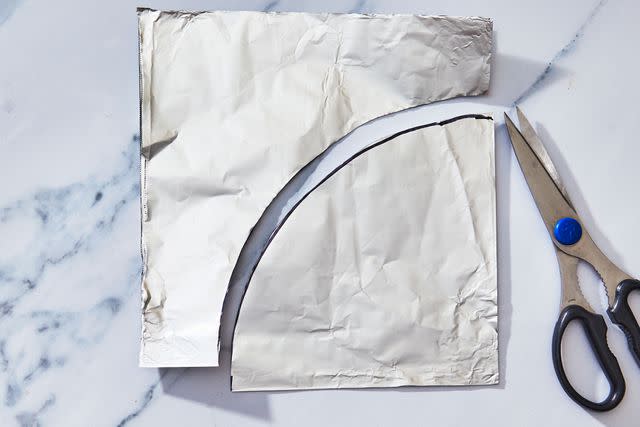
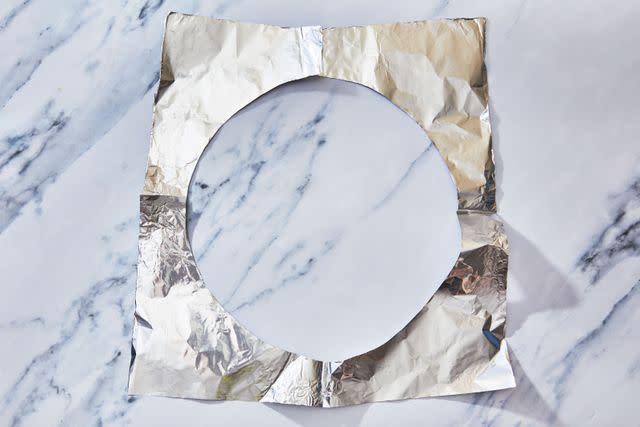
Step 3: Cut from point to point.
Draw a curve between the two points, and cut along that curve.
Caitlin Bensel; Food Stylist: Torie Cox
Discard the center section, and unfold the remaining foil, which should be a ring with decent overhang.
Caitlin Bensel; Food Stylist: Torie Cox
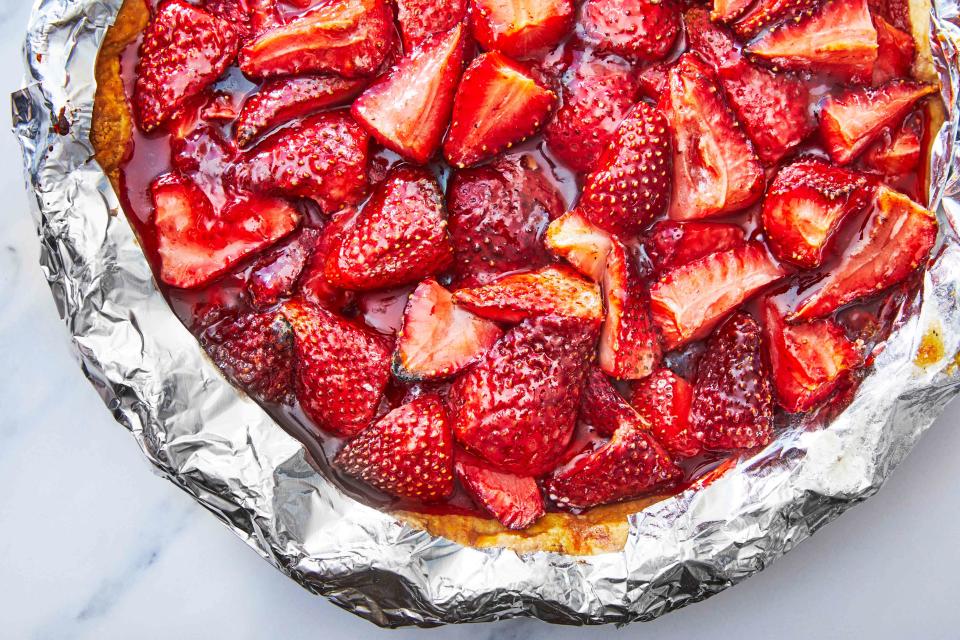
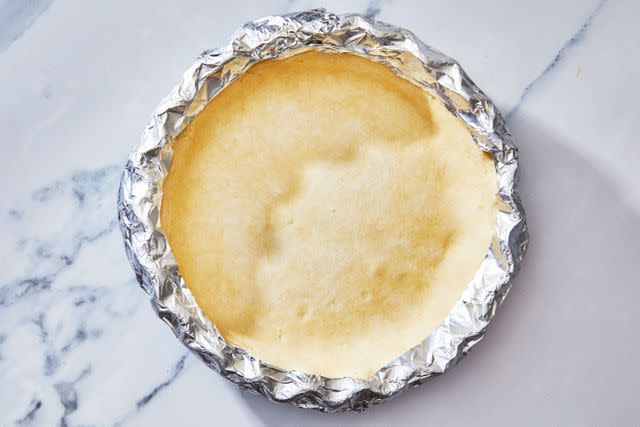
Step 4: Add pie crust shield to pie.
Firmly wrap the foil ring around the edges of the pan before baking. The bake your pie as normal, and remove the foil in the last 10-15 minutes of baking (it's a lot easier to remove than apply when the pie is hot.)
Caitlin Bensel; Food Stylist: Torie Cox
Now you'll never have burnt pie edges again.
For more Southern Living news, make sure to sign up for our newsletter!
Read the original article on Southern Living.

