Party Planners Reveal How to Make the Perfect Grazing Board, Plus the Genius Trick that Keeps Food Cold for Hours
Whether you’re hosting a casual get-together or a special occasion luncheon, there are so many party essentials to juggle, from tabletop décor to appetizers and serveware. But what if there was a way to tackle all these areas at once? Enter the grazing board. These colorful and delicious snack boards are a hostess’ dream! They require no cooking, they’re an easy way to add charm and interest to a tablescape and they allow guests to help themselves. Keep reading to discover more about this delectable trend and how you can easily impress guests with a board of your own!
What exactly is a grazing board?
A riff on the classic charcuterie board, which typically contains a medley of meats and cheeses, the grazing board features both sweet and savory elements. Packed with meats, cold cuts, crackers, cheeses, fruits, chocolates, nuts, veggies, candies and more, grazing boards have limitless possibilities! These bite-sized snacks are typically arranged on a large serving tray or cutting board and then displayed for oohs and ahhs and grab-and-go snacking at parties.
Why bother with a grazing board?
“When you create a grazing board you can appeal to many different tastes at one time,” says party planning pro Jeannine Rose, founder of Sweet Humble Home. “Some people like savory and some like sweet…the benefit of a grazing board is that each of your guests will find something they love. Plus, it offers fresh color and texture to your tablescape.”
Are grazing boards easy to make?
Great news: These boards are super simple to create. “When you're putting together a grazing board, the key is varying heights and colors along with fun patterns that you can incorporate into the board. You can expand on that by adding a champagne flute filled with chocolates; edible flowers; fun-shaped bowls for olives, dips, and spreads; or even adding a few short skewers of chocolate-dipped strawberries. The sky is the limit!” Follow these three guidelines when building your board:
Pick the right board. As a general rule of thumb, start out with a large cutting board or serving board. Then place your largest items on the board first (bowls, ramekins, blocks of cheese or brie wheels). Next, wash and prep the rest of your ingredients (rinse and dry fruit, slice meats, roll cold cuts and cut fruit and veggies)
Display your foods. Next, place on medium-sized foods like meats (hard salami or pepperoni), cold cuts (rolled prosciutto, ham and turkey), fruits and veggies (strawberries, raspberries, carrot sticks, sliced cucumbers, sliced radishes and more), grouping like items together as you go. Tip: When placing food on the board, go all the way to the edges of the board to achieve a look of abundance.
Add the finishing touches. Fill in gaps, ramekins and blank spaces with smaller bits like olives, nuts, seeds, candy and the like. To finish, sprinkle on a handful of edible flowers or green garnishes like fresh rosemary or other garden herbs.
For a simple, step-by-step tutorial on building your own grazing board, check out the video below by Sofia Dedola, founder of The Graze Academy.
4 gorgeous grazing boards to make for your next gathering
Ready to whip up your own grazing board? We rounded up four beautiful boards, below, created by party pros. Keep reading for the quick tips and how-to’s.
Sweet and savory summer picnic board
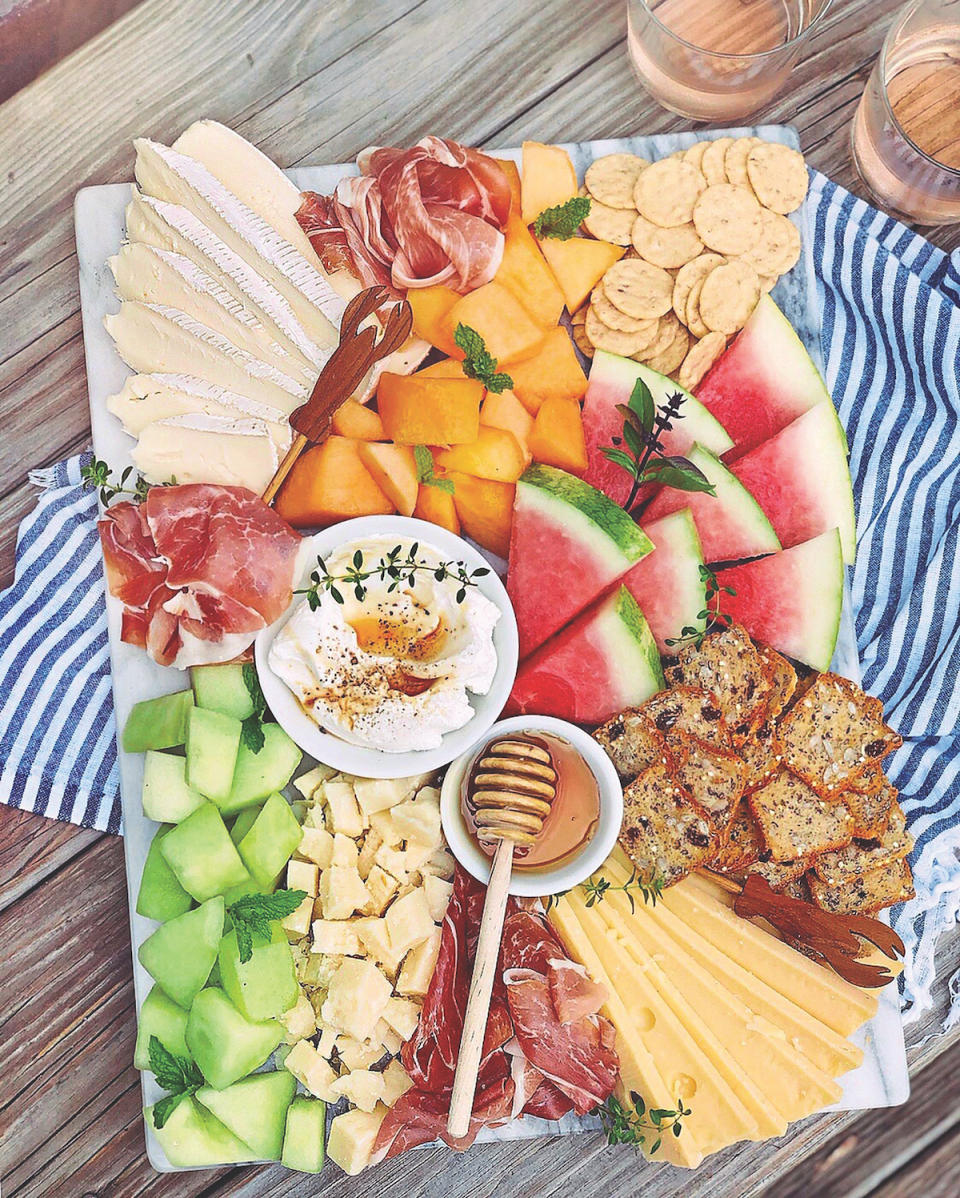
“Assembling grazing boards has become one of my favorite seasonal entertaining ideas,” says Kate Bowler, founder of DomestikatedLife.com. “I love tweaking them to fit different events.” For a summer party, she created this pretty board filled with sweet and savory bites. “Here, the watermelon pairs well with goat cheese and a drizzle of honey, and the sweet honeydew is a delicious balance to the sharp Parmesan. And the colors pop!” Tip: When making your own, Bowler suggests using a marble board (Buy from Target, $20) and placing it in the fridge for an hour before assembling. “Marble keeps food at a cool temperature longer.”
Fresh and colorful ‘rainbow’ board
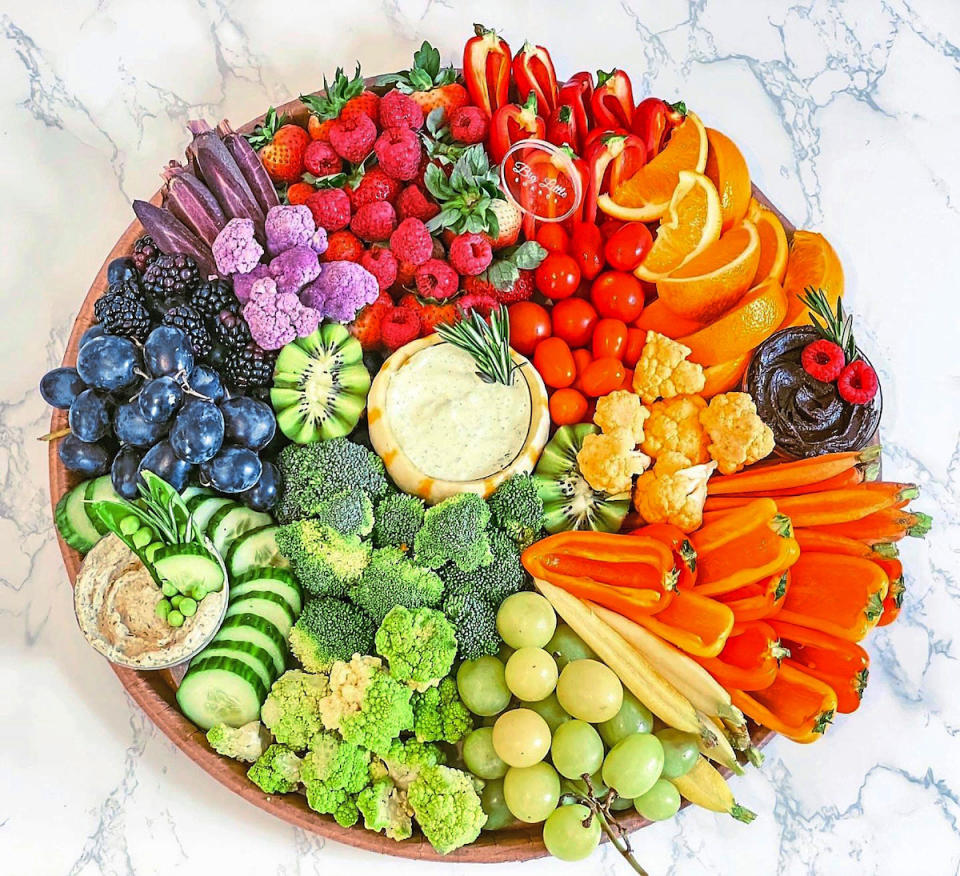
“People tend to eat with their eyes at first — and these grazing boards are truly a work of art,” says food stylist Alisha Wolfson, founder of Big Little Boards in Chatham, New Jersey. “When placed on a tabletop, they bring so much joy, and they work double duty as bright centerpieces. There’s no need to spend money on a pricey bouquet!” To get the look of her “rainbow” board, start by gathering a mix of colorful fruit and veggies. Wash and cut food, then place items around the board by color, layering as you go. Nestle a ramekin filled with yogurt or dip in the center.
Rustic wine and cheese board
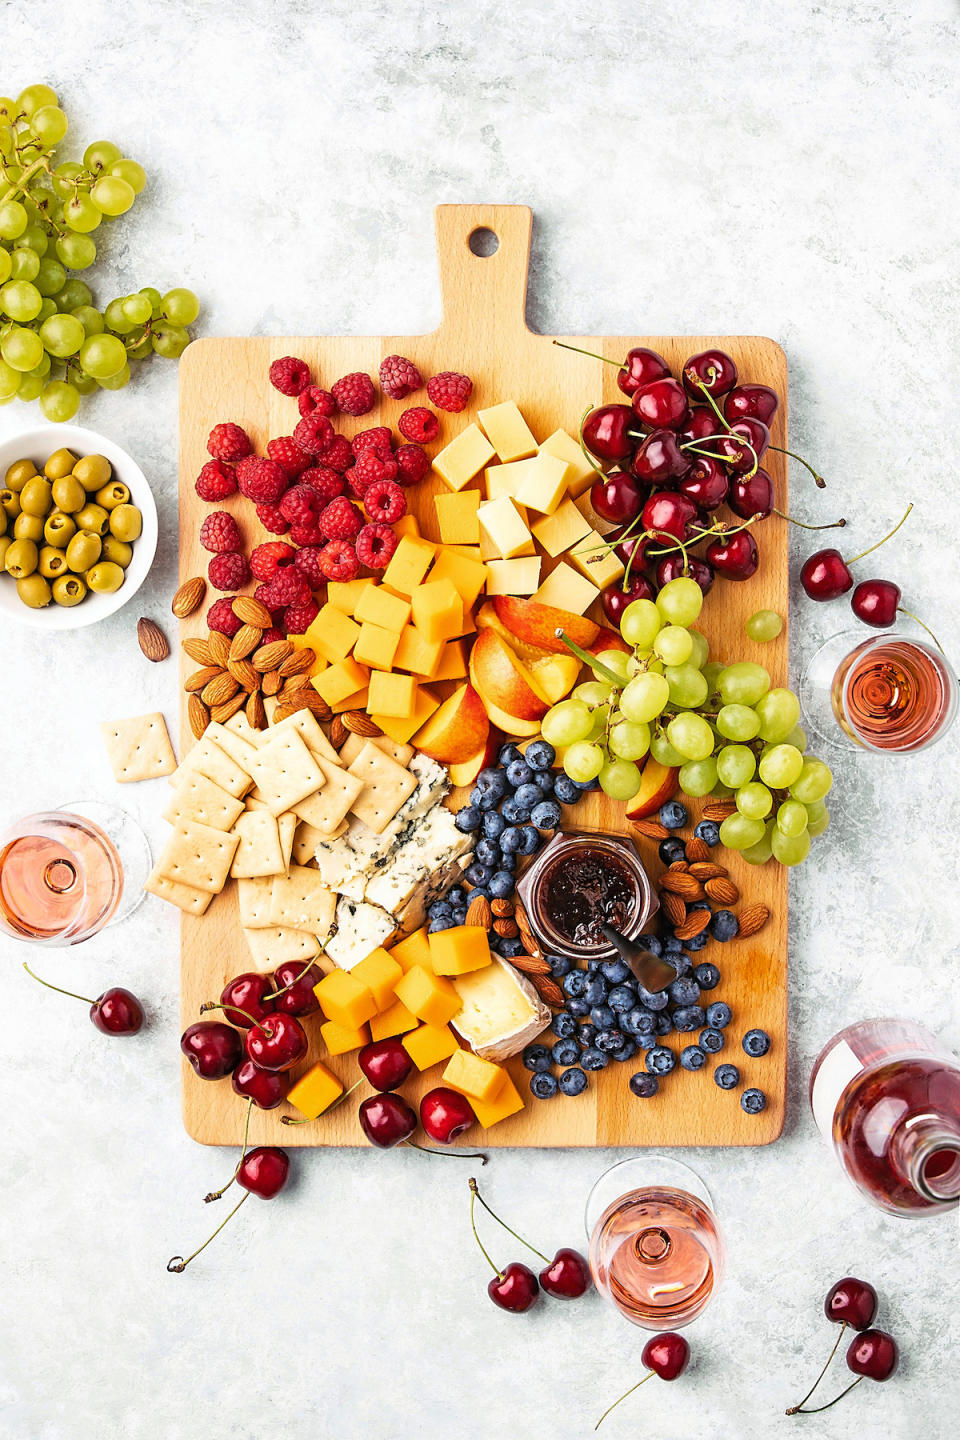
“My favorite thing is to gather with loved ones around the table, and when we do, there is always some sort of grazing board!” says Rose. “When guests arrive, they’re greeted by something delicious to enjoy — it’s a special touch.” Here, a rustic wooden cutting board showcases a variety of hard and soft cheeses (like blue cheese, Roquefort, Brie, cheddar and Manchego) and fresh fruit (like cherries, grapes, apples and raspberries). To do: Group each cheese together in a relaxed fashion on the board, then add handfuls of fruit, nuts, crackers and a jar of jam. Serve along with a chilled white wine or rosé.
So-sweet dessert board
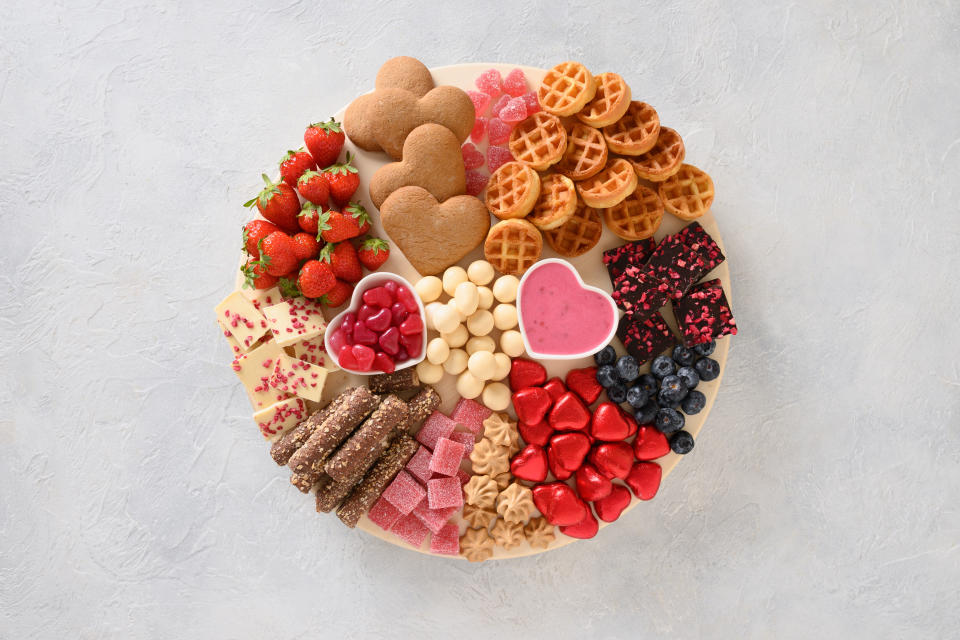
“Grazing boards are a surprisingly easy yet impressive way to charm loved ones at a party,” notes Rose. “And brunch boards are perfect for a girls’ night in — they’re hearty enough to serve a small group and are pretty enough to act as a centerpiece!” For extra visual interest, she suggests varying heights and shapes along with simple patterns on your board. “Here, it’s done with white heart-shaped bowls and a repeating triangle pattern.” To do: Choose a mix of bite-sized brunch bites like mini waffles (or pancakes), fresh berries, cookies, scones, chocolates and the like. Place heart-shaped bowls in the center of a round tray and fill with candies or fruit dips. Then fill the board, in triangular sections, with the brunch bites. Display the board on a tabletop.
A version of this article originally appeared in our print magazine, Woman's World.

