How to Paint a Radiator
Radiators are prone to rust and produce high levels of heat that can damage regular paint. Learn the best method for safely painting a radiator.
Kim Cornelison
Radiators are common home heating devices that rely on a combination of radiating heat and convection to warm up the home. Cold air in a room will tend to settle near the floor. When hot water or steam is pumped through the radiator, it radiates heat into the surrounding air. As the cold air is heated, it rises and recirculates back into the room and cold air moves in from below.
While this convection cycle can quickly heat your home on a chilly day, radiators (especially older models) aren't always attractive. However, you can paint a radiator to help the appliance blend into modern home decor.
However, it's important to use a paint and primer that is resistant to high temperatures when painting a radiator. It's also a good idea to look for rust-resistant products to help protect the radiator against rust buildup and pitting. Use this guide to learn how to safely paint a radiator and update the appearance of your home.
Choose the Right Radiator Paint
With any painting project, consider the object you're painting as well as its location and function. This is especially true for radiators because these devices are designed to produce heat. Steam radiators can reach up to 229 degrees Fahrenheit, while hot-water radiators can reach up to 180 degrees, so it's important to find paint and primer that are able to handle high temperatures. Additionally, it's recommended to find paint and primer that are resistant to rusting.
You can find products that are specifically marketed as radiator paint, though a specialty product isn't strictly necessary. Simply opt for paint and primer that is rust-resistant, designed for interior use on metal, and has a heat resistance that exceeds 200 degrees Fahrenheit.
Accessing the Radiator
In most cases, a radiator can be difficult to access because it is installed very close to the floor and the wall. If you have the time, skills, and experience, you can remove the radiator from its position in order to reach the bottom, sides, and back of the appliance. However, the back and bottom of the appliance are mostly hidden, so if you aren't concerned with achieving full, even paint coverage, you can paint the radiator in place.
Without removing the radiator, you can still paint the front, sides, and top with a regular paintbrush, but if you want to paint the bottom and back of the radiator, you'll need a radiator paintbrush. This specialty tool has a long, angled handle that allows you to access the narrow space behind the radiator and the gaps between the fins. Alternatively, you can spray paint the radiator to get better coverage in hard-to-reach areas. Be sure to set up drop cloths to protect the wall, floor, and surrounding area, and wear proper protection.
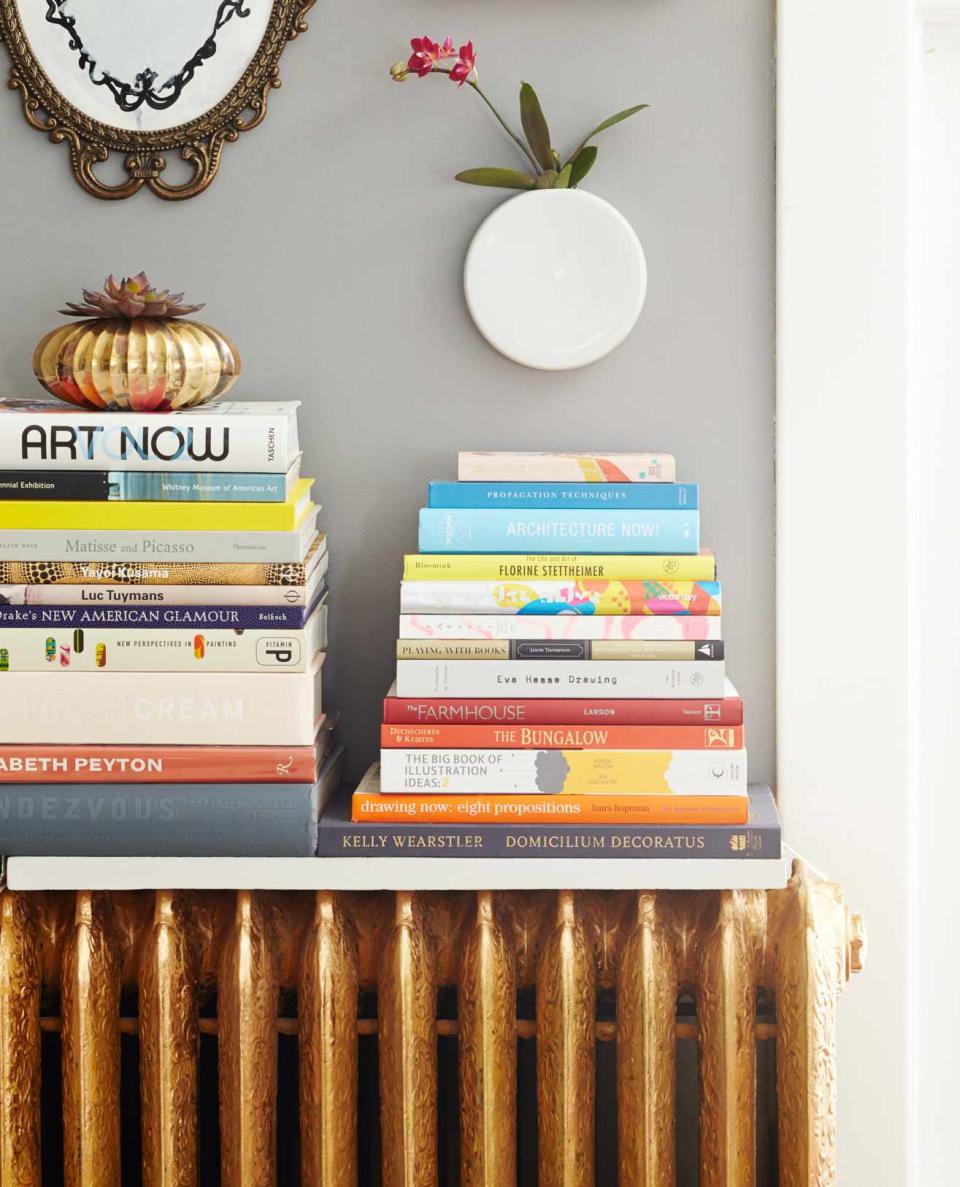
:
David A. Land
How to Safely Paint a Radiator
A new coat of paint can update the appearance of a radiator and improve the look of the room. Learn how to safely paint a radiator with the proper steps.
What You Need
Painters tape
Drop cloth
Fan
Sandpaper
Paint scraper
Cloth
Bucket
Heat-resistant primer
Heat-resistant paint
Paintbrush
Step 1: Turn Off the Radiator
Before starting to sand, clean, prime, or paint, it's necessary to turn off the control valve located near the base of the radiator. This prevents hot air or steam from entering the radiator while you work. Allow the radiator enough time to cool down, then wrap the control valve with painters tape to protect it. Similarly, it's recommended to tape off the air bleed valve at the top of hot-water radiators.
If you have a two-pipe steam radiator, tape the steam vent near the top of the unit. For those with a one-pipe steam radiator, the air vent on the side of the unit should be taped off. Protecting the control valve and vents prevents paint from blocking the vents or impeding the function of the control valve by drying around the valve stem.
Step 2: Prepare the Area
After taping off the vents and control valve, use drop cloths on the floor and the wall behind the radiator to protect the surrounding area from paint. If you can't get the drop cloths to stay on the wall, consider using scrap pieces of cardboard that are thin enough to fit behind the radiator.
Before you start working, open a window and set up a fan to improve the ventilation throughout the room. It's also recommended to wear gloves, long pants, a long-sleeve shirt, closed-toe shoes, safety goggles, and a mask.
Step 3: Remove Rust and Old Paint
Over time, it can become difficult to determine if a radiator was once painted or if it has been left bare. Use a screwdriver to scrape the surface of the radiator in an inconspicuous area to confirm if the radiator has been previously painted. If it has, you should see flaking when you scrape the screwdriver over the surface.
Inspect the radiator to identify any noticeable pitting from heavy rust buildup. Coarse-grit sandpaper can be used to sand any spots with heavy rust and pitting, then you can move to a fine-grit sandpaper to remove paint and light rust layers from the rest of the radiator.
Some old radiators in homes that were built before 1978 may be painted with lead-based paint. If you suspect this is the case, it's recommended to use a lead paint test kit to confirm before proceeding. Contact a professional refinisher to safely remove lead paint if the test is positive. If the test is negative, you can proceed with sanding the radiator to smooth the surface of the unit and remove any old paint or rust.
Step 4: Clean the Radiator
Once the radiator is rust-free and paint-free, use a damp cloth to wipe down the surface of the unit. Partially fill a bucket with warm water and use an old rag or towel to clean the radiator. After ensuring that the surface is clean, give the radiator about 10 to 15 minutes to fully dry.
Step 5: Prime the Radiator
Regardless of whether you're using a brush or a spray, it's important to prime the surface of the radiator before painting. Select an appropriate primer that is intended for use on interior metal surfaces. Look for a product that is rust-resistant and resistant to temperatures exceeding 200 degrees Fahrenheit. These factors help ensure that the primer adheres to the metal surface, protects against rust, and can withstand the heat produced by the radiator.
Use your paintbrush to apply an even coat of primer to the surface of the radiator. When you are finished applying primer to the unit, allow the primer enough time to properly dry. On average, you will need to wait about an hour, though this timeline could differ, depending on the product. Make sure to read and follow the manufacturer's directions for use.
Step 6: Paint the Radiator
The final step of the project is to use a paintbrush or a spray paint can to properly apply the paint to the radiator. Similar to the primer, you'll need to choose the right paint for this project. Use a paint product specifically designed for use on interior metal surfaces. The paint should also be rust-resistant and able to withstand temperatures that exceed 200 degrees Fahrenheit.
If you're using a paintbrush to apply the paint, take your time to ensure that the paint is applied evenly across the entire surface of the radiator. Paint in the same direction as any grooves and try to avoid overloading the paintbrush to prevent messy drips. If you're using a spray paint product or a paint sprayer, ensure that the wall and the surrounding area are properly protected from the aerosolized paint. Control the direction of the spray to apply an even coat of paint to the radiator.
Wait the indicated time according to the manufacturer's directions, then apply a second coat of paint to ensure that the radiator is fully covered. Generally, interior paint takes about 24 to 48 hours to fully cure but should be dry to the touch within about one to two hours. Before turning the radiator back on, allow the paint to dry for about two hours or as recommended by the manufacturer. When you are confident that the paint is dry, remove the painter's tape from the control valve and the vents, then turn the radiator on using the control valve near the base of the unit.
:

