How to paint an orchid with oil paints
Because I work mainly as a botanical artist, the subjects for my paintings can be found just by leaving the house and going for a walk in a garden or park. Nature is such an amazing source of inspiration. I think that focusing on a flower and drawing attention to it is a way of celebrating the uniqueness of nature, and, indeed, the planet!
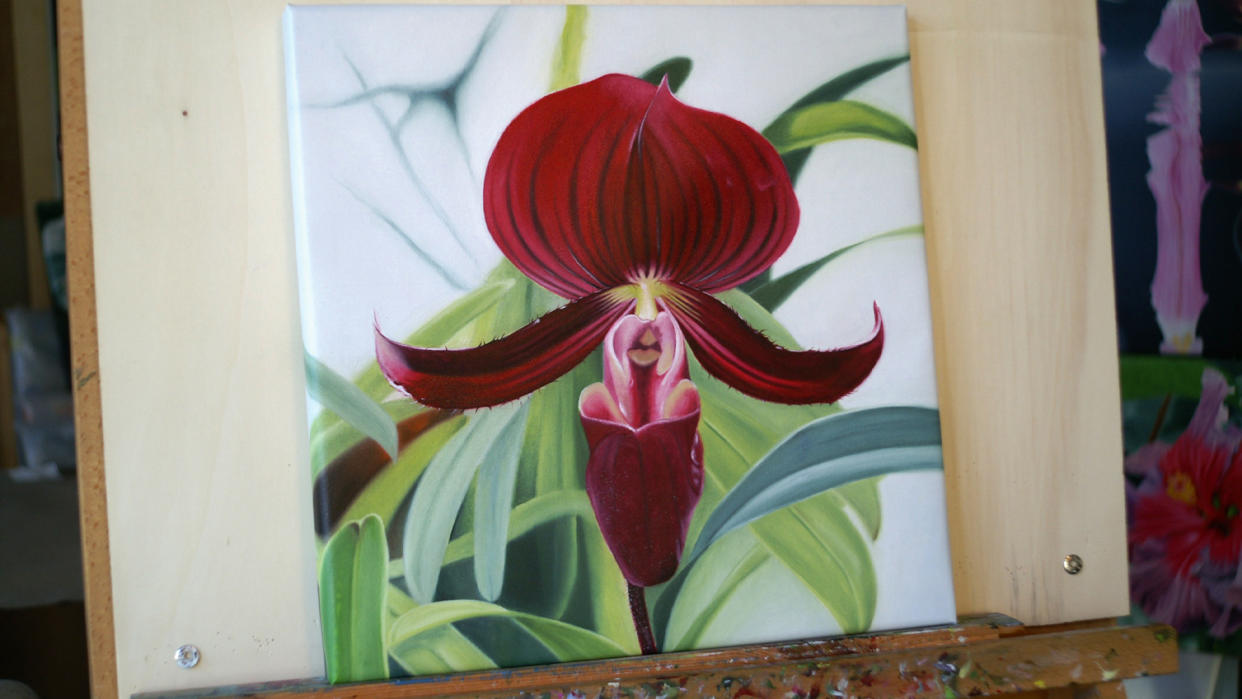
For this workshop, I’ve chosen to paint one of my favourite orchids – a Paphiopedilum (slipper orchid) hybrid – which has just bloomed in my greenhouse. I’ll show you how easy it is to get hooked on the intriguing geometry and vibrant colours of orchids and how to capture their amazing details. Over the years, I’ve developed a fairly direct painting technique. And while it still takes more than a single sitting to paint a flower, I try and get all the effects in before the paint dries.
(If you're new to oils or need to stock up, see our guide to the best oil paints and oil paintbrushes).
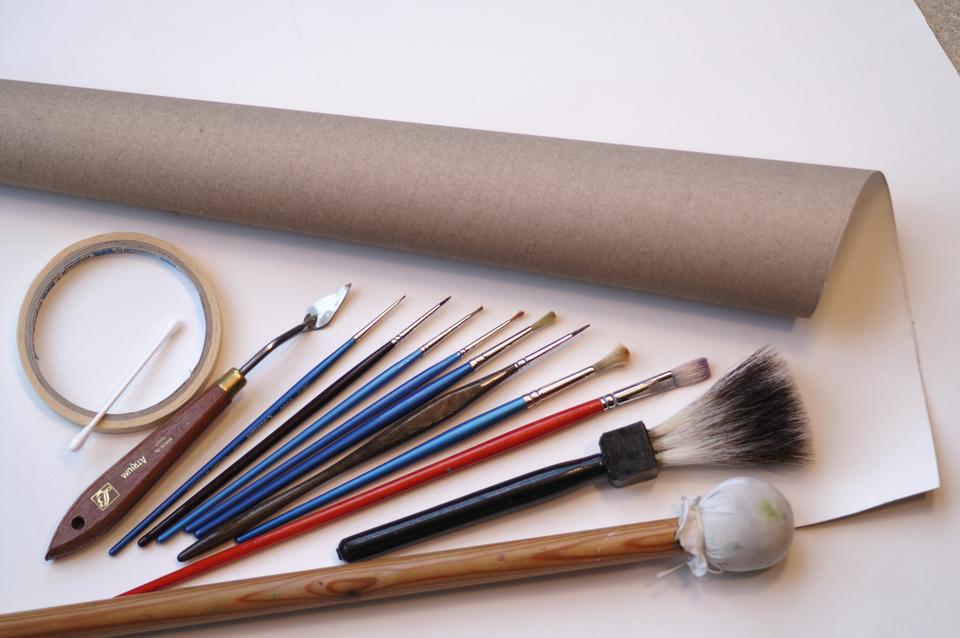
What you'll need...
I paint on universal primed cotton (medium/smooth grain, approx 18x18 inches) or alternatively stretched canvas or canvas board. I use synthetic round soft brushes (from 000 to 6), a flat bristle brush, a badger hair brush (a round extra soft brush no. 6 or 8 can be used instead). Other kit includes charcoal, a painting knife, mahl stick, wooden palette, paper towels, cotton buds, white spirit and paper tape.
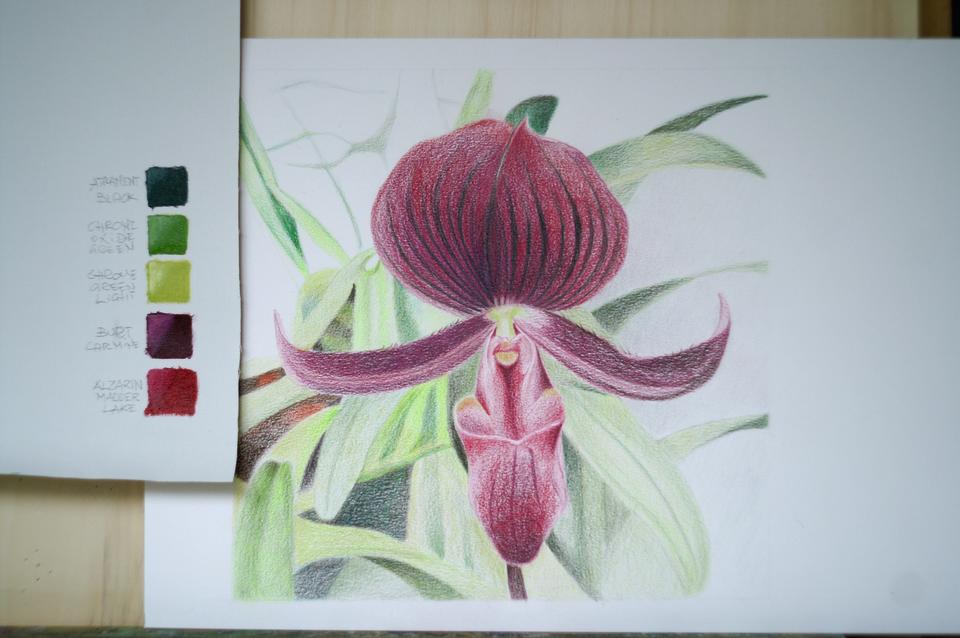
01. Make a reference sketch
(Image: © Enzo Forgione)
A quick sketch in coloured pencil is a good way to build up a balanced composition, study possible difficulties and try to solve them. I always take a photo to keep as a reference for checking details and shade of colours. It’s particularly useful to have your image close to hand on an iPad.
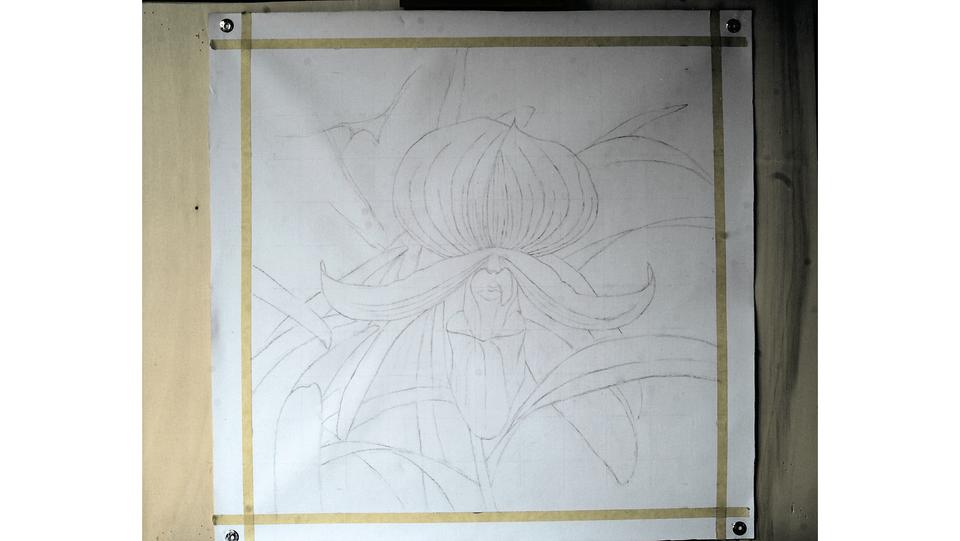
02. Create a rough charcoal sketch
(Image: © Enzo Forgione)
I square off the area I want my painting to cover (14x14 inches) using some paper tape. This is useful to do when using thick canvases, which you might not want to frame. You can tape off the four edges of the canvas and paint right up to them. I can now sketch the orchid on the canvas using charcoal.
03. Arrange your palette
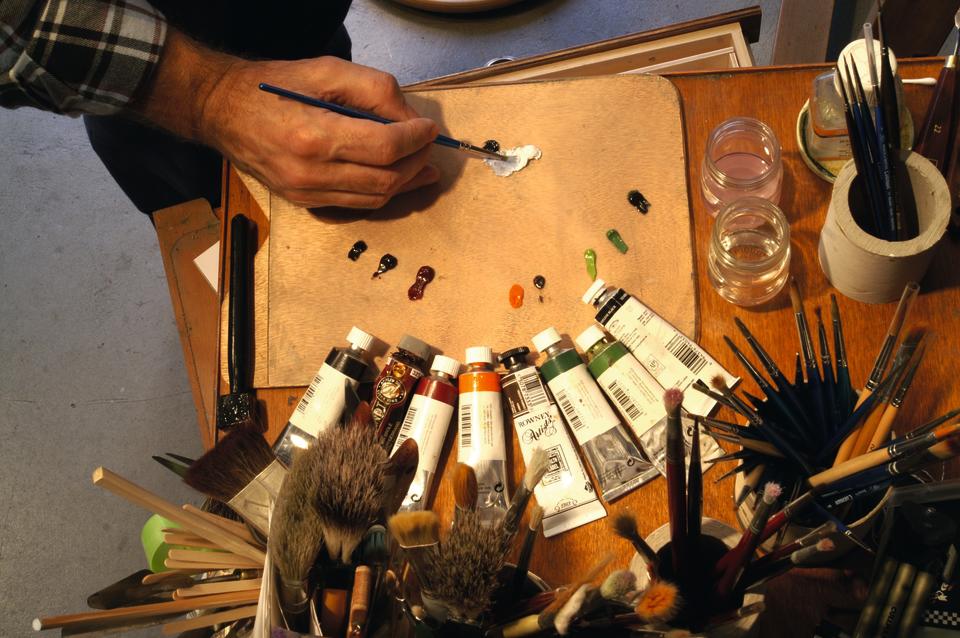
(Image: © Enzo Forgione)
I place my colours in order of use. First is the background: light and deep tones of Chrome Green, Sap Green, Atrament (a greenish black), Raw Umber and orange. My orchid colours are: Alizarin Crimson (or Crimson Lake), and Burnt Carmine to blend with Lamp Black. I keep the white separate to mix with Payne’s Grey. I generally dilute my colours with poppy oil, which enhances their brightness and slows down the drying.
04. Begin to build up the leaves

(Image: © Enzo Forgione)
The leaves give structure to the composition with an intricate geometry. I keep this part smooth with no sharp outlines, as if it were out of focus. After I blend the outlines, I soften everything with the badger hair brush.
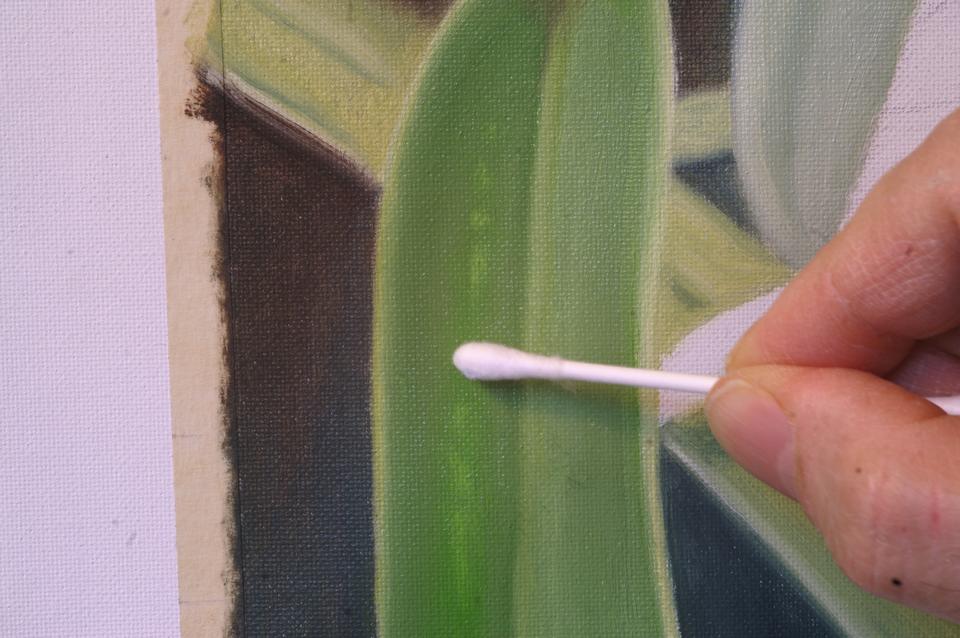
05. Use tools to create natural effects
(Image: © Enzo Forgione)
Cotton buds are handy for getting stripes or dots that, after being smoothed with the badger hair brush, give a very natural result. I also use cotton buds to remove any excess colour and to correct mistakes.
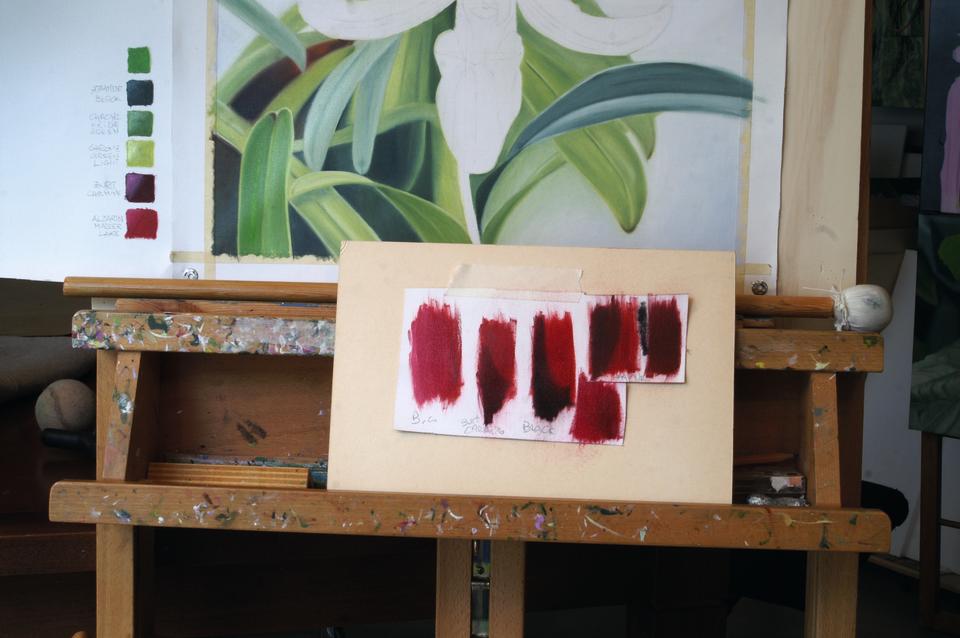
06. Make paint samples
(Image: © Enzo Forgione )
Oil can be divided into three groups: transparent, semi-opaque and opaque. For my orchid, I chose to use a red Crimson Lake (transparent) because I need its transparency in certain areas. I also need it for the shadowed areas, so I will blend and fade it with black. This means I need to make samples so I can ensure it doesn’t separate while drying.
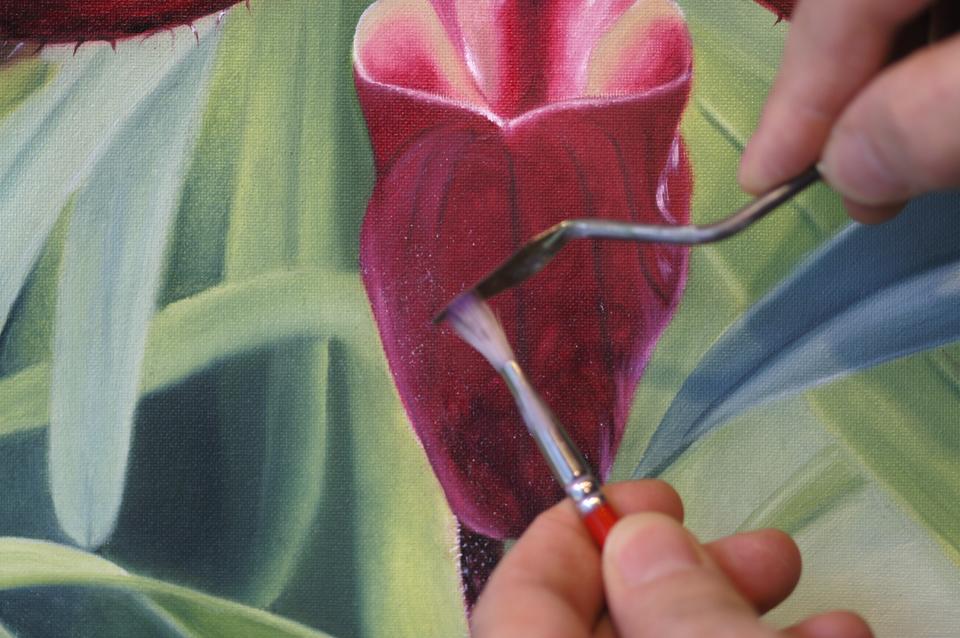
07. Begin painting the paphiopedilum

(Image: © Enzo Forgione)
It’s now time to create the flower. I start with the upper petal, which is a bit challenging, as I need to suggest a slightly convex shape. The dark lines help define this. I mark the lines in black first, then fill the spaces in between with red, blending patiently and carefully. Finally, I use the badger hair brush to get a smooth result. With a cotton bud, I remove some colour from the lower part, where it will eventually meet the bright green stem, which should blend into the red nicely.
08. Make details to depict the labellum
(Image: © Enzo Forgione )
The labellum is the central petal at the base of an orchid and has a different shape. In order to suggest all the complexity of this modified petal, I add bright spots of light with Titanium White and add dark areas to give depth. The lower part is rounder, so, again, lights and darks will help. Its surface is uneven and slightly hairy, so I use a cotton bud to remove colour and create texture, then soften with the badger hair brush. Next, using a flat bristle brush dipped in diluted Zinc White, I gently flick (with the help of a palette knife), to create ‘hairs’.
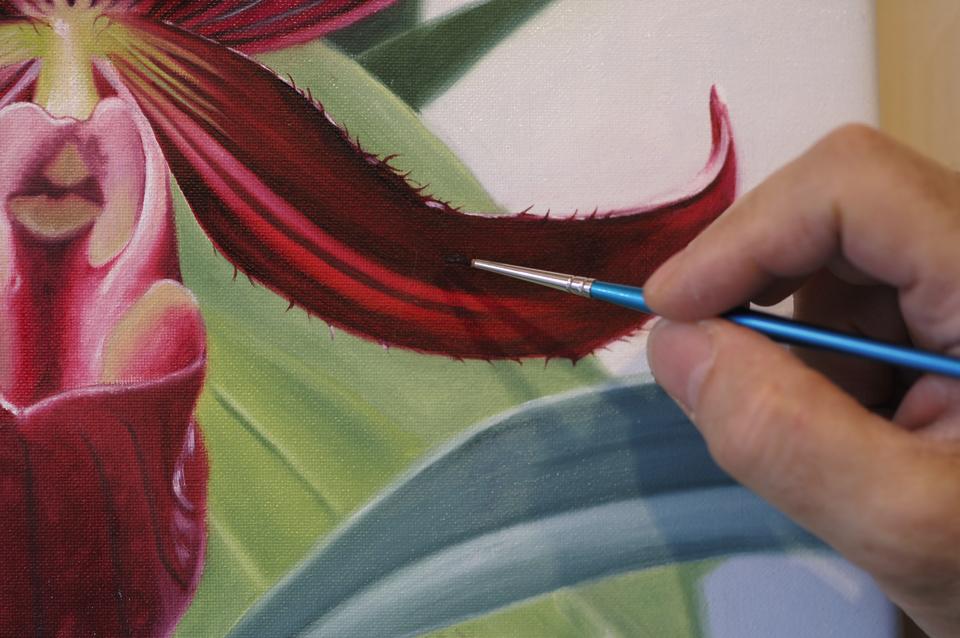
09. Add the petals
(Image: © Enzo Forgione)
Lateral petals complete the flower. The lower parts are stripy, so to get all the transparency of the red, I use the cotton bud to remove some paint. I do the same for the upper parts which, despite being pretty dark, are also slightly stripy and uneven.
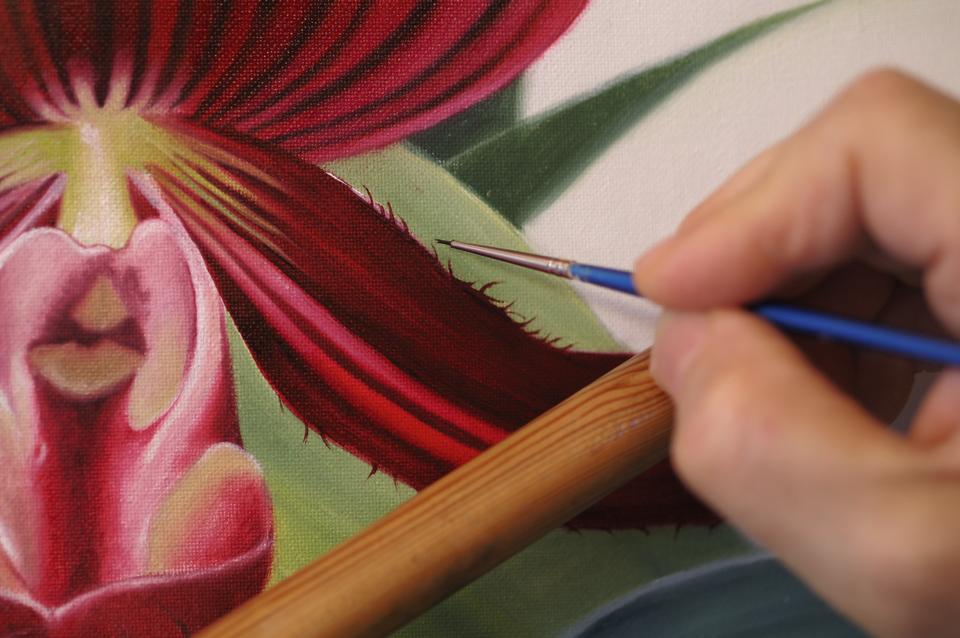
10. Make the final touches
(Image: © Enzo Forgione)
I love this last part because it’s a bit like magic, where everything comes together and makes sense. With a round brush (size 000), I paint the tiny hairs on the upper part of lateral petals and also the light strokes that hit the upper outlines.
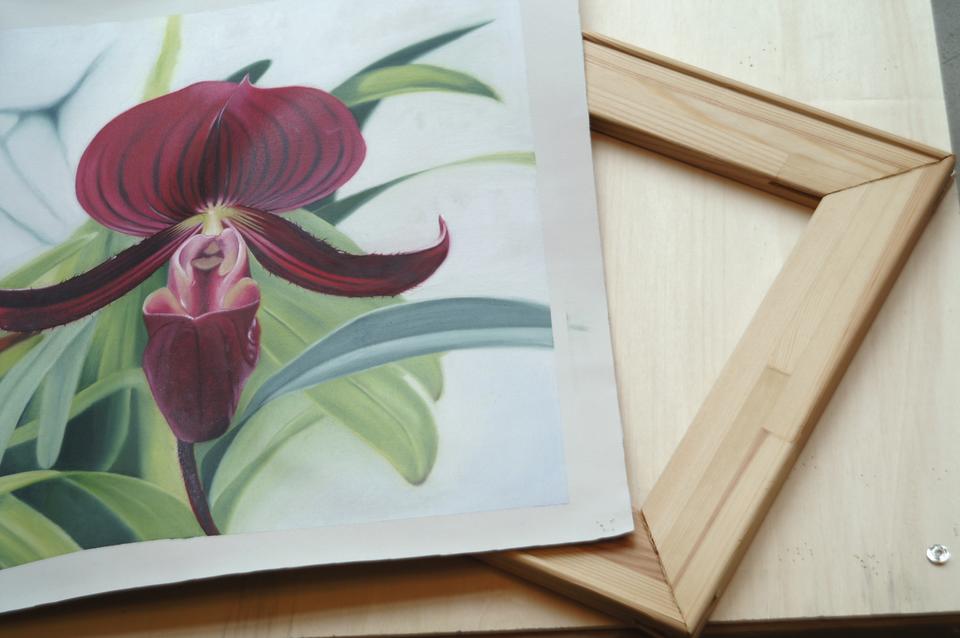
11. Stretch the canvas
(Image: © Enzo Forgione)
As mentioned, I use cotton canvas pinned on a board. Now, after removing the tape, I stretch the canvas onto a stretcher, folding it carefully at the corners. I then staple it firmly to the stretcher.
11. Make the final touches
(Image: © Enzo Forgione)
I love this last part because it’s a bit like magic, where everything comes together and makes sense. With a round brush (size 000), I paint the tiny hairs on the upper part of the lateral petals and also the light strokes that hit the upper outlines.
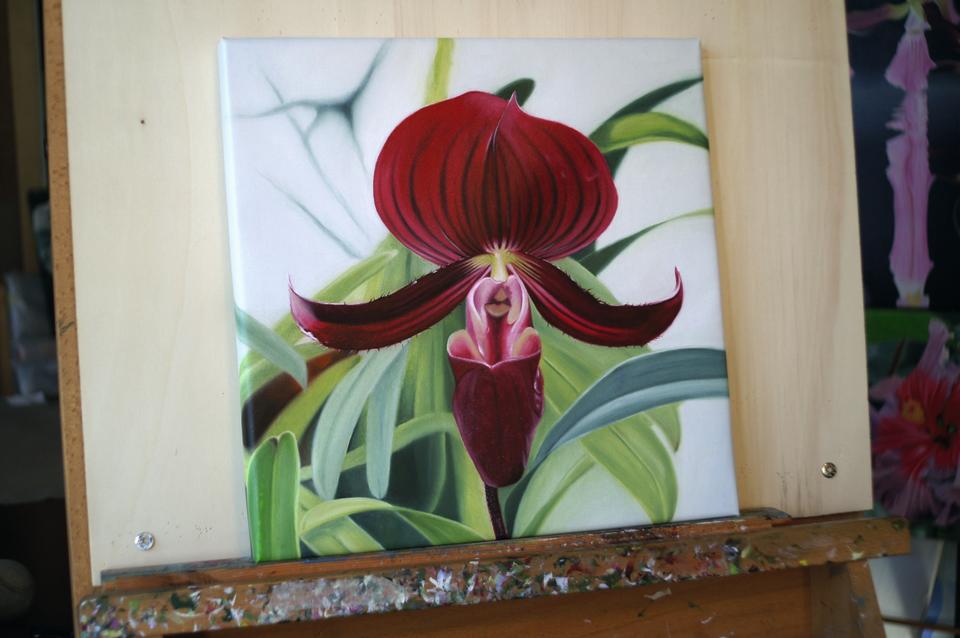
Finally, behold your creation. There is now a Paphiopedilum in bloom, vibrant and detailed, captured on the canvas! The final size is 14x14 inches, with all four sides nicely painted so there is no need for a frame.
This article originally appeared in Paint & Draw: Still Life bookazine. Buy the bookazine from Magazines Direct.

