How to give yourself the ultimate at-home manicure, according to an expert
There’s a reason why people spend anywhere from $15 to $50 to get their nails painted every week: It’s hard to do it yourself. From globby paint that somehow ends up on the edges of your nail beds to rogue hangnails, cuticles, and of course those pesky chips that show up once it’s all over (the worst!), there’s a certain level of skill involved in getting the perfect DIY manicure.
But it’s a skill worth mastering, we assure you. Not only for the cost benefits, since those weekly salon trips get pricey, but because it’s a convenient way to look put-together from the comfort of your own home (or desk, or wherever). And since many of us are spending more time inside to limit the spread of coronavirus (COVID-19), we may not have the luxury of heading to our local salons right now. Not to mention, taking the time to focus on painting your nails is a great, easy way to practice a little self-care. And hey, if Harry Styles can do it, so can you.
If you’re thinking to yourself, “But ugh, I suck at painting my nails,” not to worry. We tapped Sarah Gibson Tuttle, founder and CEO of Olive & June to give her top tips for how to paint your nails like a pro.
“One of the biggest mistakes people make when painting their own nails is going too fast,” she tells us. “While you’re learning to paint your own nails, it helps to go slow at first. After you’ve mastered the technique, you’ll be surprised how quickly you can go. But remember, no skimping on dry time. You’ll still need to allow two to three minutes between coats for the polish to dry.”
So slow down, relax, and settle in. It’s time to give yourself a fabulous at-home manicure.
A step-by-step guide for how to paint your nails, according to a pro:
1Shape, clip, and file
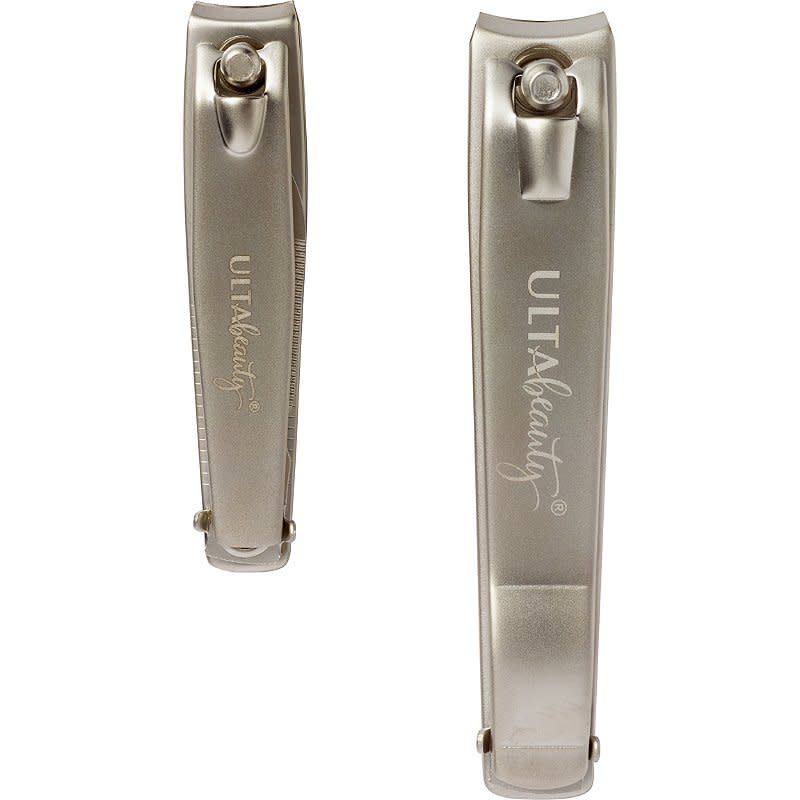
You want to start of any good manicure by shaping your nails. Gibson explains that a good rule of thumb is the 90/10 rule, meaning that 90% of the nail’s shape should come from the nail clipper, and 10% should come from filing. She says you should start by using flat-edge nail clippers to cut each nail to the desired shape (be it round, square, or some combo of the two) and then gently smooth out the edges with the file.
Pro tip: You don’t *have* to remove your existing nail polish for this step. Gibson says having polish on during this step will help you to visualize the final shape without being distracted by the natural white of nails.
2Prep your nails
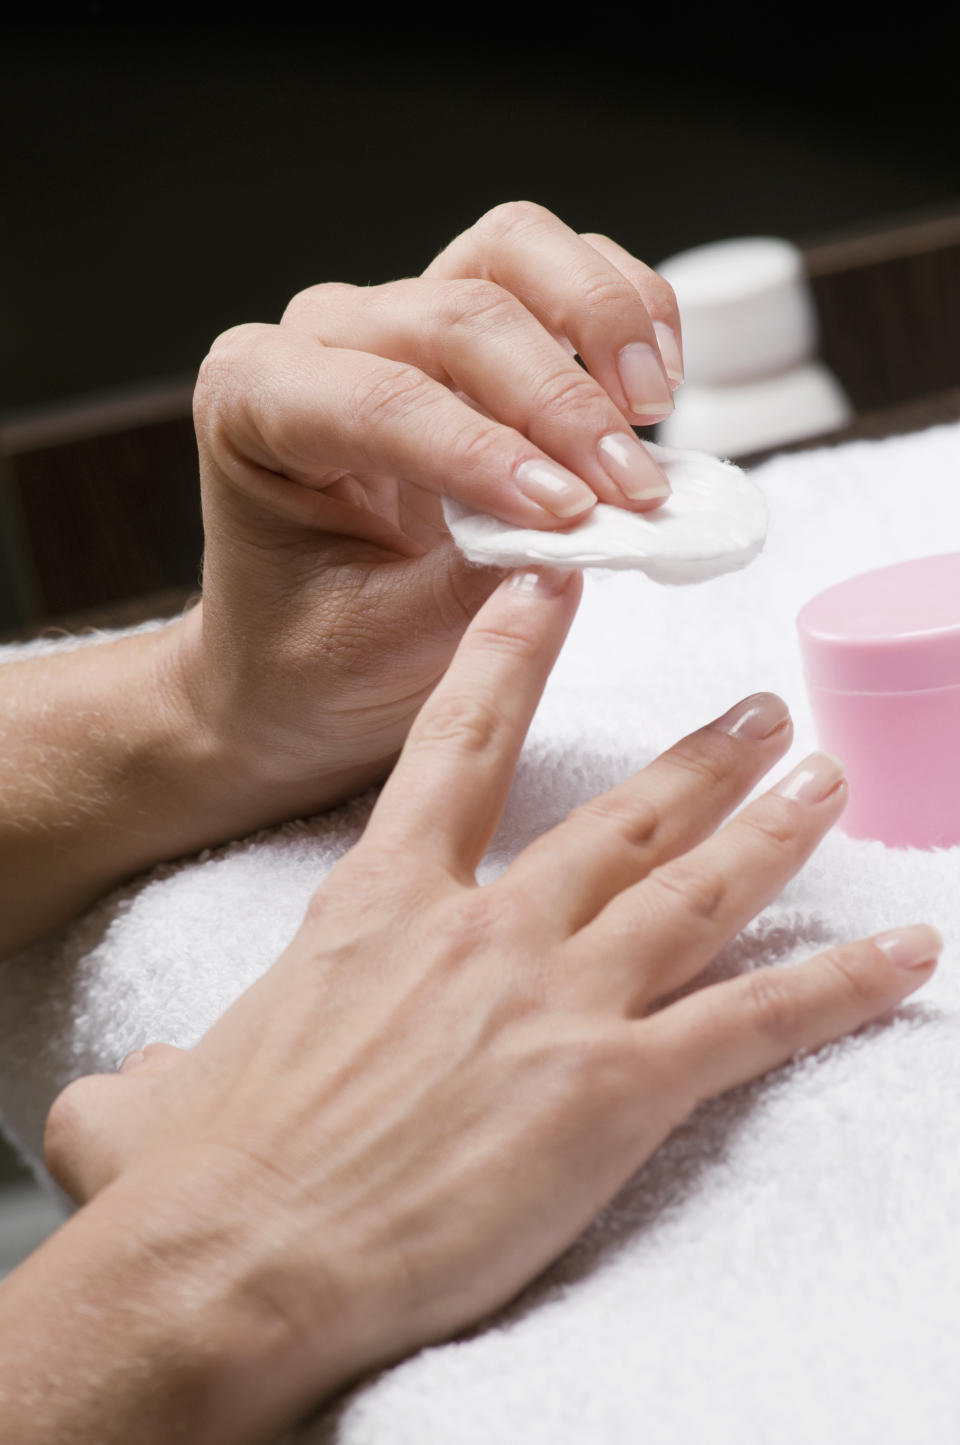
Okay, now comes the nail polish removal. If you have existing color on your nails, dip each one into a nail polish remover pot (Olive & June makes one that is acetone-free) or gently rub off polish with a cotton ball and remover. Even if you don’t have polish on, this step is still important.
Gibson explains, “This will remove old polish and excess oils that can interfere with the new polish adhering to your nail bed.”
Pro tip: Avoid touching your face and hair after this step, since they have natural oils that we don’t want on the nail.
3Paint your nails
As Gibson cautioned, go slowly when it comes to painting, and aim for clean, even strokes.
To apply your first coat of polish, start with a center swipe, then swipe on either side. According to Gibson, you should be able to cover the average nail plate in 2-3 strokes. Repeat on each nail. Let dry for at least 2 minutes before applying your second coat of polish.
You can also use this innovative tool to help grip the brush better. Trust us, it’s a lifesaver.
Always seal your nails with a top coat to maximize shine and protect the polish.
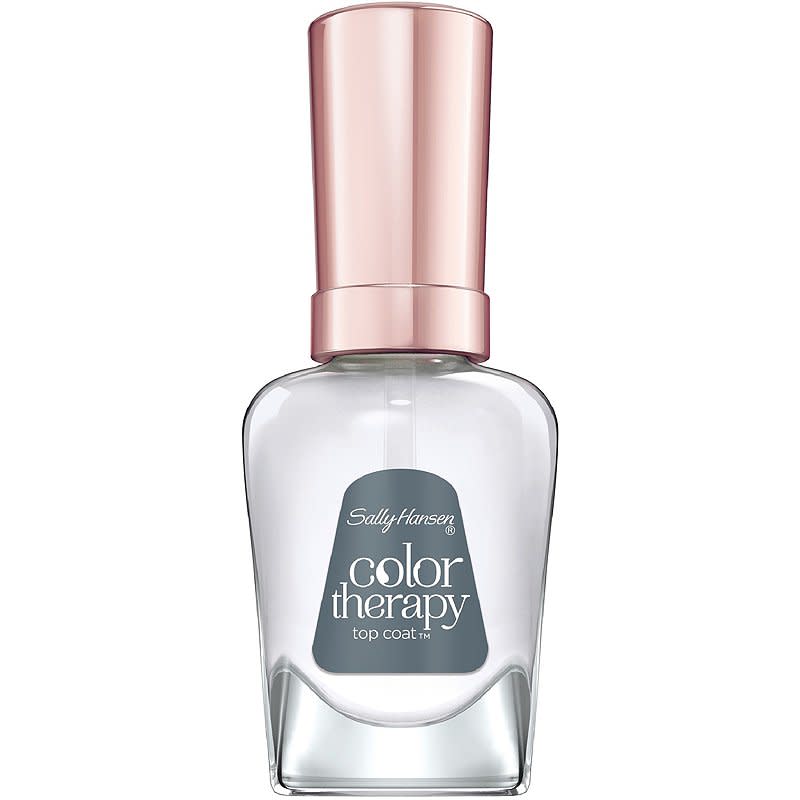
Pro tip: If you’re just starting out, anchoring your non-dominant hand (or even the whole arm) on a flat work surface helps it stay steady as you paint, says Gibson.
4Give your nails some shine
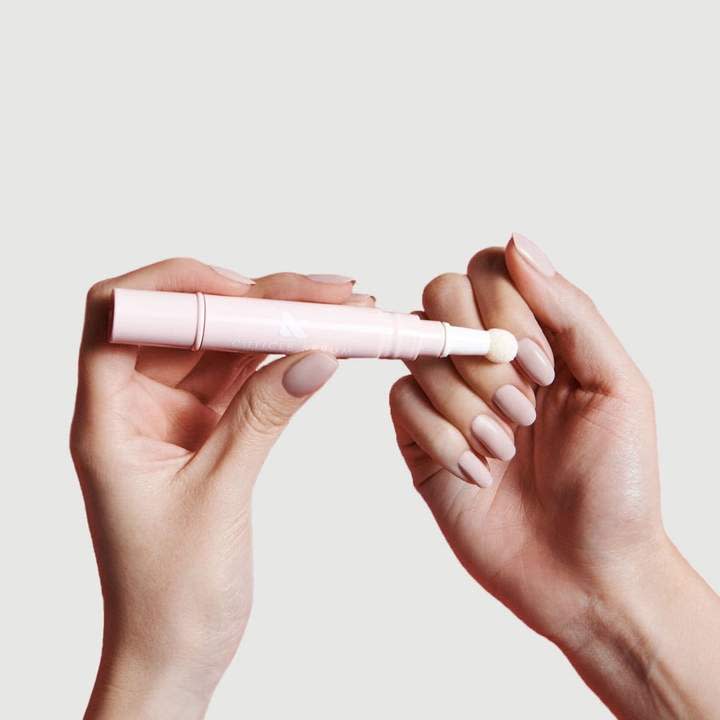
Think you’re done after you’ve swiped on that final stoke of top coat? Think again. Your secret weapon for achieving a salon-worthy at-home manicure is cuticle oil.
“Cuticle serum is our must-have, can’t/won’t/don’t-leave-home-without-it product,” says Gibson. “You could have zero polish on and give your cuticles a dose of cuticle serum and it would add instant luster.”
Pro tip: If you accidentally got nail polish on your cuticles or fingertips, dip a clean-up brush in your nail polish remover, then use it to remove any unwanted color or to clean up polish lines.
Happy painting!
Luxurious bath? Soothing skin serum? Perfect manicure? Take this quiz to discover your self-care secret weapon!

