How to Paint Laminate Countertops
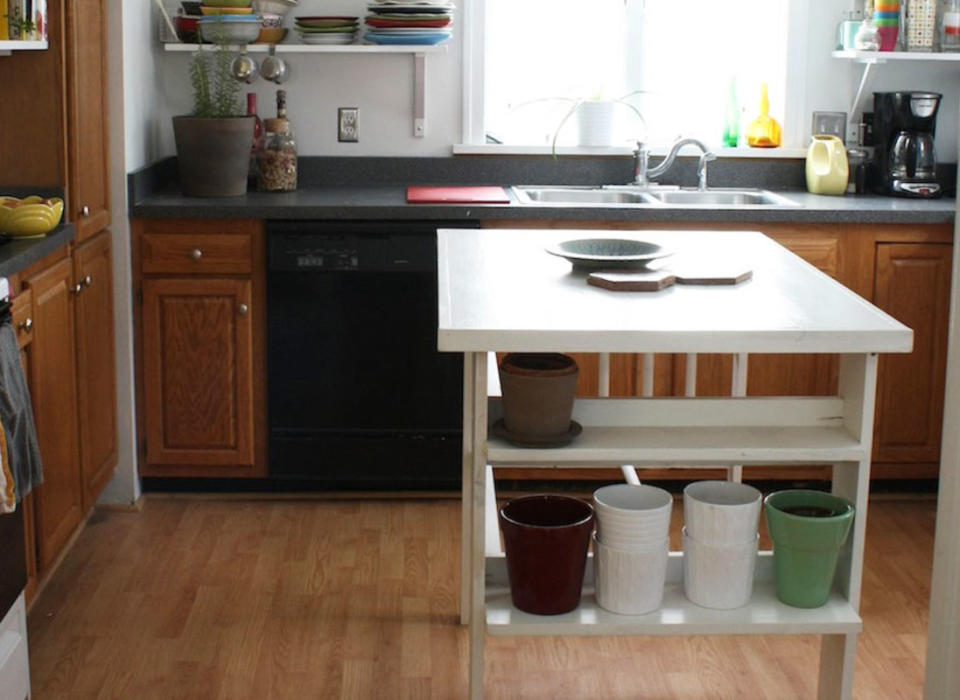
If you thought your laminate counter wasn't the perfect candidate for painting, think again. Learn how to revitalize your kitchen or bathroom and give your tired laminate countertops a makeover with the right type of paint.
Keep in mind: Proper preparation is essential to ensure a successful painting project, so take your time so you can prevent peeling or disappointment. Let's go through the steps in detail so you can successfully transform your kitchen counters into a focal point of your home.
Benefits of Painting Laminate Countertops
Budget-friendly
Offers endless paint color and finish possibilities
Opportunity to refresh outdated or damaged surfaces
Increase your home's value
Experiment with a new color before committing
Eco-friendly alternative—less waste!
Tools and Materials You'll Need
rubber gloves
green scrubbies
cotton cloth
palm sander
220 grit sandpaper
N-95 mask
high-density foam roller
paint trays
paint brush
paint stirrers
1. Deep Clean the Surface
Cleaning the laminate surface is the first, and possibly most important part of the process. Create a cleaning mixture using TSP-PF powder and warm water. Stir until dissolved.
Wear rubber gloves; the cleaning solution is powerful and can irritate your skin.
Use some elbow grease. Using an abrasive cleaner (like a green scrubber), rub the cleaning solution along the entire countertop surface, including any backsplash edge and the front lip of the countertop. Work in the corners and edges with an old toothbrush, if necessary. You need to scrub away grease, stubborn stains, and food residue so the surface is as clean as possible.
Wipe the entire surface clean with the clean cotton cloth. Let it dry completely.
You may also use this as a time to protect your kitchen cabinets with cloth or plastic drop cloths. Use painters tape along the edges of cabinets to protect against paint.
Emily Fazio
2. Scuff the Laminate With Sandpaper
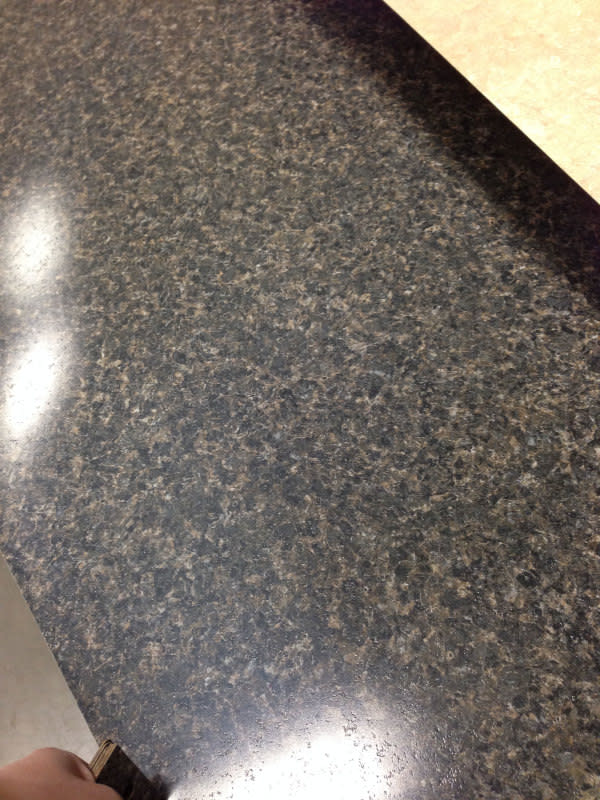
Primer adheres better to a textured surface. Laminate counters have that soft semi-gloss or matte finish, and you'll need to rough things up for best results.
Sand all surfaces using 180-220 grit sandpaper.
3. Thoroughly Remove Dust
Sanding kicks up a small amount of fine dust. All of that dust needs to be removed so it doesn't interfere with the bond of the primer.
Use a clean soft cloth to wipe down the excess dust.
Then, do a second pass over the laminate with a tack cloth. These cloths are sticky, and they'll pick up every last piece of dust, lint, or residue from the prepped countertops—if you're thorough and patient. And no, it will not leave a sticky film on the surface. Once the surface is clean and dust-free, you'll be ready for sanding.
Emily Fazio

Emily Fazio
4. Prime the Surface
The type of primer matters. Using a high-quality bonding primer is helpful when sanding a non-porous surface, like a laminate countertop. (P.S. there's a high-quality primer-and-paint-in-one product that has caught our eye, but we'd still advise prepping the surface.)
Use a paintbrush to cut in along the edges and corners of the countertop.
Then, use a high-density 6" paint roller to apply a thin, even coat, covering edges and corners.
Let it dry completely.
5. Painting Like a Pro
Choose a durable paint. The trick to achieving a durable paint job is to use epoxy or enamel paint formulated for laminate countertops for superior chip and scratch resistance. Other paint products lack durability.
Thin the paint out. Slightly thin the paint (10-20% water or mineral spirits) for better flow, smooth finish, and to prevent drips.
Patiently complete the painting process.
6. Seal the Countertop Surface
Apply a high-quality sealer formulated for countertops to support a durable finish and provide extra protection against scratches, stains, and moisture. Use a high-density foam roller and a paintbrush for application.
You likely only need one coat of this, so be thoughtful and careful as you apply it. You don't want drips, roller marks, or streaks!
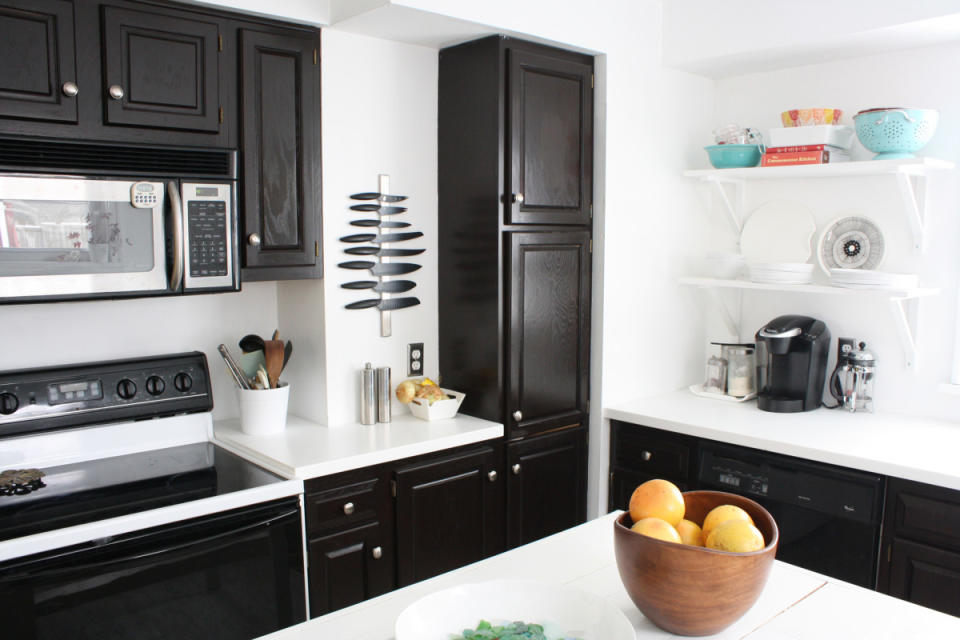
Allow the sealer to cure completely for 24 hours before using the countertops. How do you like the finished product?
Emily Fazio
FAQ
Do countertop paint kits work?
Countertop kits have their perks, namely in that they're cost-effective and present it as a doable DIY project, but any paint-based makeover still requires a fair amount of prep, patience, and attention to detail—it may be the best way to achieve a budget kitchen makeover, but don't be fooled into thinking it's a one-day project.
Is a painted countertop heat-resistant?
No. Your underlying laminate isn't heat resistant, nor are the paint and sealants you applied over the top. If you happen to be painting a granite countertop that is heat resistant, keep in mind that the heat can damage the paint and primer layers.
Can you use acrylic paints or craft paints?
No, for a few reasons:
Lack of durability. Acrylic and craft paints are not designed for the wear and tear of countertops, especially in heavy-use areas, like kitchens. They're more susceptible to scratches, chips, stains, and heat damage compared to specialized countertop paints.
Poor adhesion. These paints might not adhere well to non-porous laminate surfaces, leading to peeling and flaking over time.
Not water-resistant. Most acrylic and craft paints aren't waterproof and won't last long in an area with excess water.

