How to use Pages

Pages offers a comprehensive set of features. You can use it to create stunning documents containing charts, pictures, shapes, tables and even videos as well as text. You can flow text around objects for that professional look, and there’s a huge range of templates to choose from.
This all-inclusive guide will help you to create awesome documents, flyers and more, breaking down all the basics to get you started. If you're keen to get writing, you'll need to stay up to date with the latest version of Pages, so check out our collection of the best laptops for writers to keep you updated.
01. Utilising the templates
(Image: © Apple Pages)
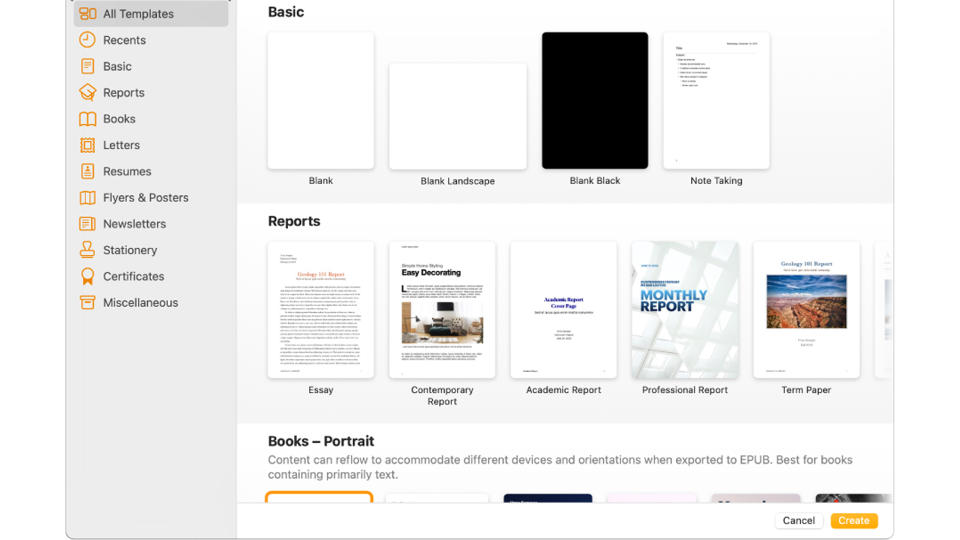
When you open a new document from the File menu or by pressing Cmd+N, you’re offered a choice of templates. If you want to proceed without using a template, choose one of the ‘blank’ options. It’s a good idea to familiarise yourself with the templates. Starting with one and changing its text and graphics is much easier than starting from scratch, and playing with the templates helps familiarise yourself with what the app can do.
02. Choosing the fonts
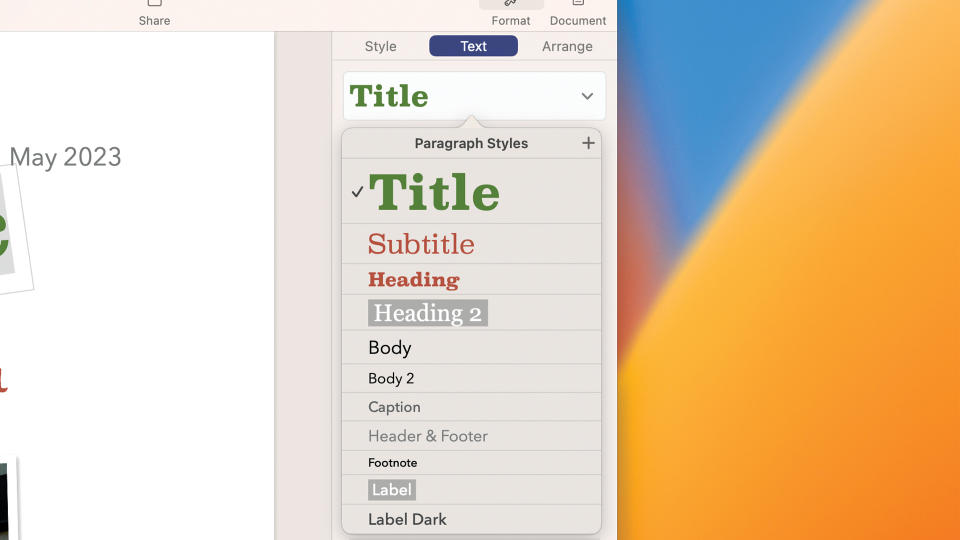
In the Pages right-hand sidebar, click the Format button in the top-right section of the toolbar for the text tools, then click the Style tab. Use this to style your text. The Font section uses pull-down menus to change the font, choose from variations on the font (usually Regular by default) and the arrows let you change the point size. Or double-click on the window showing the point size and type it in.
03. Changing the text colour
(Image: © Apple Pages)
In the Style tab, to change the text colour, highlight the text you want to change, click the box marked Text Colour and choose a new one. Alternatively, you can pick a new colour first, without highlighting text, and type in that colour. Click the colour wheel for more options. Click Text Colour and you can choose colours for gradient and image fills too.
04. Altering the justifications
Justification refers to whether the text is aligned left, right, centrally or both left and right. The four buttons below the Text Colour section illustrate this – click one to set the text that way. Also in this section, you can increase or decrease the indent to make the margins larger or smaller.
05. Exploring the rest of this tab
Spacing sets the space between lines. Click the chevron in front of the Spacing listing for more options. Turn highlighted text into a list with Bullets & Lists. Again, click the chevron for more options. Click the Drop Cap checkbox to add a dropped capital, which you can then modify to suit your needs.
06. Using the Layout tab
(Image: © Apple Pages)
Also in the Style sidebar, there’s the Layout tab, which is also for free-flowing text. Your layout options include setting columns. You can choose how many columns of text there are, and customise their settings. You can also set paragraph indents, set up tab options, use borders on selected text and set which edges of the selected text they’re applied to and more.
07. Understanding the More tab
Under the More tab, you can find other options for formatting and stylising your text. Under Pagination & Breaks, you set whether you want the app to automatically prevent widow and orphan lines, start paragraphs on a new page, and more. Just tick the checkboxes of the options you wish to activate.
Under Hyphenation & Ligatures, you can set whether words can be hyphenated and split across two lines, and whether to use Ligatures, which lets certain characters run together where appropriate for easier reading.
08. Mastering the Document sidebar
In the top-right corner of a Pages window, next to Format, you’ll find a Document option. Click this for the Document sidebar, then choose the Document tab at the top of that sidebar. You can now choose a local or networked printer to print your document from, set the size of headers, footers and margins, and more. In the Section tab you can set background colours, page numbers and more. The Bookmarks tab lets you set and review bookmarks – very useful in large documents.
09. Using text boxes
Text and picture boxes are an important part of Pages documents. To open a text box, click the button marked Text in the toolbar. Click and hold on it to drag it around on the page, and resize it by clicking and dragging one of the squares on the box’s border. Click on the text that’s already in the box and type to add your own text.
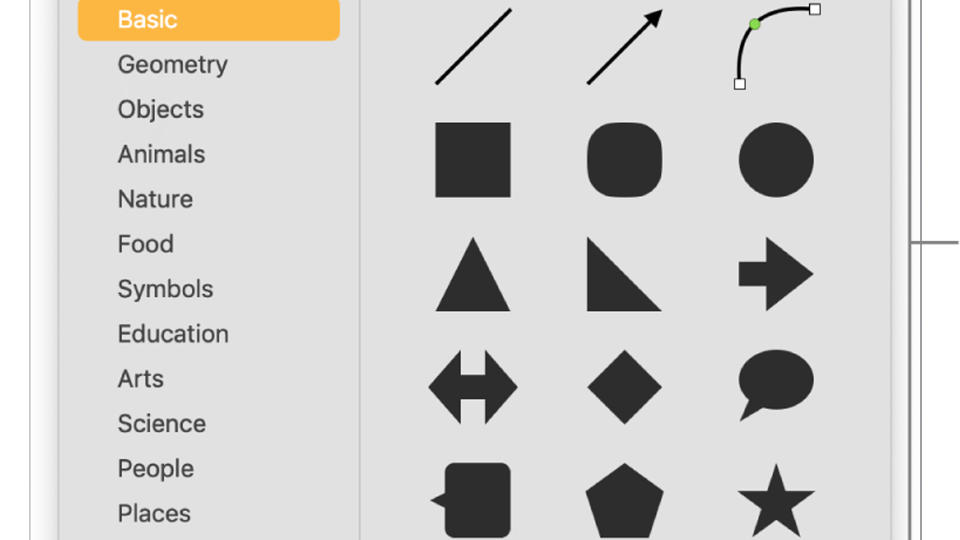
10. Making shapes
(Image: © Apple Pages)
Shapes boxes are similar. Click on Shapes in the toolbar, and choose the one you want. As well as regular shapes, they include arrows and small drawings too. Dragging a shape around the document and resizing it with the ‘handles’ on its borders is done in the same way as with a text box.
11. Editing shapes
After adding a shape and positioning it as you wish, click on it and change its style using the options in the sidebar. Or you can set it up as you wish using the options further down in this sidebar. When you have it how you like it, if you want to save this style for later use, click the right-hand chevron in the Shape Styles section and click the ‘blank’ style option showing a ‘+’ sign.
12. Designing the shapes
Click on a shape and you can add text, which you can format by clicking the Text tab atop the sidebar. Alternatively, place a text box on top of the shape if this works better. If you have overlapping items such as shapes, picture boxes and text boxes on your document, click the Arrange tab and you can reorder them by bringing them forwards or backwards in the stack, and customise them with the options in the sidebar. Make sure you click the object you want to adjust first.
13. Using the media option
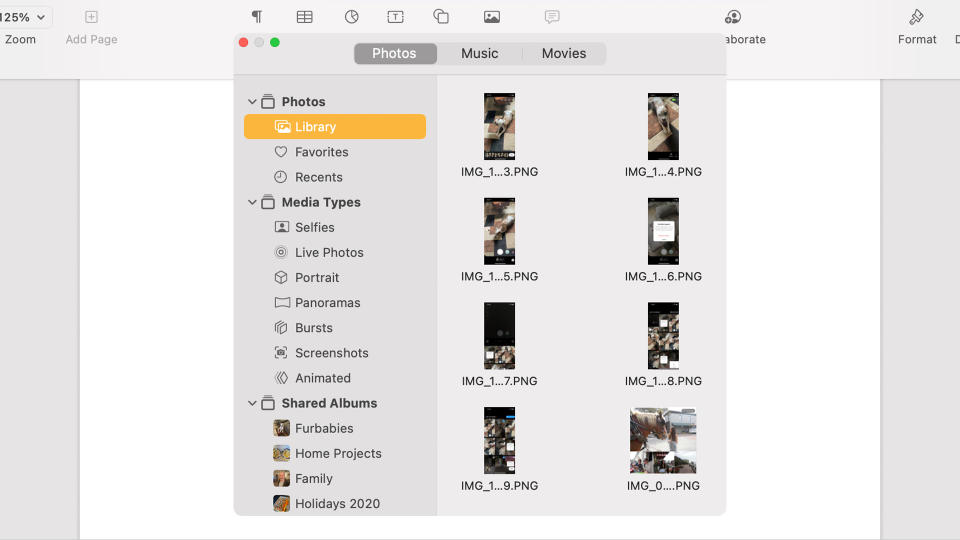
(Image: © Pages)
Click the Media option in the toolbar and you can add a photo, video or music to your document. From the menu, select one of the top three options for a media picker. Alternatively, select Image Gallery and drag a picture onto the box that appears, or select Choose to navigate to the file you want to use in the Finder.
14. Adding tables and charts
You can add tables and charts to your Pages document too, and populate them as needed. Try clicking on Table in the toolbar for a mini spreadsheet. Click the table then click one of the circular icons in the top right or bottom left to add or remove rows and columns. Click Chart to add a chart, and choose the colour scheme and chart type from the menu. When it’s in place, click on it then click the Edit Chart Data button to add data. Both tables and charts can be dragged and resized like pictures and boxes.
15. Understanding text wrap
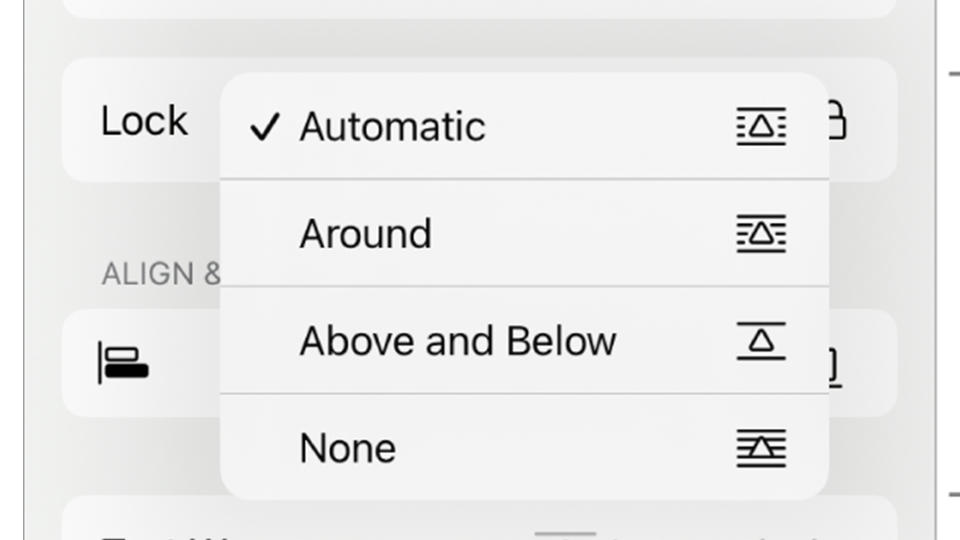
(Image: © Apple Pages)
To place a picture of some sort inside a piece of flowing text, drag it into position, and while it’s selected, in the Format > Arrange sidebar, use the Text Wrap pull-down to decide how the text reacts to the item. Text can wrap around the image, or run above or below it. Alternatively, it can ignore it completely and flow over it. If you go for this latter option, remember how to move overlapping objects forward and backward in the stack.
This article originally appeared in MacFormat. Subscribe to the magazine through Magazines Direct.

