How to Make Your Own Emoji Clutch in 9 Easy Steps!
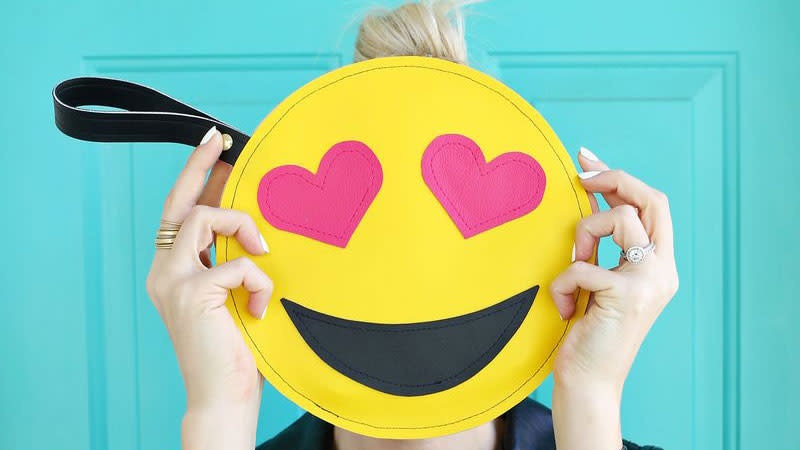

Photo: A Beautiful Mess
If you’re anything like us, you’re a little bit obsessed with emoji at the moment. You’ve crossed over from simply using emoji in texts to now wearing emoji sweatpants around the house, trying emoji hashtags on Instagram, turning your face into an emoji, and even coveting a keyboard that lets you type entirely in emoji. Don’t worry, we get it.
More from StyleCaster
Here's How to Get Rid of Skin Tags Without a Derm Appointment
Give Your Outdated T-Shirts a Fresh Update With These Foolproof Tie-Dye Kits
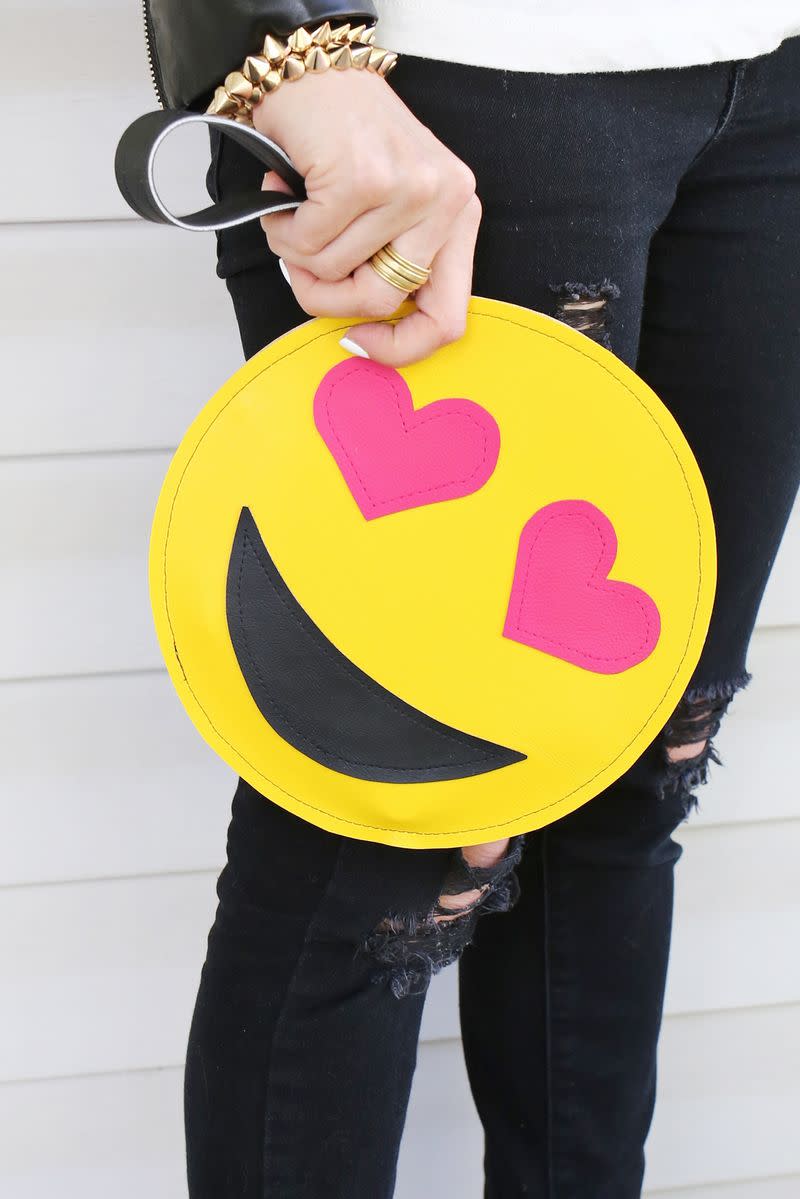
Now, we’re taking your fandom to a whole new level, with a 9-step DIY guide to creating your very own emoji clutch, thanks to the crafty people at A Beautiful Mess. Come on, you know you’re dying to own one.
MORE: 25 Ways to Wear Emojis Every Single Day
Click here to read the full article.
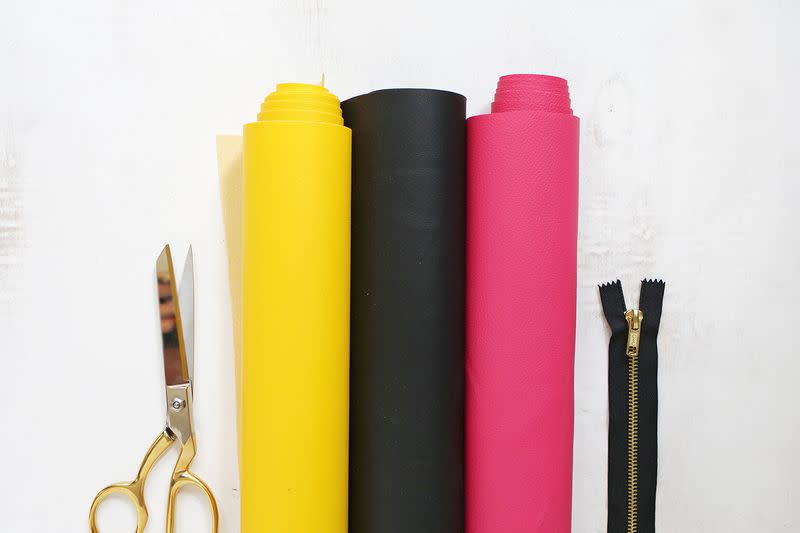
Materials
Vinyl fabric in yellow, pink, and black
Zipper
Fabric scissors
Sewing machine
Fabric glue
X-Acto knife
Emoji clutch template (right click to download)
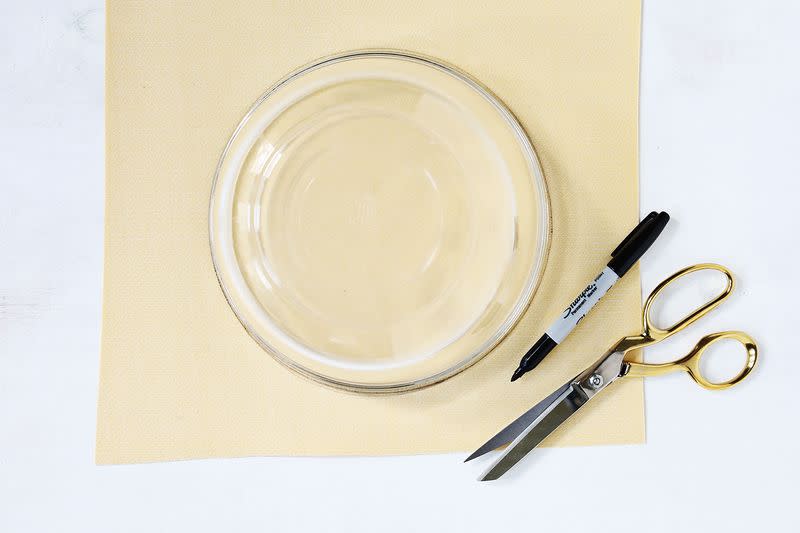
Round bowl or plate about 8″ wide
Binder clips (optional)’
Non-stick sewing machine foot

(optional)
Chicago screw for handle (optional)
1. Take the bowl or plate you plan to use as the round template of your face (approximately 8-9″ in diameter is best.) Then, use a pen to trace two circles onto the back of your yellow vinyl. Finally cut around the outline carefully to get your circles.
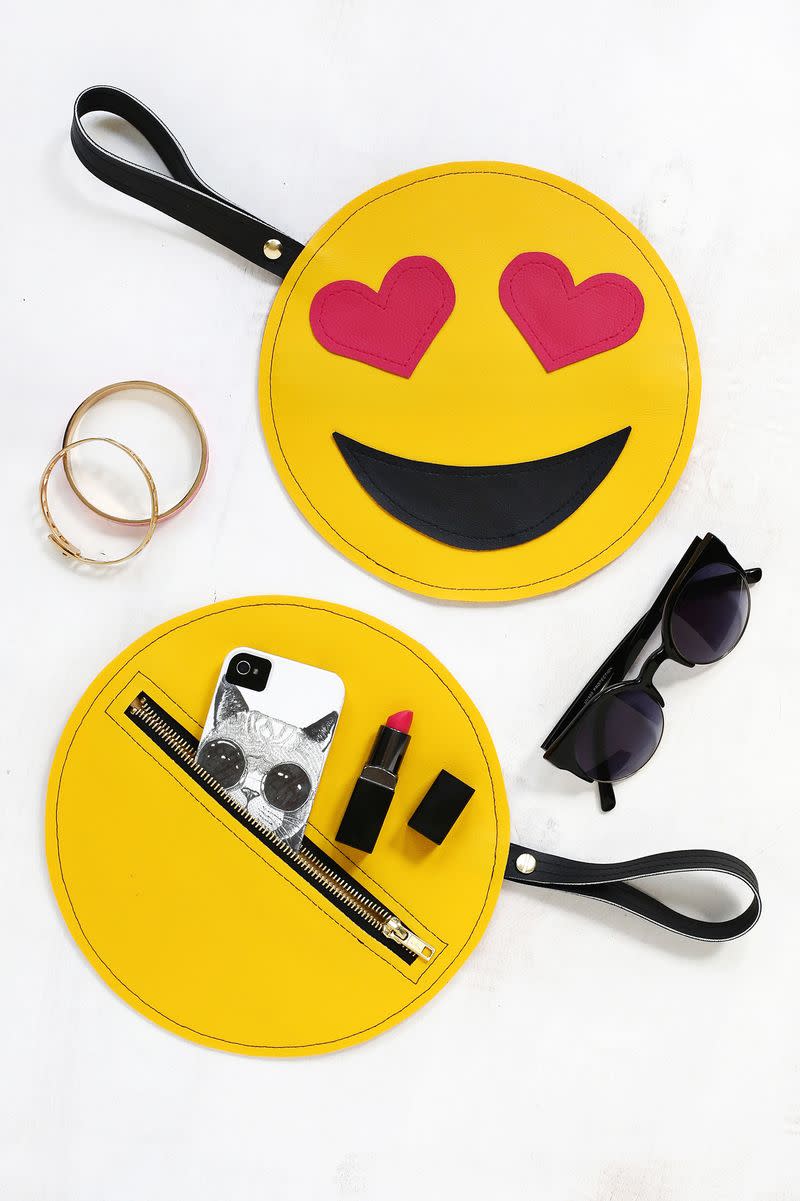
2. One of the circles will be the back of the bag, while the other will be the front. Take the piece designated to be the bag and cut a slit that is 1/2″ wide and 7″ long down the middle of the circle, but not all the way across.
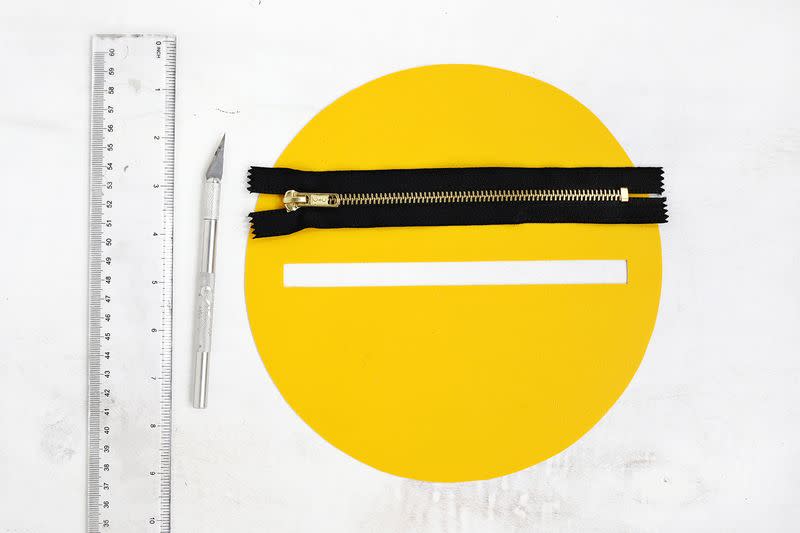
3. It’s easiest to use a zipper that is exactly the same size as the slit you cut, but if you can’t find one simply use wire cutters and scissors to trim the zipper down to size (the wire cutters will help cut through the metal.) Place the zipper underneath the cutout to make sure it fits exactly and then glue with your fabric glue.
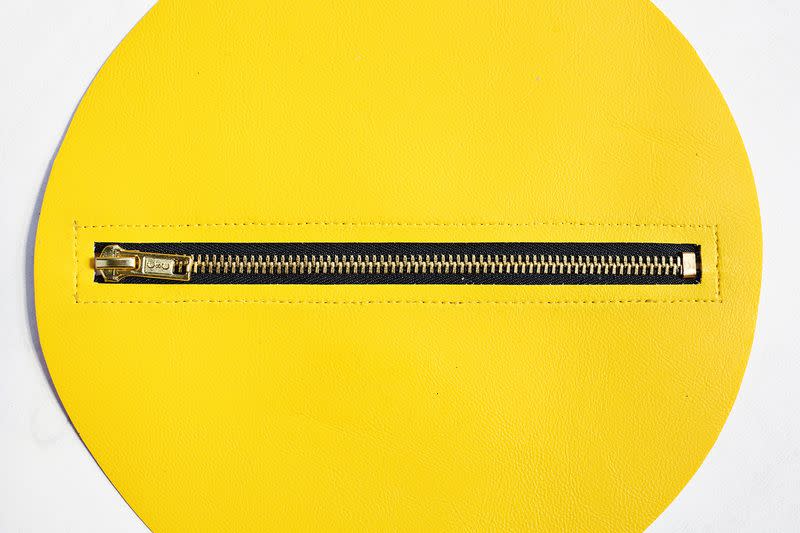
4. Wait until the glue dries, then stitch around the window about 1/4″ from the edge to secure the zipper in place. It’s best to use a nonstick foot for your sewing machine (handy for lots of different materials), or at least put a piece of scotch tape on the bottom of your standard foot. This will help the material move more smoothly through your machine.
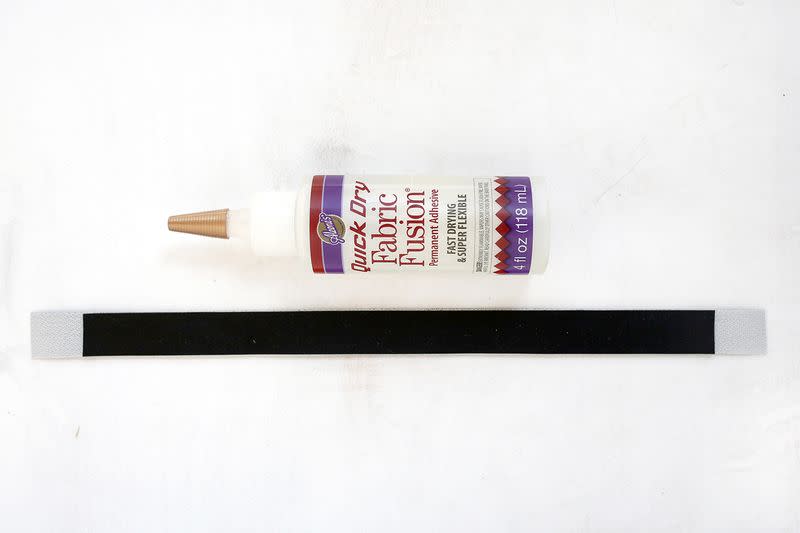
5. Next, you make the wrist strap for your bag. Cut two pieces of black vinyl that are 3/4″ x 11″ and 3/4″ x 12″. Glue the pieces wrong sides together with the shorter piece centered in the middle of the longer one (see photo above). Making the last 1/2″ of each side only one layer thick instead of two will make the strap less bulky when you fold it in half and sew it into the side of the clutch. Before folding, you can either leave the strap just glued together, or you can stitch along the sides with black thread for a more finished look.
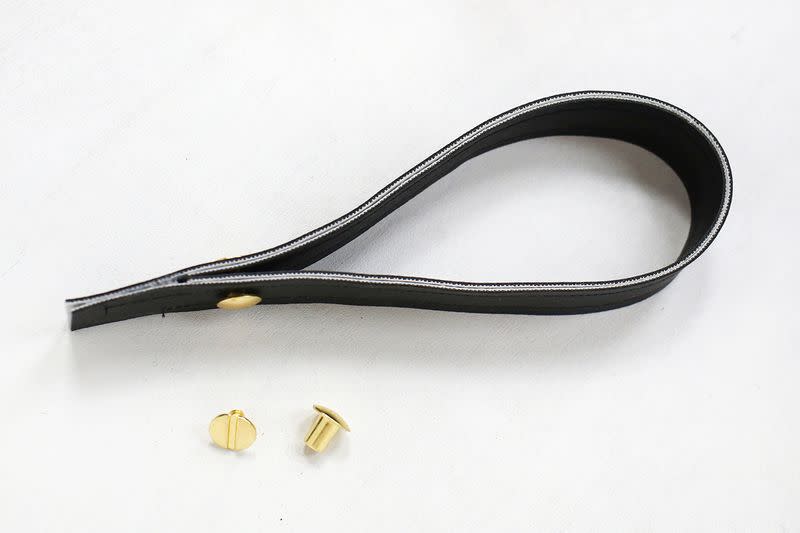
6. Fold the strap in half and glue the two ends together to make a handle-style loop. You can add some decorative hardware at this stage by punching a hole and install a Chicago screw or stud at the beginning where the strap goes from two layers of fabric to four.

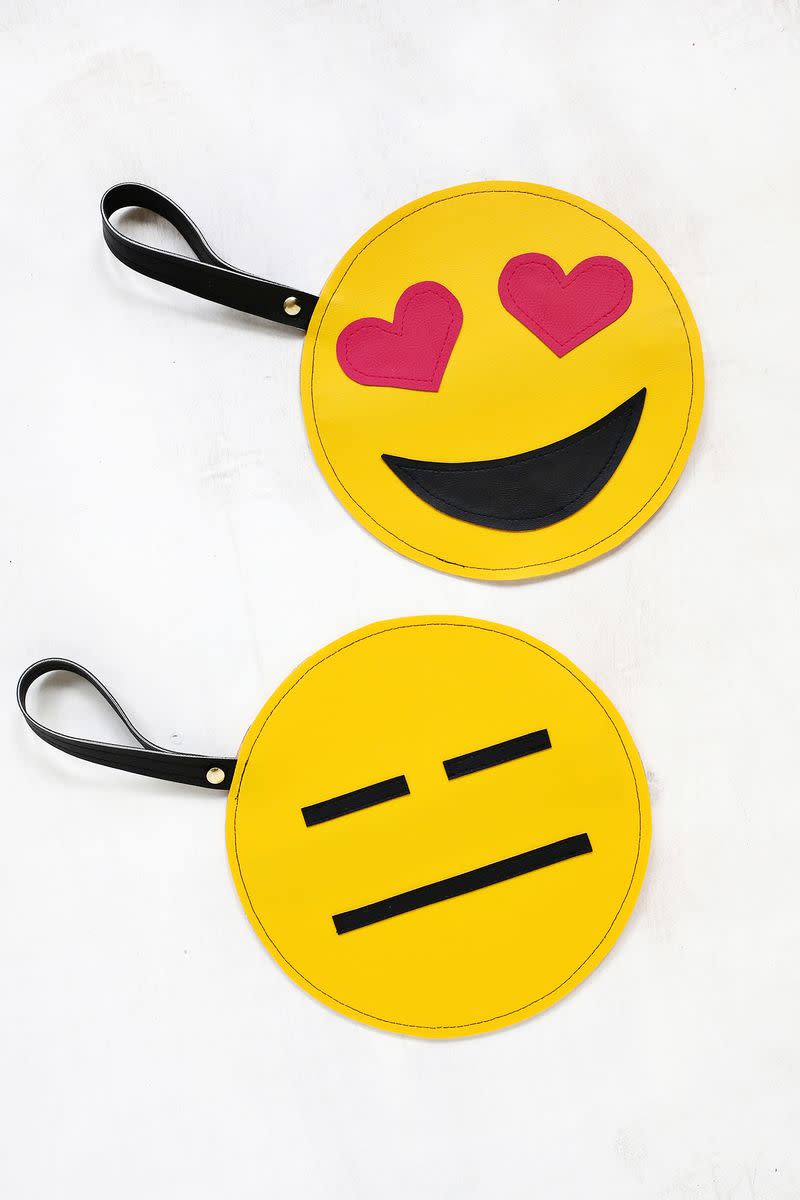
7. Use the template to cut out your heart eyes and mouth from pink and black fabric, and glue the cutouts into place. If you’re a good sewer, you might want to stitch over the cutouts to make them look more polished and feel more secure, otherwise you can just leave it glued on–it’s your call!
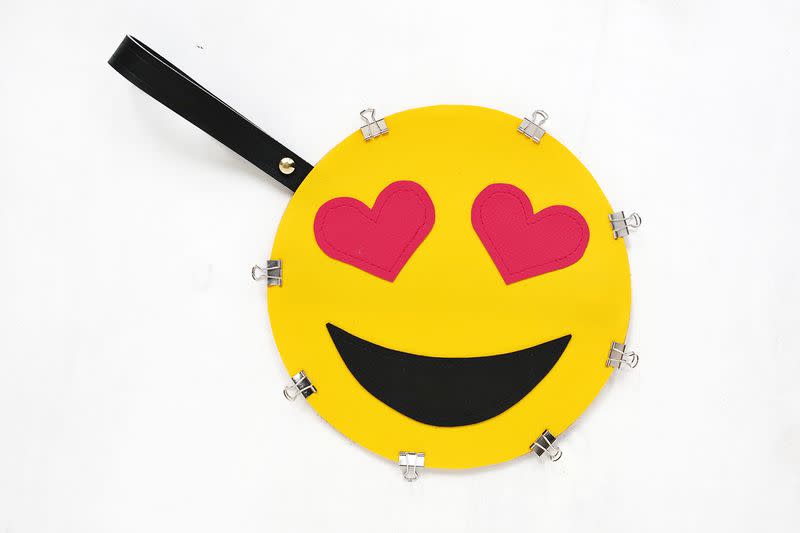
8. Once the cutouts are in place, use the glue to attach the front circle to the back circle (wrong sides facing each other), and glue the end of the handle loop between the two layers to secure. Use binder clips to keep the edges together as the glue sets.
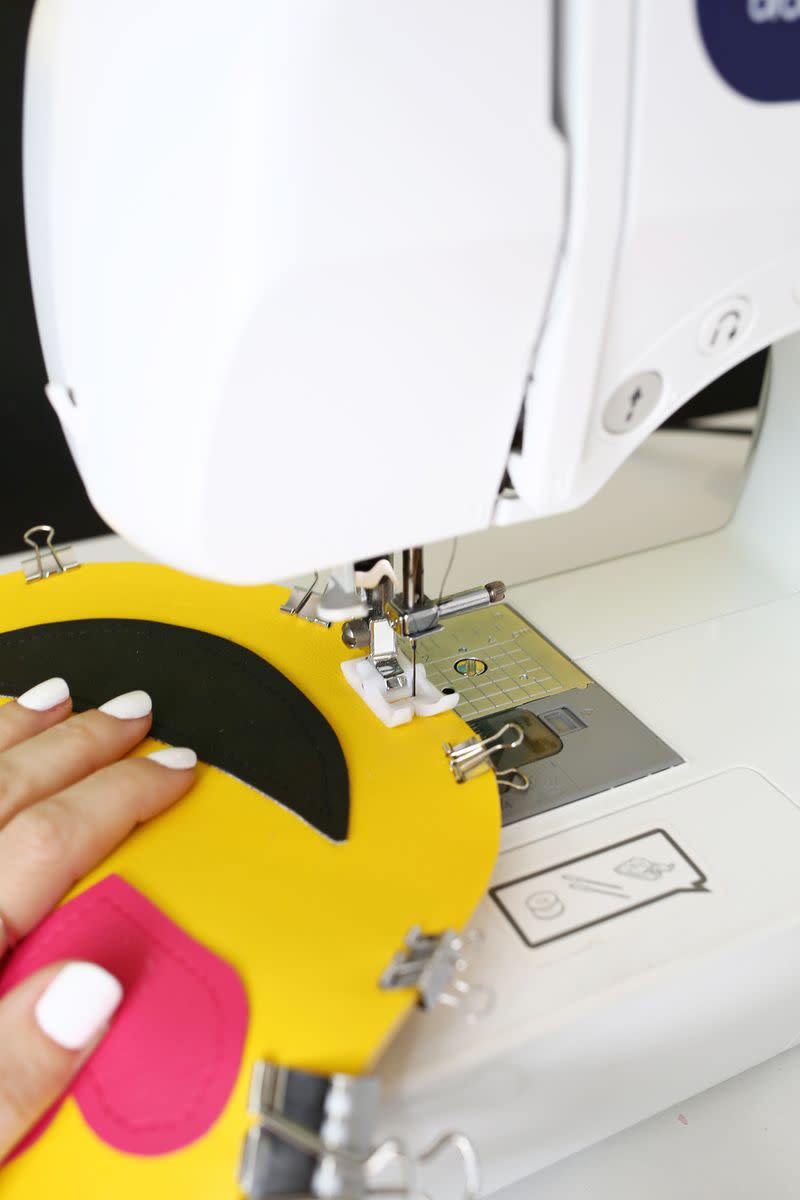
9. Sew around the edge of the bag with a 1/4″ seam allowance (removing the clips as you go), and your bag is ready!
For more fun DIY projects like this one, head over to A Beautiful Mess.
Best of StyleCaster

