Oven-Roasted Chickpeas Are What I Make When I'm Out of Potato Chips
The only thing better than a good recipe? When something's so easy to make that you don't even need one. Welcome to It's That Simple, a column where we talk you through the process of making the dishes and drinks we can make with our eyes closed.
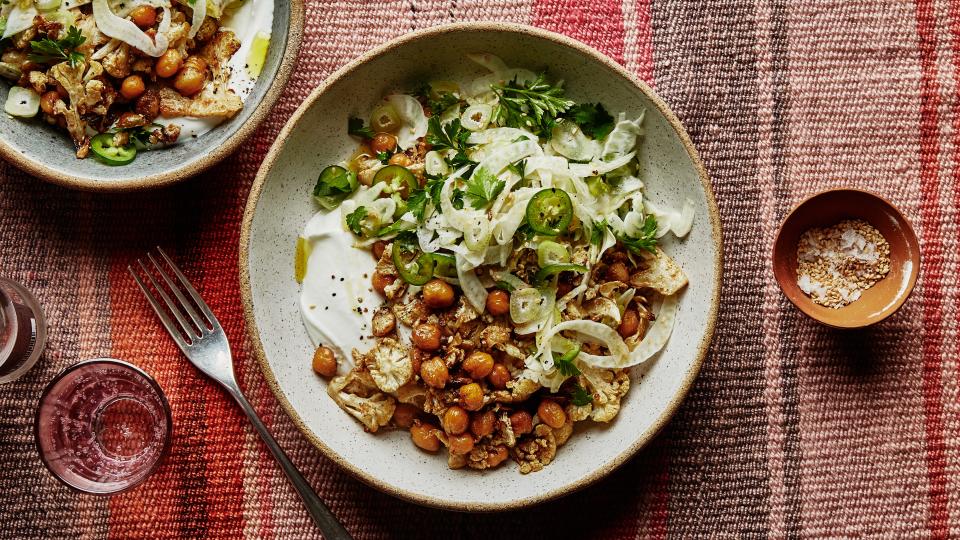
I’m an indiscriminate chickpea eater. I like them so fall-apart mushy they can thicken a broth; I like them blended into velvety hummus; and I like them, like everyone else in the world, so crispy that they burst, sizzle, snap, and pop. I snack on them by the handful, or scatter them on salads or roasted vegetables or creamy dips, or mix them into pasta at the last minute, pretending they’re much more expensive toasted pine nuts.
You can do this on the stove—lots of olive oil, a large skillet, 12-15 minutes of stirring—and that’s all well and good, but when my oven is already on and there’s an open rack calling my name, I consider it a good opportunity to free up a burner (and my hands). The oven method takes a little longer than the stovetop one, but it produces crispier, more evenly cooked garbanzos (or, as we’ve started to affectionately call them in my apartment, “garbos”).
Here’s how to do it: First, heat your oven to 400° F with the rack positioned in the middle. Sometimes my oven creeps up to 425° F because it's one of those hot-or-not machines—that’s fine. It’s better that it’s a little hot than too cold.
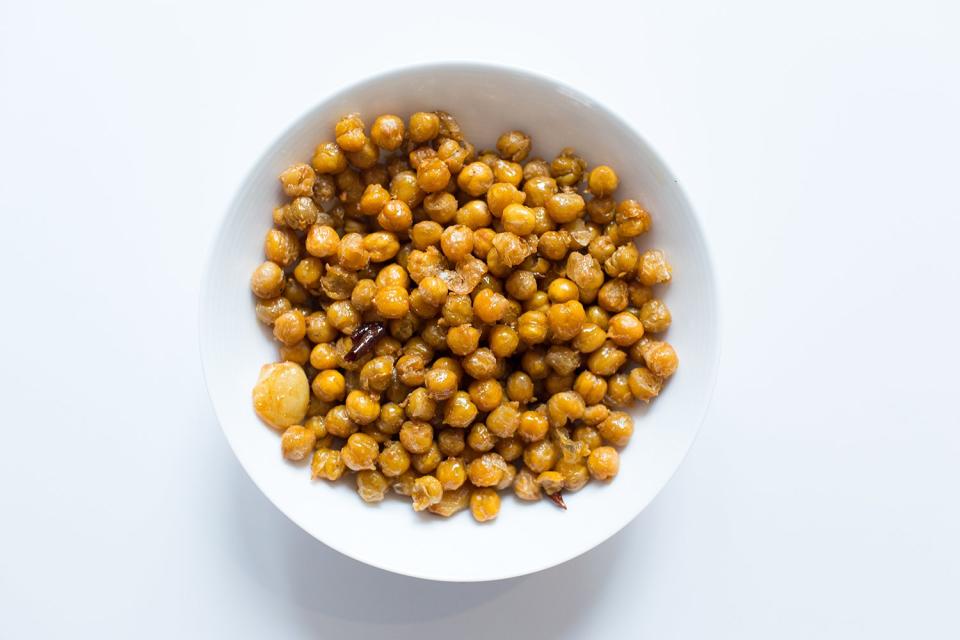
spicy-garlic-chickpeas
Next step, towel off. Because moisture is the enemy of crispiness, you’ll need to pat the chickpeas dry, same idea as when you’re cooking chicken thighs or searing a piece of fish. I prefer to dump the chickpeas—drained from a can and rinsed in a colander—onto a clean, lint-free kitchen towel, bundle them inside, and give them an assertive rub to wick off some of the excess dampness. (If you’re looking for a reason to use your salad spinner—and aren’t we all—I’ve also had success lining it with a kitchen towel, pouring in the chickpeas, then giving them the spin cycle treatment.)
As you jostle the chickpeas, you’ll notice that the white outer layers (permission to call these exoskeletons?) separates. You don’t need to be meticulous about removing these, but it’s something to do with your hands while you’re on a Zoom call with your parents/boss and, besides, the denuded chickpeas will take on more color in the oven, without those floppy, wet skins in the way.
I like to leave the chickpeas to air-dry on the towel for a few minutes, just to make sure the job is done. This is optional but something to consider if you could use the time to get other kitchen tasks started: chop some vegetables, make a vinaigrette, boil a pot of water, do the Macarena (last night we cha-cha-slid!).
Now transfer the chickpeas to an unlined rimmed baking sheet (one 15.5-ounce can should fit in a single layer) and drizzle generously with olive oil. It should be at least a couple of tablespoons—you want to see an oil slick at the bottom. Season with salt and pepper and toss well to combine. Bake the chickpeas, shaking the pan once or twice, for 30-40 minutes, until they’re dry to the touch and spray-tan-level bronze. A handful may have split open, butterflying themselves. It’s fine! (I should note: Some people first bake their chickpeas for 15 minutes without oil to dry them out even further. I always skip this for sake of time and ease, but it likely does produce beans that are crispier through and through, whereas mine retain creamy middles. Give it a try?)
You can dress up the beans, but you’ll want to be careful with delicate spices, seeds, or seaweed (yup) that are prone to burning. If it’s something that needs toasting—smoked paprika with cumin and coriander; or ground turmeric and lots of cracked black pepper; or sesame, mustard, and nigella seeds—add it towards the end (for the last five to 10 minutes). If it’s something that you’d sprinkle on your food straight from the jar—like gomasio, furikake, MSG, za’atar, or toasted and crushed nori—mix it with the chickpeas once they’ve emerged from the oven but are still warm. That will help it stick.
The chickpeas’ texture is most dramatic when they’re fresh from the oven, but they’ll retain their snappy shells throughout the day—I’ll usually let them cool on the baking sheet, then transfer them to a container with the top ajar and let them hang at room temp until I’m ready to eat them.
Are they better than potato chips? No. Are they better than Fritos? No. Sev? No. But do I have any of those things right now? No! And are they better than the can of chickpeas they started as? 100% yes!
Originally Appeared on Bon Appétit

