How to Organize Cans in Your Pantry So They're Actually Easy to Find
Organizing experts share a step-by-step guide to finally get all those tinned goods in order.
Amazon
A pantry stocked with a bounty of canned food means you’ve got all your bases covered for all sorts of quick and easy meals. When your cans aren’t organized, though, your stockpile can translate to more of a headache versus a benefit. Organizing cans in your pantry means you know exactly what (and how much) you’ve got on hand, whether it’s good to go or expired, and where to find whatever you need when stomachs start growling.
Related: The 24 Best Kitchen Cabinet and Pantry Organizers of 2023
Ready to dive into this very satisfying project? Follow our expert-driven, step-by-step guide on how to organize cans in your pantry once and for all.
Remove All Cans From Your Pantry
The first step in organizing the cans in your pantry is to remove every single can you own, says professional organizer Jessica Litman of The Organized Mama. This allows you to take a proper assessment and to get rid of anything that’s unusable or not serving you. It also makes your pantry a blank slate once you begin putting the cans back into place.
Create Keep, Toss, and Donate Piles
Place all your cans in a pile and go through them one by one. Don’t be afraid to make quick executive decisions—if anything is a “meh” versus a “yeah,” don’t keep it. Leslie Lehr, professional organizer, says to get rid of the following:
Expired
Damaged
Not a family favorite
Excess multiples that may expire before you get a chance to use them
Anything you're unlikely to use within 6 months
“Discard expired items and set aside canned goods that need to be retired,” Lehr says. “Non-expired, retired canned goods are ideal for donating.” You can donate to a local food bank, shelter, or any charity that collects food.
Sort Everything You’re Keeping
Once you’ve edited your can collection, take a moment to organize everything by category. Lehr suggests organizing into the following categories:
Fruits
Vegetables
Legumes
Soups
Sauces
Stock
Meats/fish
She says that organizing this way allows you to determine how much space you need and what sort of storage solution will work best. You can also assess whether you need to purchase additional cans to replace expired items, or get rid of any additional cans if you realize you have an excess of multiples.
Purchase The Best Can Organizer for Your Needs
With a solid understanding of how many cans you’ll store in your pantry at a given time, you can go ahead and purchase storage solutions. “Choosing the right organizer all depends on space and how many canned goods you keep on a regular basis,” Litman says. “Lazy Susans work well if you have a limited amount of canned goods you keep, and shelf risers can work if you have ample space to store things.”
Make sure to accurately measure your space in advance to ensure the organizer fits. Here are a few pantry can storage ideas to consider:
SimpleHouseware Stackable Can Rack Organizer ($23, Amazon)
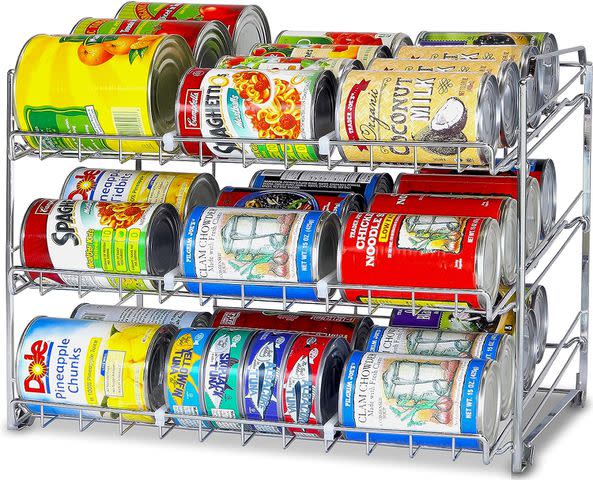
Amazon
Home Complete Store Over the Door Organizer ($35, Amazon)
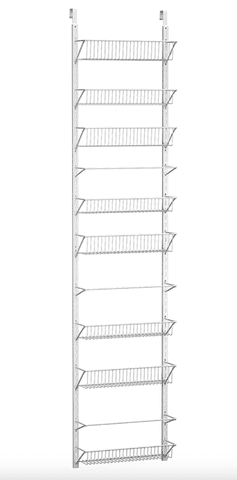
Amazon
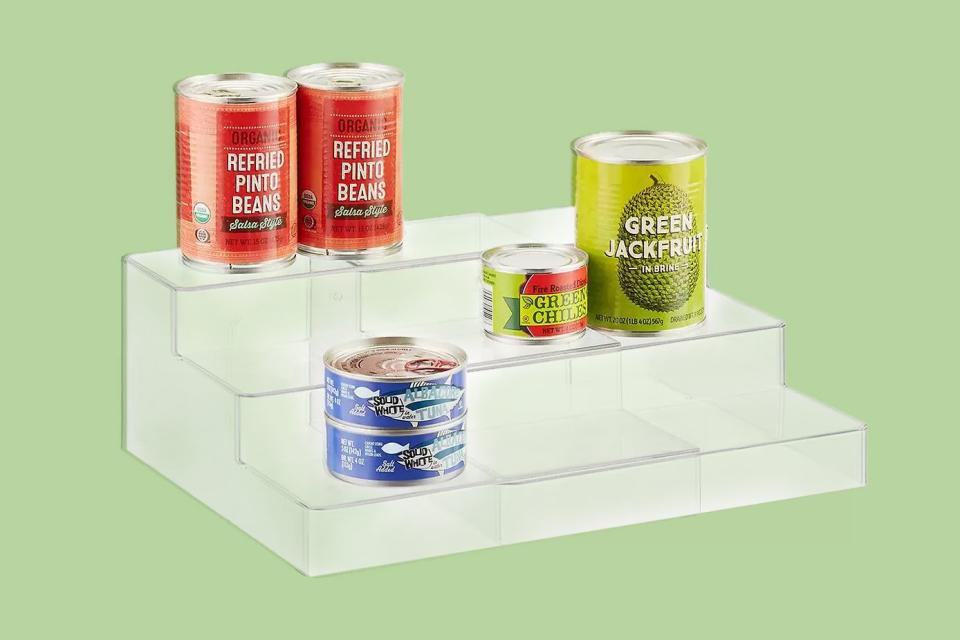
The Home Edit by iDesign 3-Tier Shelf ($25, The Container Store)
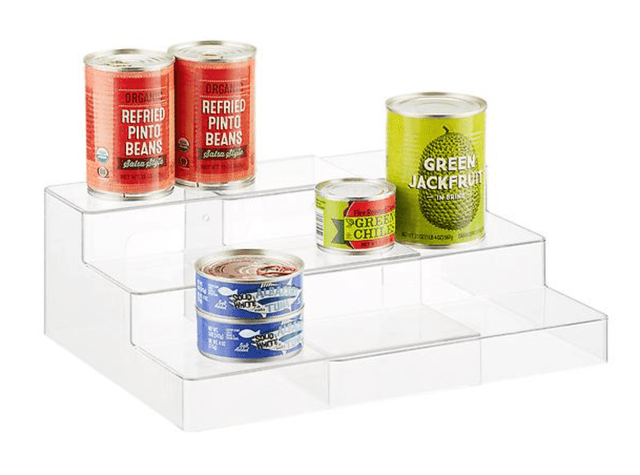
Container Store
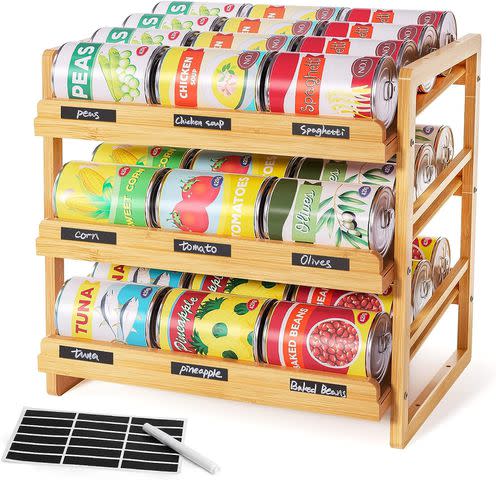
Yumkfoi Bamboo Can Rack Organizer ($50, Amazon)
Amazon
LAMY 12-Inch Lazy Susan Organizer Kitchen Organization ($20, Amazon)

Amazon
Place Cans Back In Your Pantry
With your pile of approved cans and the right storage solutions for the job, it’s time to start putting everything back into your pantry.
“Consider organizing cans left to right by food groups to make locating them easier,” suggests Steve O’Hara, director of training and product development for ShelfGenie. “Arrange the cans front to back by expiration date, placing the closest-to-expire items in the front and the newest ones in the back.”
You can also organize pantry cans according to how often you reach for a certain item, making sure to place your most frequently used items toward the front so they’re easier to access.
How To Keep Your Cans Organized for Good
Once you’ve got your cans organized, you’ll definitely want to maintain those results. Set aside about 30 to 60 minutes once every quarter to take stock of your items. O’Hara suggests the following steps during your habitual refresh:
Check the can expiration dates and discard any expired items.
Donate any unexpired items you haven’t used in the last six months and won’t use for the next six.
Reassess your pantry's organization approach based on changing usage patterns, the season, or your family’s needs.
Tidy up to ensure items are properly returned to their designated places and deep clean the space as needed.
Related: How to Organize Kitchen Cabinets—So You Can Actually Find Everything You Need
For more Real Simple news, make sure to sign up for our newsletter!
Read the original article on Real Simple.

