How to Not Just Survive—But Actually Thrive—at Dirty Kanza 200
“Find your limit.”
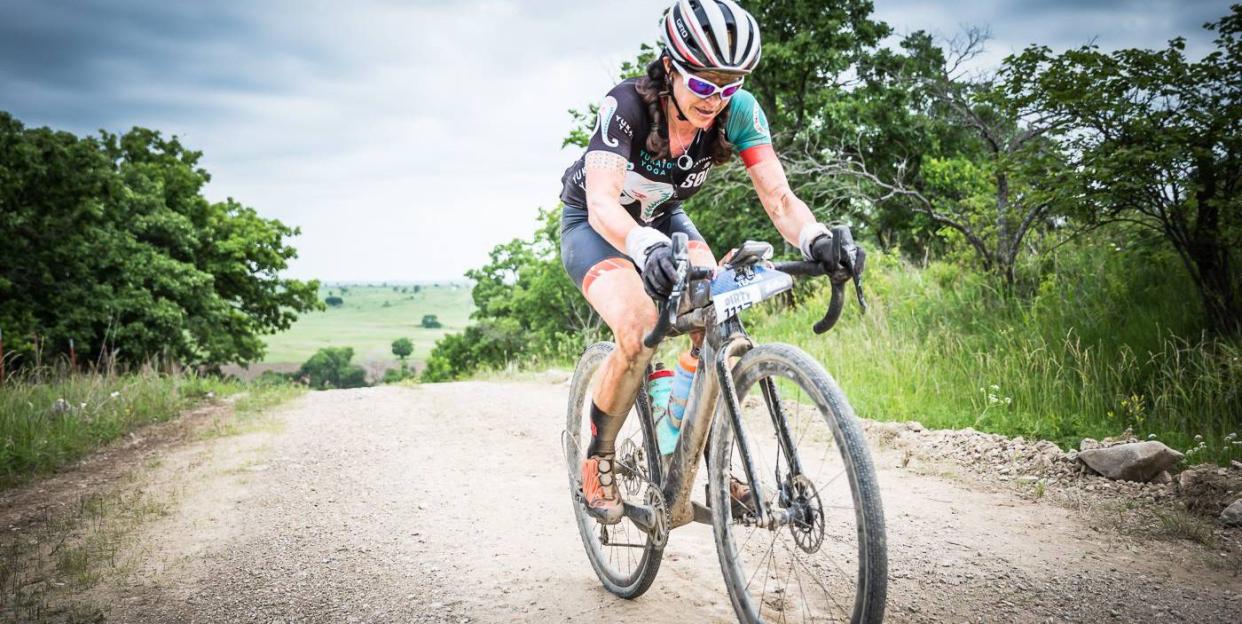
That’s the theme for Dirty Kanza 200-inarguably one of the hardest single-day gravel races going-with around 2,500 racers lining up for the full double century (and another 1,000+ having a go at the abbreviated 25-, 50-, and 100-mile courses). In any given year, depending on heat, rain, mud, humidity, wind, and the errant tornado, sometimes more than 40 percent of the field will fly the white DNF surrender flag. It’s become a badge of honor to finish this thing before the 3 a.m. (21-hour) cutoff, let alone earn a coveted ‘race the sun’ imprint for being one of the first 100 finishers to cross the line before sunset.
I have finished two DK200s: one in 2013 (where despite veering off course for a few miles, I managed a 3rd overall finish) and one in 2017, where I was leading my division until about 150 miles in, when the heat caught up to me, and I ended up tossing my cookies. I was forced to sit down at the next aid station, have a Coke (two actually), and literally cool my jets before I could continue to the finish-and by then, I was far outside of podium contention. Here’s what I’ve learned it takes to survive-and perhaps even thrive-during a DK200 attempt.
[Want to fly up hills? Climb! gives you the workouts and mental strategies to conquer your nearest peak.]
Ride a Bike You Love
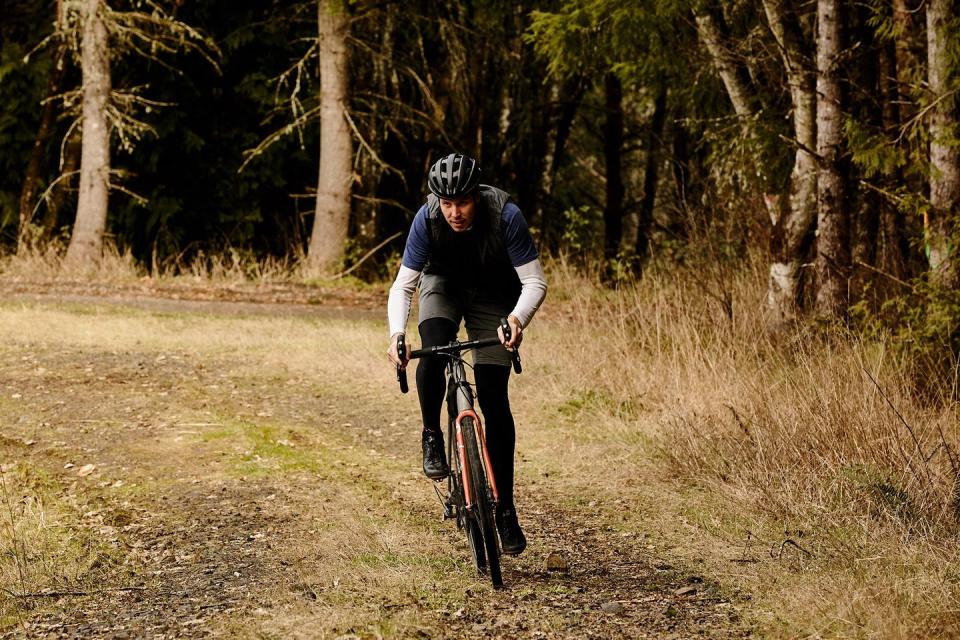
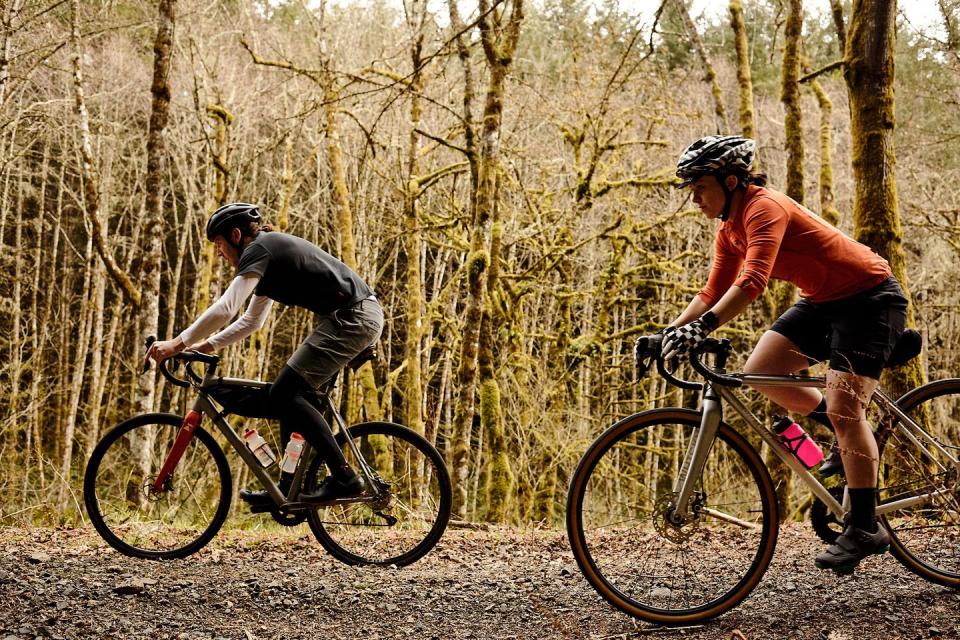
You are going to be out there behind your bars on the prairie for at least 12 hours-and maybe up to 21. You’d better love the bike you’re on. You’ll find plenty of touring bikes, mountain bikes, and cyclocross bikes on course. (I raced a Specialized CruX the first time and was completely comfortable.) All of them will get you to the finish line.
But nowadays, it’s worth looking into the new generation of gravel specific or adventure bikes such as the Salsa Warbird and Devinci Hatchet, which are specially designed with stability and vibration dampening in mind. Or kick it up a notch with an even nichier bike like the 3T Exploro (my weapon of choice in 2017)-a nimble aero-gravel bike that is shaped to slip through the wind (and oh, there’s wind) and deliver some extra easy speed when the going is anything but fast.
Cover Your Behind

At the risk of providing TMI, I’ve heard horror stories of saddle sores, boils, and hemorrhoids from the DK200. What’s important to keep in mind is that what works for 100 miles won’t necessarily cut it for 200 miles. Pay attention during your training. If you feel hotspots developing after a 100-mile day, you’re looking at agony for the double distance.
After getting a few raw spots during my first DK200, I switched to a Fabric ALM Shallow Profile saddle, which not only fits me perfectly, but also employs carbon leaf spring rails to take the edge off harsh terrain. Oh, and I swear by Okole Stuff Chamois Ointment, which never lets me down.
Be Choosey With Your Shoes
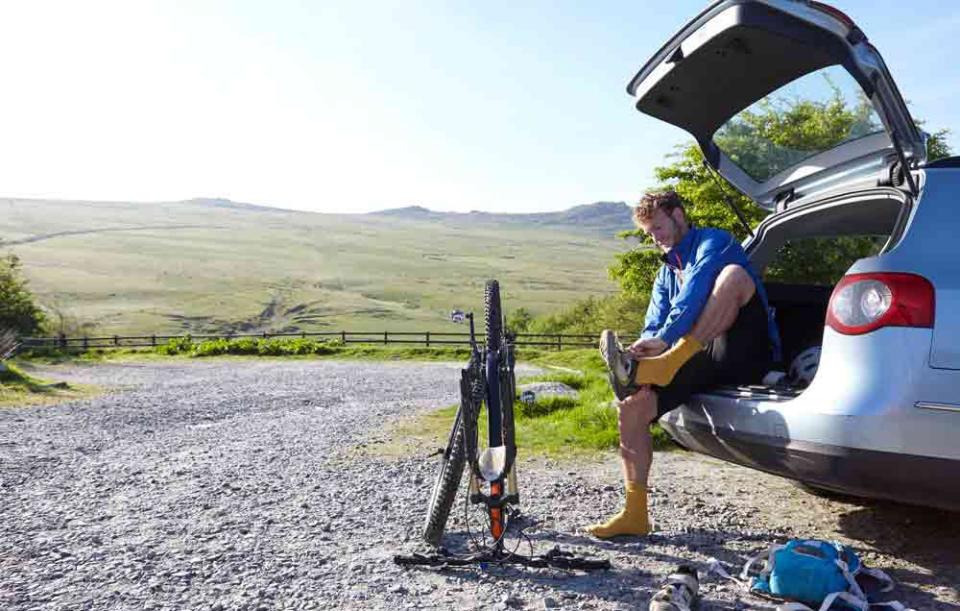
Lesson learned the hard way: During my first DK200, I suffered the worst foot pain I’ve ever experienced. From mile 170-something on, my feet felt as though they were clamped in woodshop vices, dipped in lighter fluid, and set ablaze. I believe the issue was my snug, stiff XC racing mountain bike shoes- which were awesome for daily rides but torturous over longer mileage.
The next time, I put foot comfort high on the must-have list and opted for the Pearl Izumi X-Project PRO shoes, which are designed to be stiff and light, but also supple enough to keep your feet comfy on and off the bike across all types of terrain. (The off-the-bike part can be key in Kanza, when rain can create unrideable mud, which leaves you pushing for long spells). I only hopped off the bike for a few stream crossings last time, but even soaking wet, the shoes delivered complete comfort for over 13 hours.
Be Prepared for All the Weather
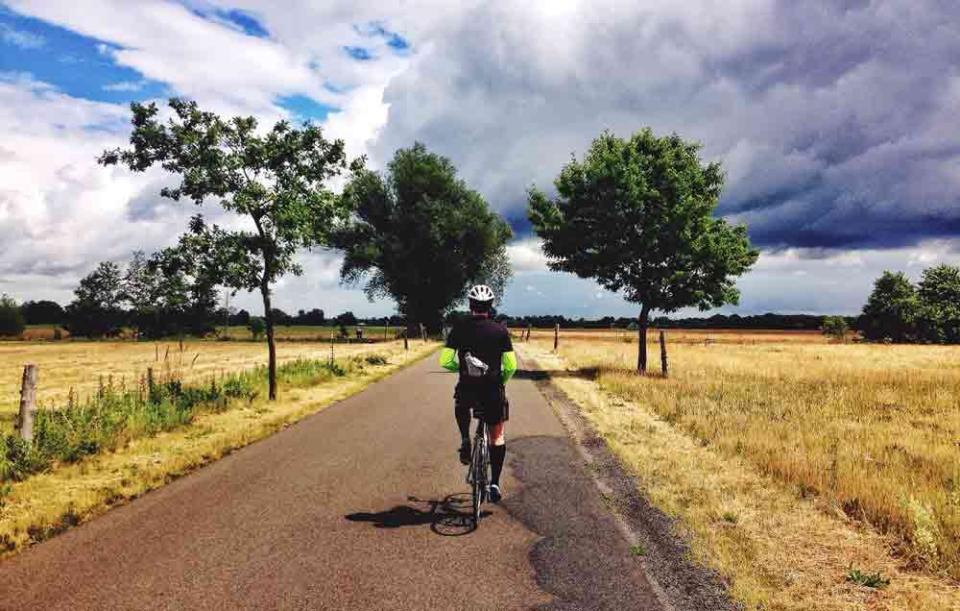
Kansas weather is like a moody teenager. It could be 58 degrees or 88 degrees. It may rain or hail. There could be 30 mph wind gusts. Or you could have all of the above all between checkpoints 1 and 3. And you are remote, so if the skies crack open and dump on you like an ice bucket challenge, there’s no place to duck and cover.
Jersey pocket space is precious, finite real estate at DK200, so truly portable weather protection is important. With storms in the forecast, I opted to stash my whisper light, yet foul-weather defying Gore-Tex SHAKEDRY Bike Jacket. I barely knew it was back there, but I knew it was back there, which gave me peace of mind.
Choose Your Tires Very Carefully
DK200 is held in the Flint Hills of Kansas. Fun fact: One of the most common uses of flint by our prehistoric ancestors was making arrowheads! Guess what it does to tires? Stabs them like they are a fat wooly mammoth, that’s what. Choose your rubber wisely. Set them up tubeless with fresh sealant. And pack plenty of tubes just in case.
I’ve had hit-or-miss luck with many gravel-oriented tires, so I chose Clément’s first tubeless ready tire-the fast-rolling 36mm MSO X’Plor tire. They did not disappoint. The soft rubber tread felt supple on the hard pack while the knobs delivered traction when the terrain turned loose. I clocked a few square edges without incident and suffered not so much as a pinhole.
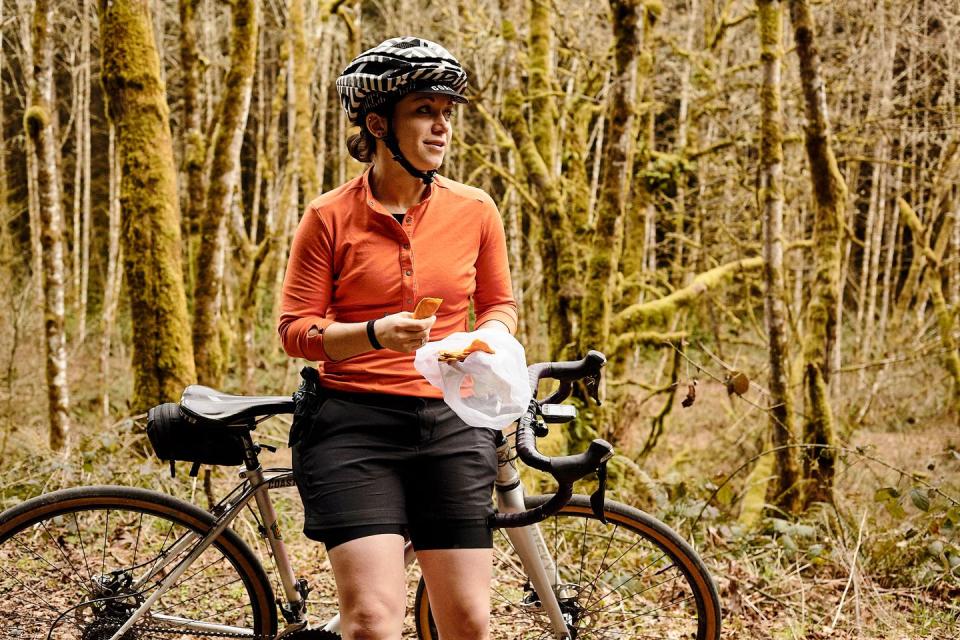
Carry Enough Food and Fluid

It’s hard to emphasize this one enough. Bonking and/or getting dehydrated takes on another level of grim when you’re 105 miles from nowhere. It may take you 4 or 5 hours to get between aid stations, and there’s barely any coasting, so you never stop pedaling at DK200. Even if you’re not going hard, you’re constantly turning the cranks and burning energy. It can be ungodly hot and dusty. Even some of the top riders use hydration packs.
I opted for two bottles on my bike and a BackBottle in my jersey- and that was pushing it, honestly. I was lucky there were a few key spots between checkpoints where kind-hearted locals were handing out water. Know the distance to your next fill-up, and carry more than enough to get you to each one.
Practice Fully-Loaded

DK200 is totally self-supported between aid stations, and those Flint Hills are murder on bikes. That means you’ll be schlepping a lot of stuff-tools, spare parts, food, fluid, rosary beads, lube, a pocket knife to clear mud from your cassette, you name it. Do at least a few of your training rides with everything loaded the way you plan to roll it. The first year, I’d planned to carry bottles behind my saddle, but on practice runs, ended up ejecting them like missiles down the first rugged road. I was glad I practiced! One find I loved in 2017: Speedsleev’s Endure Top Tube Case. I had my tools, C02s, spare derailleur hanger, and other stuff in there and it didn’t budge.
Use the Aid Stations Wisely
You get three of them. They can be spaced 50 to 70 miles apart, depending on the route. These are your opportunities to check in with yourself and your bike, and be sure you have what you need to keep going. You don’t want to dilly-dally too much, but you should also be smart. Lube your chain. Get the food and fluid you need. Pro tip: Aid station 3 is a much harder pull than the stretches to the stations 1 and 2. If the sun is out and you’re entering the heat of the day, eat a little more, stash some ice in your jersey, and recharge for a moment before rushing out. I didn’t and ended up paying for it 30 miles later when I was feeling the heat and nauseously avoiding the calories I desperately needed.
Foolproof Your Navigation

The DK200 course is only loosely marked. You’re expected to follow the cue sheet and/or upload the file to a bike computer. The first year, I blew it with the cue sheet and went off course for more than 4 miles before the realization set in, and my heart sank into my stomach knowing that I’d just added over 8 miles to a 204-mile day.
I left none of that to chance in 2017 and uploaded the file to my Wahoo ELEMNT, then kept the route on screen. Another pro tip: Pack an auxiliary power bank portable charger (and cable). My Garmin barely made it to the end. The ELEMNT finished with 25 percent still in the tank. But if you’re out there longer than expected, and your computer dies, you not only have a Strava fail, but you’re also potentially lost, and getting lost during DK200 is a quick way to DNF.
('You Might Also Like',)

