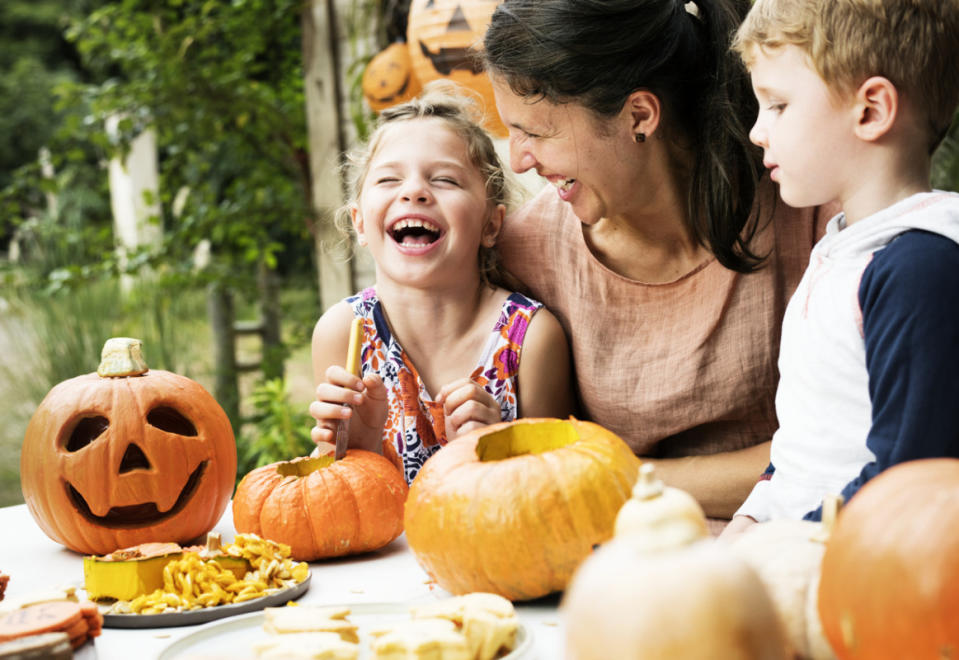
It's Not Just a Bunch of Hocus Pocus—Here's How to Carve a Boo-tiful Halloween Pumpkin

how-to-carve-a-pumpkin-jpg

iStock
Happy Halloween! It's officially the day that all of the costumes, treats and decorations are for. And what decor is more prominent in the fall season than the infamous jack-o'-lantern?! But for those of us who like the concept, but lack the intuitive know-how, instructions for such a craft are not only helpful, but super-necessary. That's why we're here to provide the best step-by-step instructions on how to carve a pumpkin!
So, get ready to say RIP to feeling intimidated by the pumpkin-carving process! Whether you're trying this out for the first time, or you just need a mental refresh on the steps to complete this creative craft, we've got the necessary details written out for you and a couple of helpful video tutorials as well.
Gourd luck—here's all the tips and tricks (and treats!) on how to carve a Halloween pumpkin!
Related: 50 Halloween Trivia Questions and Answers for the Scariest Day of the Year
How to Carve a Pumpkin
1. Brainstorm Templates and Themes Prior to Picking
If you draw out an idea of what you want to carve out (or print out some options), you can bring the template(s) with you to the pumpkin patch, grocery store, or wherever you're planning to pick out your pumpkin! That way you can make sure to grab one that's the right size and shape. This is also a good time to examine the outside of the pumpkin for any bruises or mushy spots, and check to make sure it has a strong stem and a sturdy base.
2. Secure the Right Supplies
While choosing the right pumpkin is significant to the process, you're not going to get very far crafting an eye-catching jack-o'-lantern without a few other key items. The most important pieces you'll want on hand include a paring knife, spoon, pen/pencil/marker, some newspaper (or some brown paper bags from the grocery store), and a couple of bowls.
The paring knife will help with removing the pumpkin's top, and it will be used for the actual carving as well. The spoon is necessary for clearing out the gourd's guts, and the writing utensil will help with drawing out a design prior to carving. It's not surprising that things can get a little messy (we did say guts!), so the newspaper will come in handy to have opened up on the surface of your workspace to make clean-up easier. You can place all the inside-gunk of the pumpkin in the bowls once you scoop them out. And don't feel limited if you want to grab more than just the essentials—there are plenty of cool effects you can make with things like a cheese grater, glitter, googly eyes, etc.
Related: 24 Creative Jack-O'-Lantern Ideas
3. Prep the Pumpkin
Start by cutting the pumpkin's top off, and put it to the side for later. Then, scoop, scoop, scoop! Use the spoon (and a lot of muscles!) to get all the gunk and seeds out from inside the squash. Remember to put seeds in a separate bowl if you're planning to roast them! When the gourd is all cleaned out, it's a good idea to go even further and continue thinning out the walls even more. By keeping the walls around an inch wide or so, it will not only make carving easier, it will allow more light to shine through as well. Finally, clean and wipe the outside so that the pumpkin's surface will be safer and easier to carve.
Related: Halloween Pumpkin Trends
4. Time to Design
If you're using a printed or drawn-out template, taping that design to your pumpkin is a good idea to ensure it won't move around during your carving process. Otherwise, grab your pen/pencil/marker and begin to freehand sketch the design you're thinking of. Washable or erasable options will be helpful if you need to start over or redo any section!
Related: 100 Halloween Pumpkin Carving Ideas
5. Carefully Carve
Ready for the main event?! Use your paring knife to carve out the shapes or sections that correspond with your design plan. Start with the smaller areas that need to be cut because cutting out bigger sections first will make the overall surface more fragile. As shared in the above video tutorial, "The big holes will weaken the pumpkin, so once those are cut, you'll have to be more careful and use less force." When pieces are removed, simply toss them in the gunk bowl and continue on.
Related: 26 Millennial Halloween Pumpkin Trends
6. Make the Finishing Touches
Once you're happy with the look, wipe off any lingering marks from your writing utensil. Now, you can put a light source inside for an instant, literal #glowup. Disclaimer: the heat from candles can quickly dry out the pumpkin, so it's worth looking into LED or other flame-less options. Put the lid back on for a photo-worthy moment.
Another useful call-out has to do with any changes you might wish you had made earlier in the carving process. If there are any spots that you'd prefer to tweak, pull them out from the top of the gunk bowl and then use toothpicks to place the sections back in.
7. Snack on Those Seeds
Rinse out the seeds if you saved them in a separate bowl, and place on a baking sheet. Add some olive oil and spices, and bake them until they're golden brown in order to make the perfect roasted treats!
Check out:
50 Halloween Wreaths
14 No-Carve Pumpkin Ideas
Halloween Instagram Caption Ideas

