Mom Shares Hack for Deep Cleaning Keurig Coffee Makers

The Arena Media Brands, LLC and respective content providers to this website may receive compensation for some links to products and services on this website.
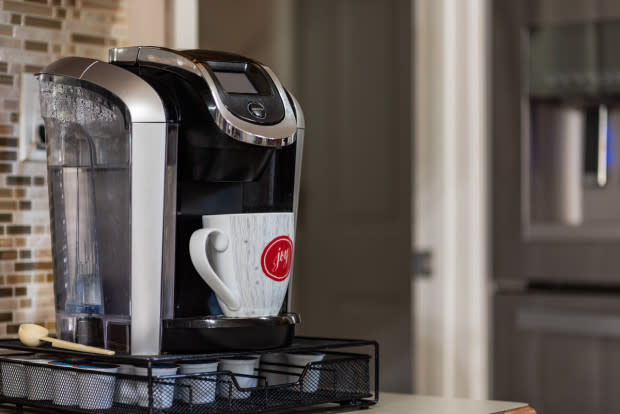
Are you a proud owner of a Keurig and can't imagine a morning without your favorite cuppa? Well, you're not alone. But, when was the last time you showed your faithful machine some love and gave it a good cleanse?
Keep reading if it's been a while, or never (gasp!). We stumbled upon an ingenious hack, courtesy of one savvy mom, that will have your Keurig coffee maker running brand new in no time!
First off, disassemble your Keurig. Remove the water reservoir, drip tray, and K-cup holder, and detach the K-cup lid if possible. Don't be intimidated; it's easier than it sounds and worth it! Fill your sink with warm, soapy water and submerge all the broken-down parts. Let them soak in this bubbly bath while you move on to the next step.
This tip is a game-changer; all you'll need is a small scrub brush, an old toothbrush, and some regular vinegar. The toothbrush is perfect for getting into all those hard-to-reach nooks and crannies. Douse the brush in vinegar and scrub away at the now-exposed parts of your Keurig.
Besides being an effective, natural disinfectant, vinegar also does wonders for decalcifying the insides of your machine. Remember to scrub gently; you don't want to damage any inner components.
By now, those parts you left soaking are ready for their own scrubbing session. Pull them out of the soapy solution and scrub away any gunk or coffee buildup. Once clean, rinse them well under warm water and dry them properly. Any residual moisture can become a breeding ground for mold, so ensure they are thoroughly dried before reassembling.
Still got that vinegar handy? Great, because you'll run it through your newly cleaned Keurig. Fill your reservoir with a 3:1 ratio of hot water to vinegar, place it back in the Keurig, and run a full brewing cycle. The vinegar will continue its decalcifying magic and flush out any remaining dirt particles. When the run is completed, run a few more cycles with plain water to rid your machine of lingering vinegar smell.
And there you have it—an all-done, deeply cleaned, and descaled Keurig! This mom's hack makes deep cleaning your Keurig easy and practical, leaving you with a fresh and efficient machine ready to brew that perfect cup of coffee.
So, next time you're savoring your morning in your cozy apartment, Joe, don't forget to show some love to your Keurig. After all, a clean machine means a tasty brew!
Follow us on Google News, subscribe to get Home & Garden news to your inbox and share your latest project for a chance to be featured!
