How to Make Miniature Haunted House Favor Bags
Whether you're hosting a Halloween party or looking for something new to hand out to trick-or-treaters, these miniature haunted houses are sure to please all little monsters. We'll show you how to turn plain treat bags into adorable haunted houses for a festive party favor. Fill the bags with miniature treats like candy, stickers, or stationery, then hang the bags on a DIY display until party time.
This display is also an easy way to leave treats on your porch if you won't be home to greet trick-or-treaters. Simply hang several bags on branches and leave a short note inviting little ghosts and ghouls to take one!
Related: 31 Easy Halloween Crafts to Make in Under an Hour
How to Make Haunted House Treat Bags
Supplies Needed
2½ x 4-inch black paper bags
Cardstock in black and yellow
Scissors
White glue
Small hole punch
Twine
Black marker
Gel pens
Small treats to fill the bags
Step-by-Step Directions
Follow these easy instructions to make your own Halloween treat bags. You should be able to make a whole set in under an hour.
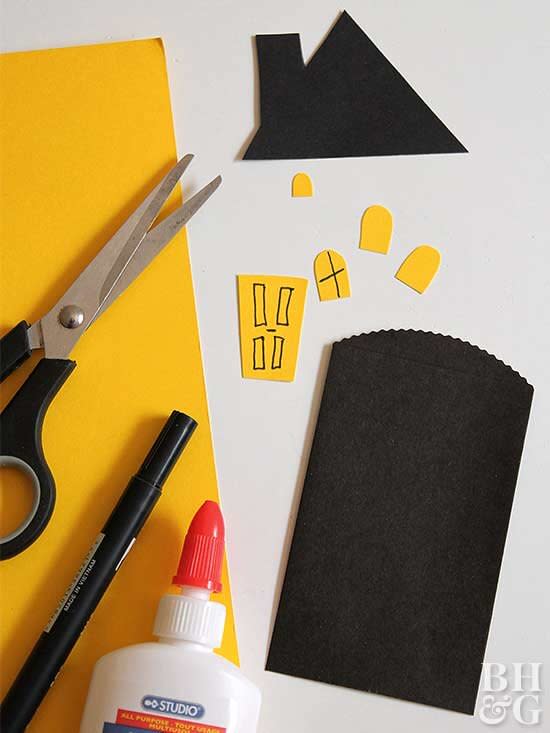
Step 1: Cut and Decorate Bags
To make the houses, you'll need a set of 2½ x 4-inch black paper bags ($15 for 50, Amazon). Each bag will become a party favor, so decorate as many bags as you want to give out. Grab a multicolor pack of cardstock ($7, Amazon) and cut a roof shape from black paper, then use yellow or orange cardstock to cut out windows and a door for the haunted house. Don't worry about cutting these perfectly; you want the house to have a rickety look so they're all a bit different.
Use a black marker to add details to the windows and door. Again you don't have to worry about drawing straight lines on the windows and doors–diagonal lines will just add to the charm. Glue the windows and doors to the paper bag and to the roof, but don't glue the roof to the bag at this point.
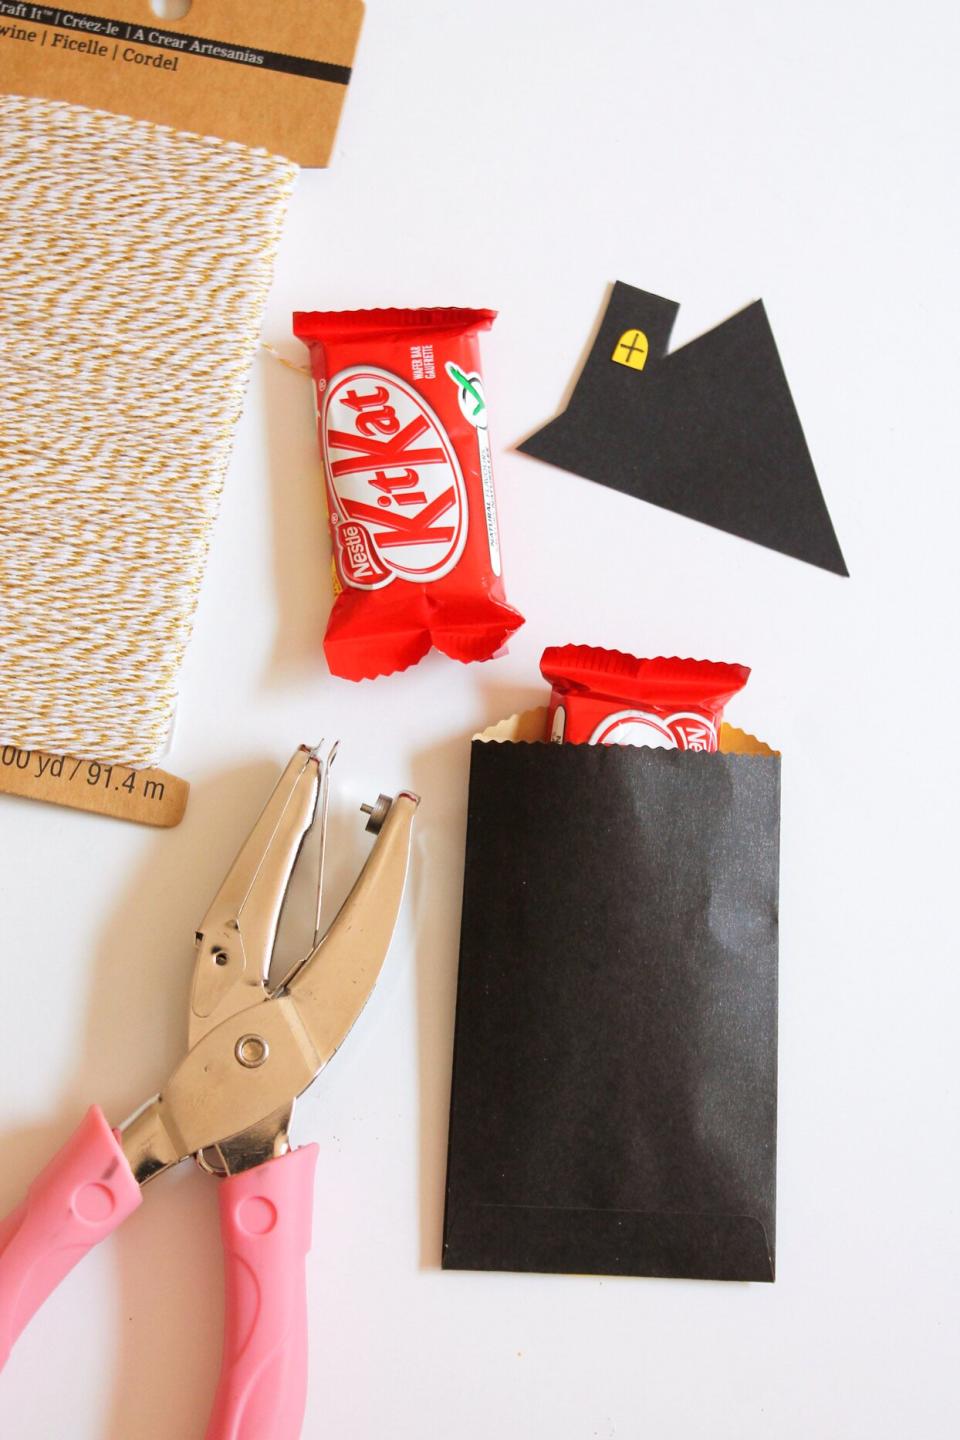
Step 2: Fill Bags
Once you've decorated the bag and roof pieces, it's time to fill the bags with the treats. Individually-wrapped candy bars work great, as do non-candy trick-or-treat items like toys and pencils. Don't overfill the bags, and try not to add heavy items.

Step 3: Close and Tie
When the bags are full, fold the top of the bag to close and use a small hole punch ($2, Target) to punch the top of the bag as shown. Thread twine through the hole and tie the twine to close.

Step 4: Add Roof
Now glue the roof onto the bag. Add a line of crafts glue ($4, Target) across the top front piece of the bag and press and hold the roof piece until it's attached. Snip off the sides of the bag so the roof looks like it sits correctly. It's okay to have the roof overlap the bag; it gives the houses a natural look!

Step 5: Add Details
Once the bag is assembled, add details to the bag or roof with gel pens. Be sure to select pens that will show up on the black paper (such as neon green or white). You can even try using a glow-in-dark pen for a spooky vibe. Adding details like trim, shingles, and siding will help the treat bags stand out. Add spiders and spider webs to complete the haunted mansion look! Try embellishing the bags with stickers, glitter, or colored paper.
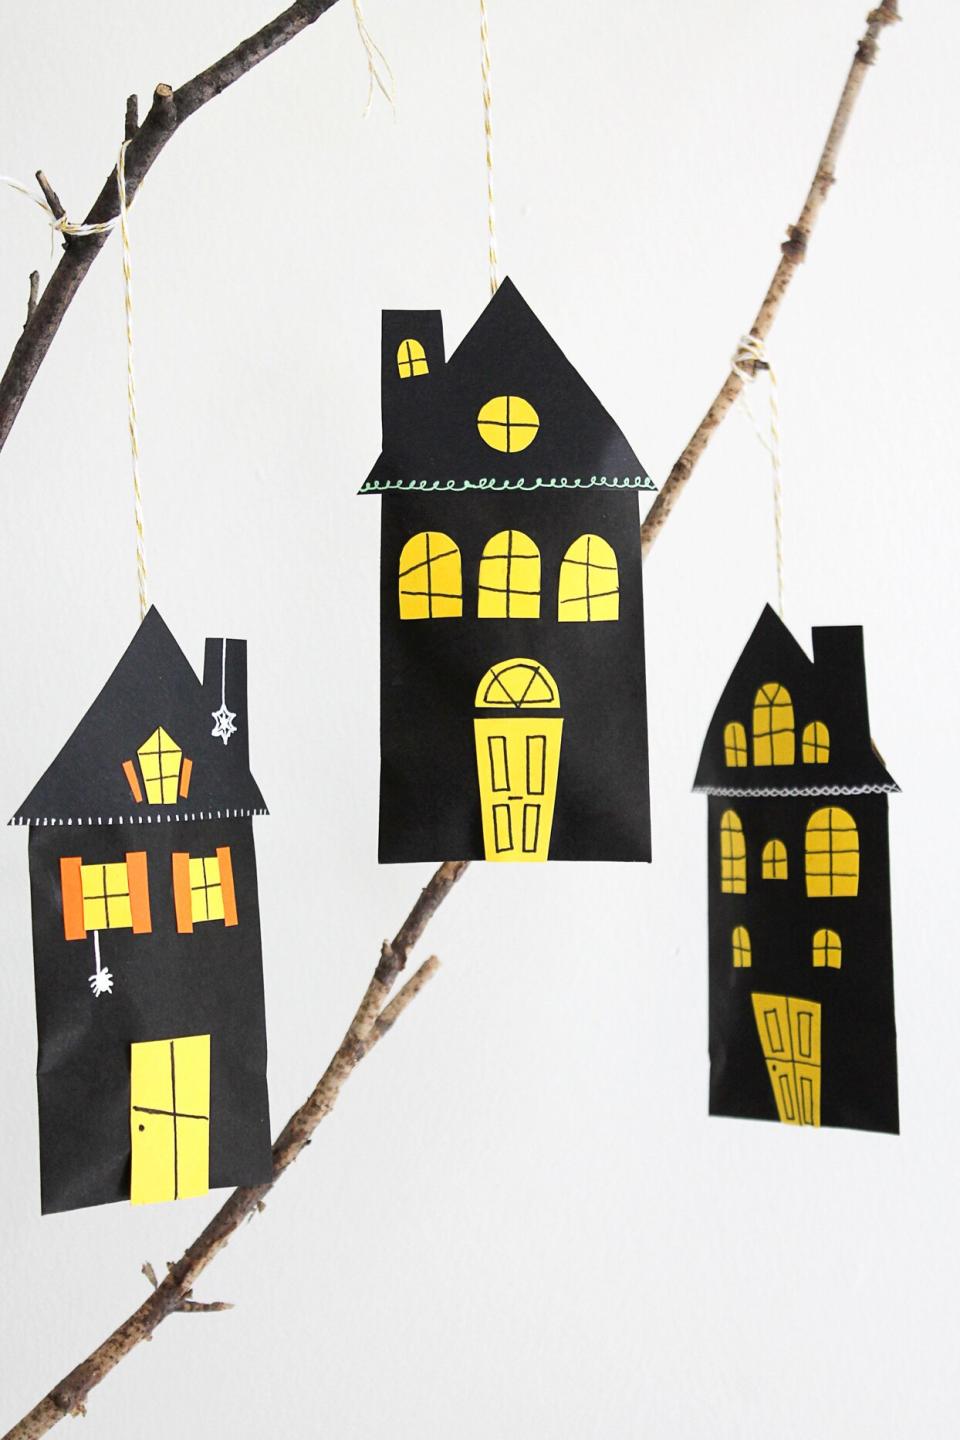
Step 6: Arrange the Bags
Once you're done with the houses, arrange the bags on bare branches until they're ready to hand out. Arrange branches in a vase and hang the haunted house favor bags from the branches for a tabletop display. Choose long, thick branches that can support the weight of a couple haunted houses, and make them even spookier by painting the branches black or white.

