Martha's Guide to Pressing Your Own Apple Cider
Each fall, Martha takes out a hand-crank press to turn her apples into cider. Here she shares her tips for using the classic tool, as well as how to whip up a batch of liquid gold without one.
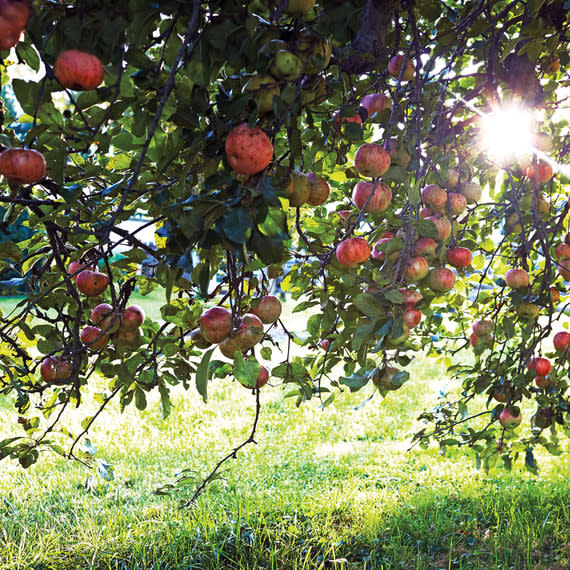
Homemade cider makes use of apples that aren’t 100 percent perfect. A blemish or two is fine—just be careful not to use any that have spoiled or have rotten spots, because they will cause the juice to ferment too quickly. For deep, nuanced flavor, Martha blends different types of apples together. The result is unfiltered and unsweetened, with no additives. For a gallon of cider, you’ll need between 30 and 40 apples. Then follow these simple steps.
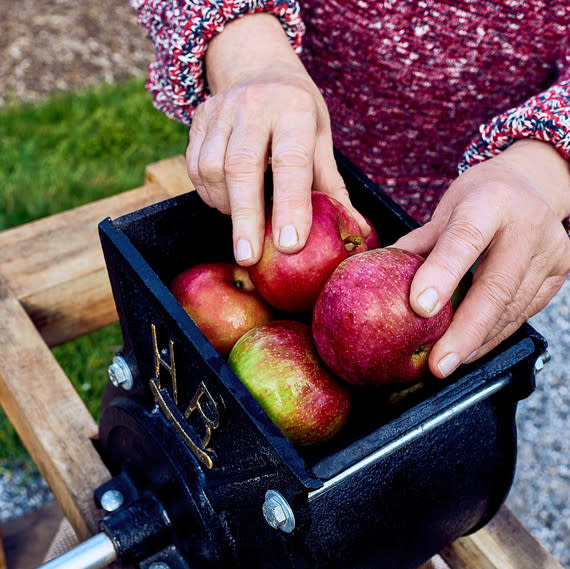
1. Set up the press, and add a mesh bag to the bucket. Rinse the apples, and place several at a time in the rotating cylinder equipped with sharp teeth.

2. Start turning the wheel on the cylinder to grind the apples. As the apples are pulverized, the pulp will fall into the tub, which is also known as the hopper. Continue the process, adding more apples and turning the grinder.
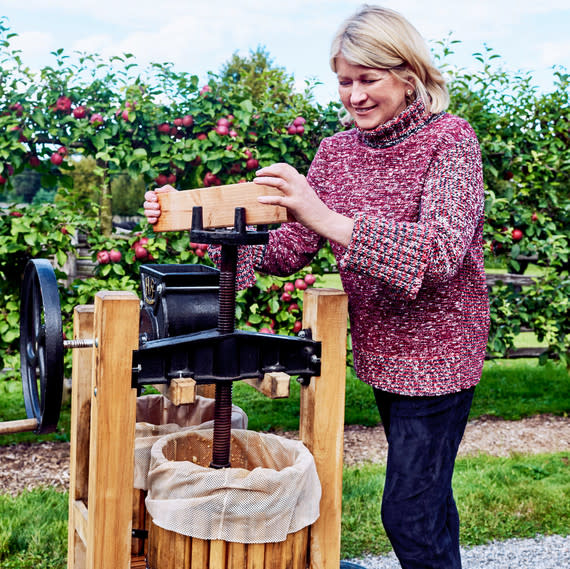
3. Once the hopper is full of pulp, put the pressing plate down directly on top. Place a clean bucket beneath the downspout, and turn the handle clockwise to lower the screw onto the tub. This part can require some strength, so take turns!
4. Keep turning until every last drop is squeezed out. Skim off any froth that forms on top. Pour the cider into clean bottles, and refrigerate immediately.
No Press? No Problem! Get the Food-Processor Apple Cider Recipe

