This “Magic” Method for Threading a Needle Works Every Time
Whether you want to mend a ripped pair of jeans, re-attach a lost button, hem too-long curtains, or try out some beginner-level embroidery projects, there’s one crucial thing you’ll need to know how to do before you can even begin: how to thread a needle.
Threading a needle is one of those tasks that can be tricky on your first try, but gets easier with a little practice — not to mention precision and patience. There are a few things you can do that will set you up for success, though, says Morgan Spenla, founder and chief executive of Crafter, which offers curated crafting classes, project subscriptions, and materials. The most important steps you can take? “Choosing the right needle for your project, mastering the art of eye and thread alignment, and using good lighting,” she says.
No matter the size of your project, knowing how to thread a needle efficiently will help save you precious time (as well as frustration). There are a few techniques that all work well, according to Spenla; try them all out to figure out which feels best to you. Below, four simple methods for threading a needle.
Tips for Threading a Needle
Before you begin, choose the right size needle for your project. That comes down to whether the thread you’re using will fit through the eye of the needle; the size you’ll find in most basic sewing kits is called a #7 sharp needle.
If you want to do embroidery, you’ll need an embroidery needle, which will have a larger eye (all the better for fitting multi-strand cotton thread through).
1. The Water Method
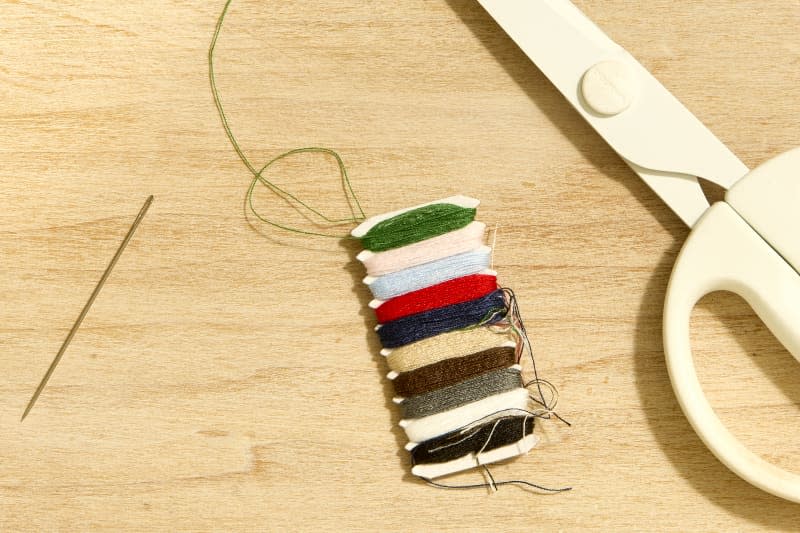
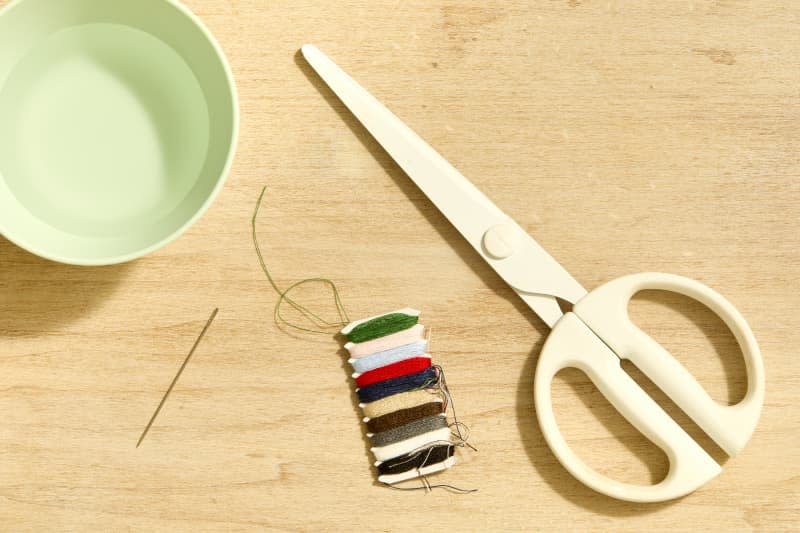
Materials:
Needle
Thread
Scissors
Small bowl of water
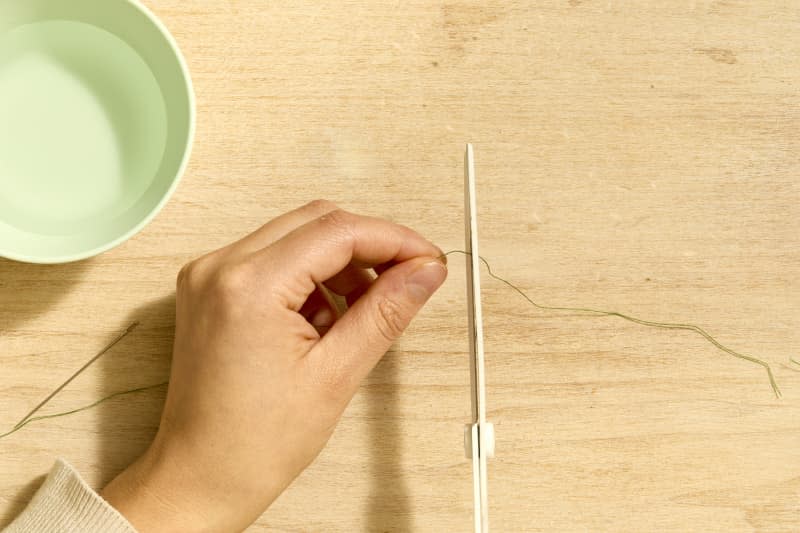
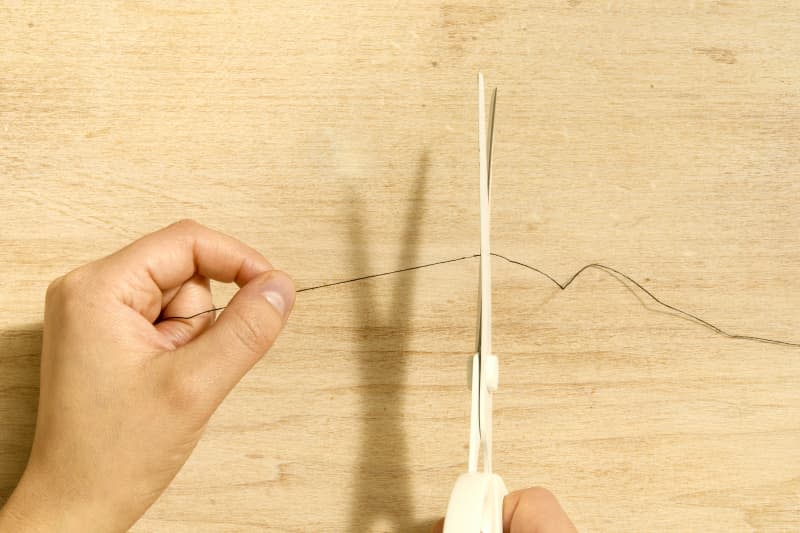
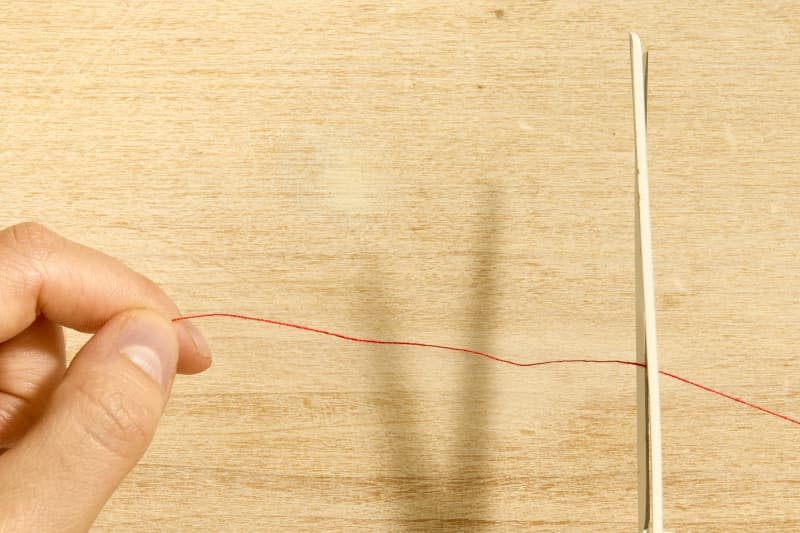
1. Cut the thread.
Cut the thread to your desired length. Consider cutting the thread at an angle to make it even easier to get through the eye of the needle, says Spenla.
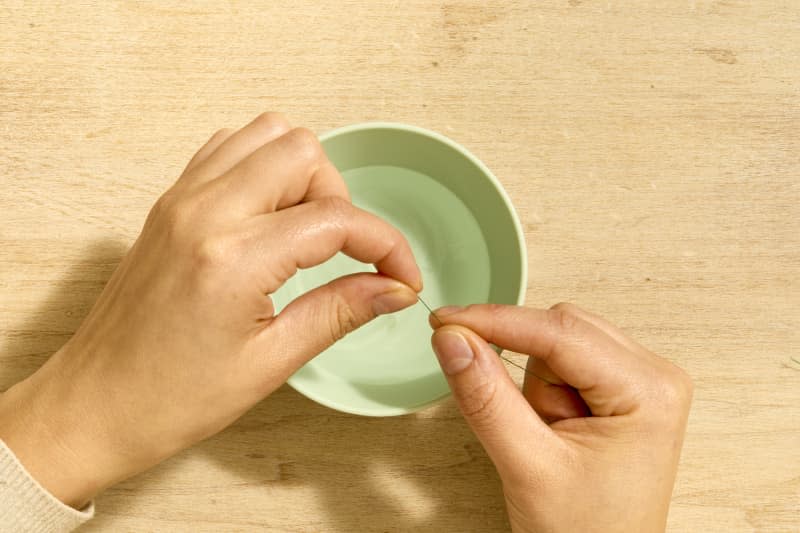
2. Wet the end of the thread.
Dip your finger into a little water. Use your dampened fingers to wet the end of the thread that you’ll be directing through the eye of the needle.
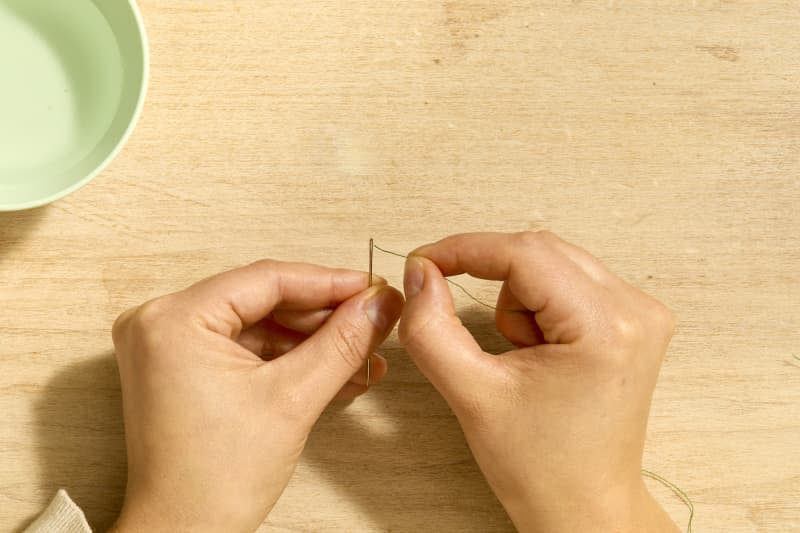
3. Insert the thread through the needle.
The moisture you’ve added will help the fibers in your thread stick together, making the thread a little slicker and easier to feed through the eye of the needle. Direct the dampened end through the eye of the needle; re-wet the thread as necessary.
2. The Needle Threader Method
Materials:
Needle
Thread
Scissors
Needle threader
Pro tip: This method works both for hand-sewing and for sewing machines, and there are several different types of threaders to use based on the type of crafting project you’re working on. Check out these cute hummingbird threaders made of plastic, or try these sturdy stainless steel puppy and kitten threaders.
1. Cut the thread.
Cut the thread to the length you’ll need for the project.
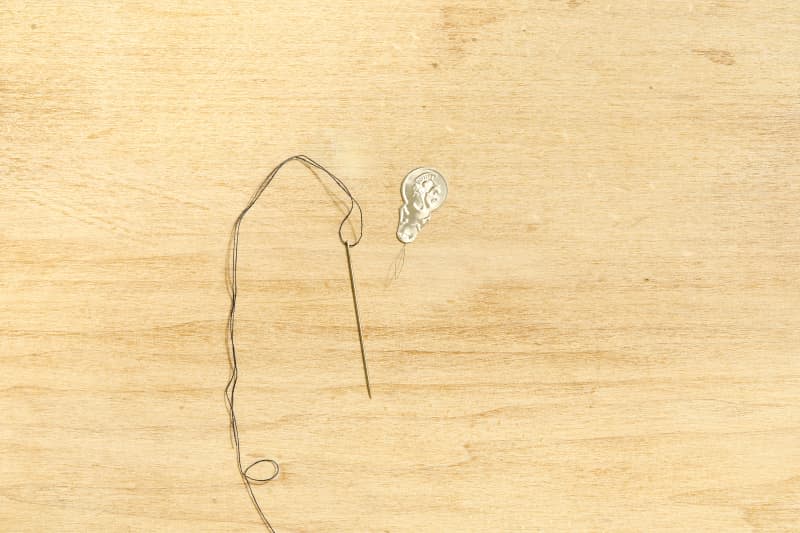
2. Insert needle threader.
Slip the needle threader through the eye of your needle so that its hoop is all the way on one side, and its head is on the other.
3. Insert thread through threader.
Insert your thread through the threader’s hoop. Pull it until you have a few inches of thread on the opposite side.
4. Pull needle threader back through the needle.
Pull the needle threader back through the needle, so it’s exiting the same way it entered. As you do this, you’ll be pulling the thread with you, too.
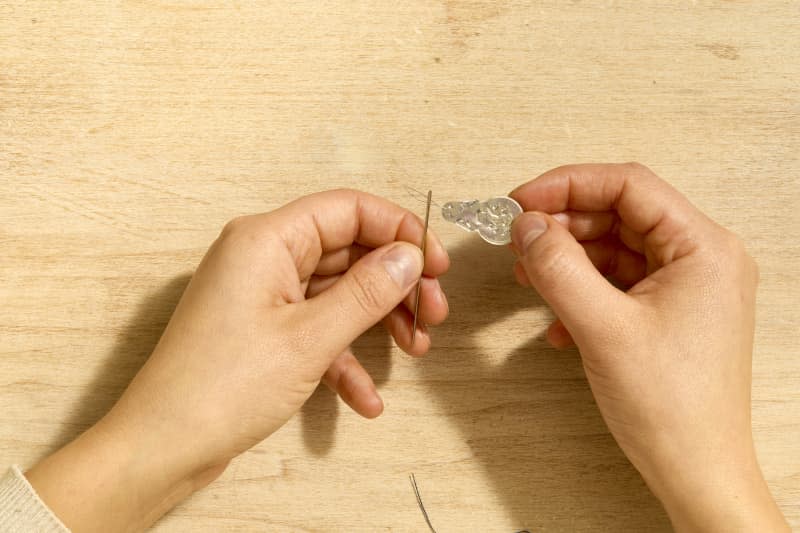
5. Remove the threader.
Pull the threader until one end of the thread is all the way through the eye of the needle. Then, remove the threader.
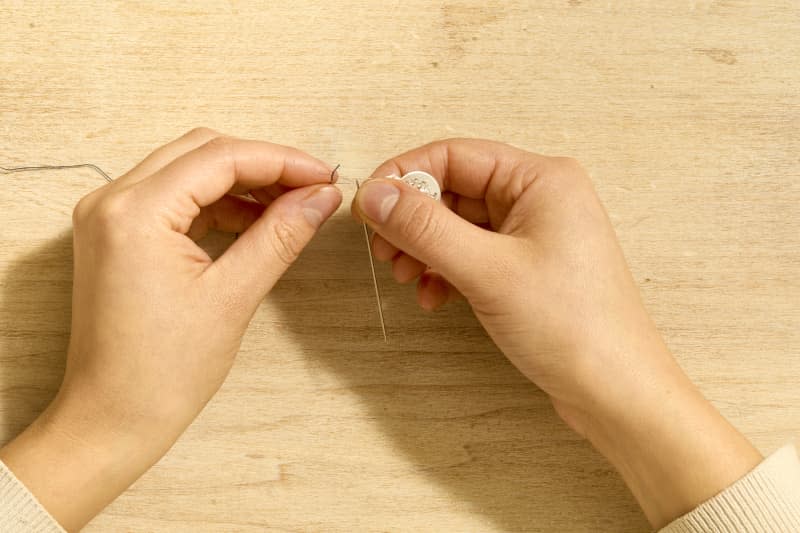
3. The Pinch Method
1. Cut the thread.
Cut the thread to the length you’ll need for the project (or don’t — Spenla says you can consider saving this step for the end). “There’s no reason to cut the thread first, as it’s being folded over the needle to create a fray-free end to thread through the needle,” she notes. “This is how our director of marketing at Crafter threads yarn through a needle — she says it works every time!”
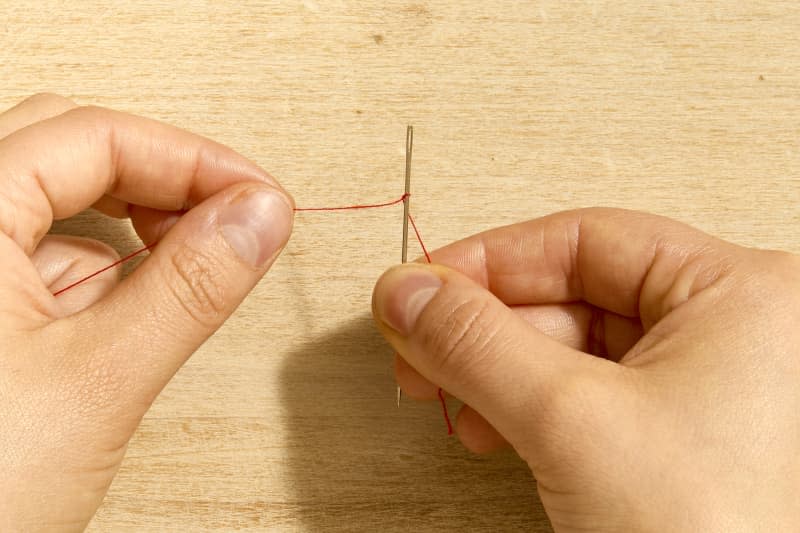
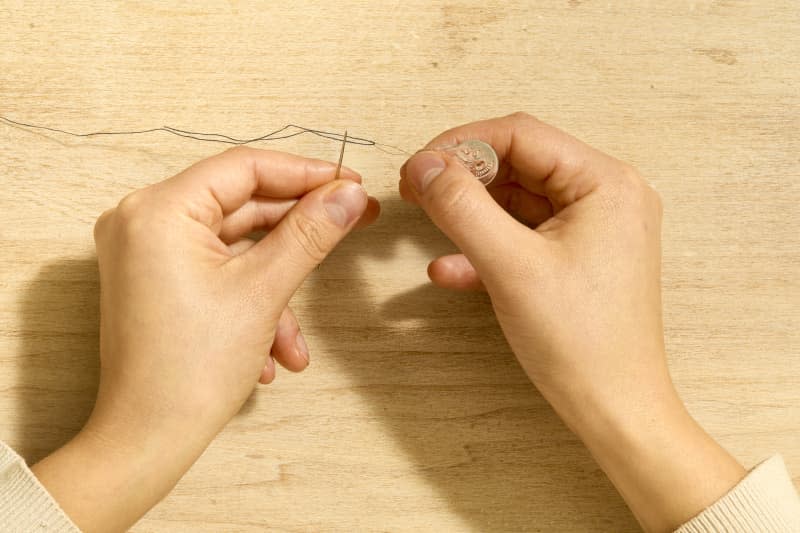
2. Wrap the thread around the needle.
Wrap the thread around the needle securely, and hold tightly.

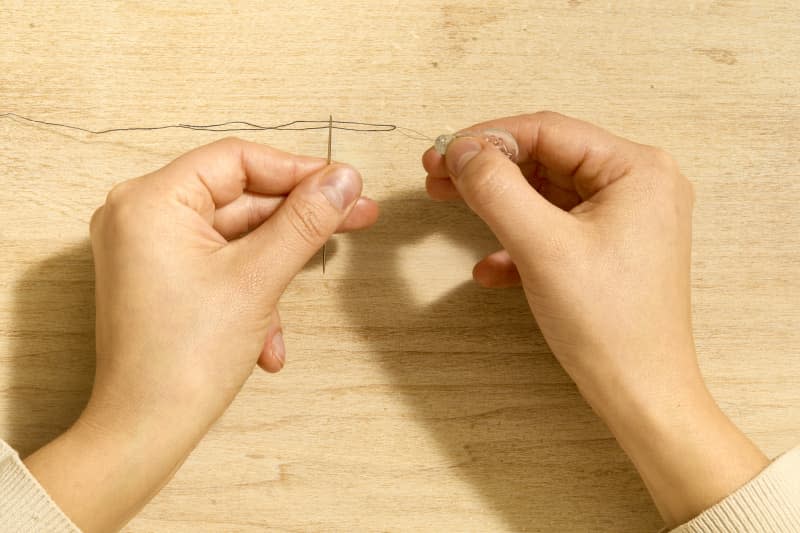
3. Pull the needle out.
Pull the needle out from between the thread, so that you leave a small loop behind.
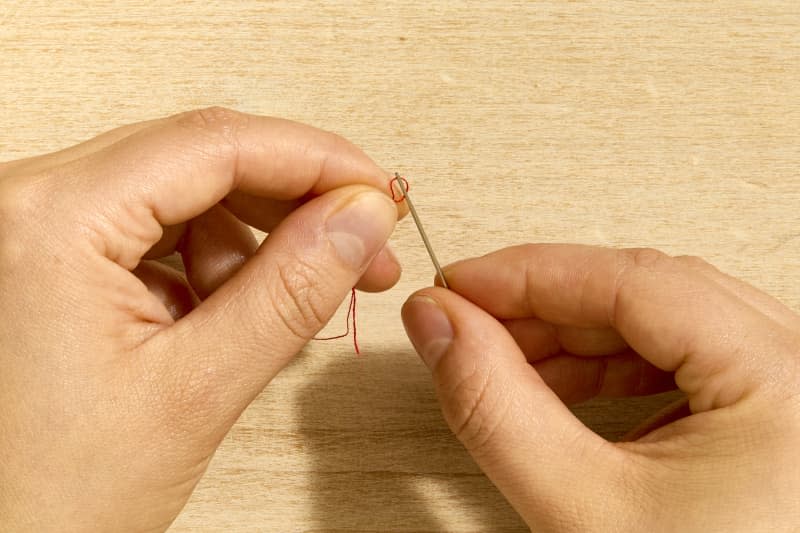
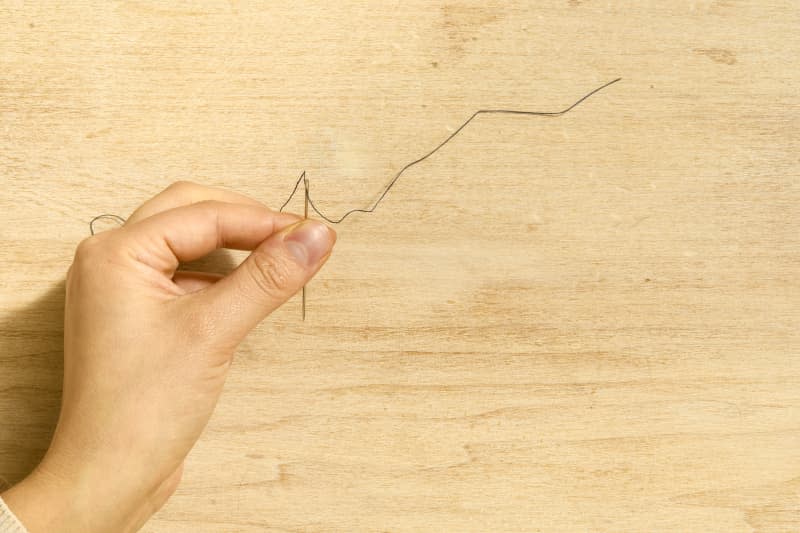
4. Feed the thread through the needle.
Feed the loop of thread through the eye of the needle, pushing through until you’re able to grab from the other side. Pull until your needle is fully threaded.
4. The Magic Method
Materials:
Needle
Thread
Scissors
1. Cut thread.
Cut your thread to the length you’ll need for your project.
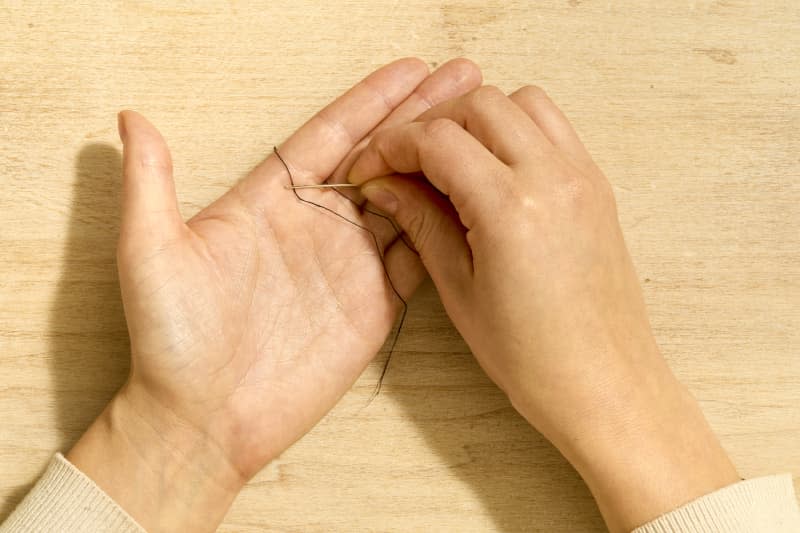
2. Lay thread on your hand.
Lay the thread across your hand so that it goes across the meat of your palm.
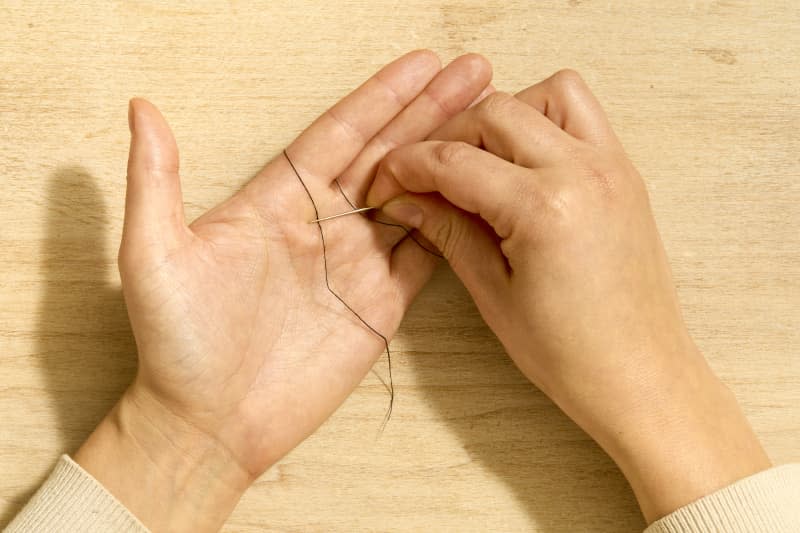
3. Rub the needle back and forth.
Rub the needle back and forth over the thread, applying even pressure.
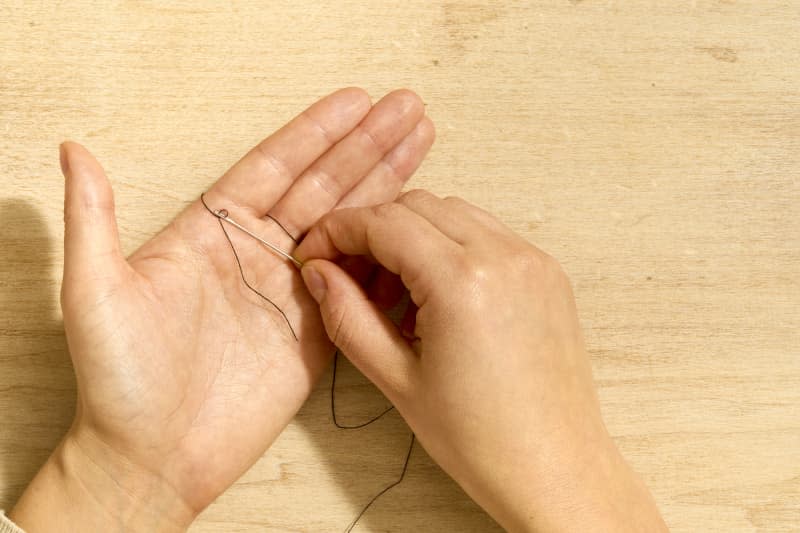
4. Let the needle thread itself.
Yep, the needle threads itself! Wait until you have enough of a loop sticking out of the other side of the needle, then pull the thread through. “This one really is magic!” Spenla says of this method.

