Know Before You Go!
The Arena Media Brands, LLC and respective content providers to this website may receive compensation for some links to products and services on this website.
It's a simple refrain repeated at trailheads around the nation: know before you go! What does it mean? The Know Before You Go (KBYG) platform was founded in 2004 after a series of deadly avalanches in Utah. The avalanche center realized there was a gap in the public’s understanding of avalanche safety. So, they made a basic system of education for people and programs to point to.
Here is a presentation and video from the KBYG Program and the Utah Avalanche Center. It is an excellent introduction to avalanche safety. The program is a way to build awareness around the different mountain issues we run into and how to mitigate them. Simply, KBYG can be broken down into these four steps:
Get the forecast
This is the first step to any tour plan. When you are deciding what terrain to ski, be it a specific zone or a new range, you must understand what avalanche hazards exist. To do this, you “get the forecast” by going to a local avalanche center’s website and reading the daily avalanche bulletin. Those sites are an invaluable resource to understand what the season history of snowfall looks like.
Get the gear
Any good partner will ask you as you leave your house in the morning if you have the essentials: beacon, shovel, and a probe. These are the required tools for backcountry skiing and riding. You use these for rescuing a partner who is buried in an avalanche, should the worst case scenario become reality. Many backcountry ski specific packs will have a pocket made specifically for the rescue tools.
I wear my beacon in its harness across my body, under a layer. Some snow pants also have a beacon specific pocket. If you are unsure if your outwear is built for that, wear your beacon in its harness. Never put a beacon in your backpack. It should always be worn on your body.
Get the training
The gear isn’t worth much if you don’t know how it works. Similarly, how can one decipher forecasts? Avalanche education providers across the globe offer great recreation level courses. We discussed finding your first class, and continued education earlier this month.

Photo: Jack Stauss
Spend a season or two in between classes before you go to the next one. Get out in the field often. You will learn great lessons from simply going skiing and paying close attention to your surroundings. Going ski touring with knowledgeable partners is one of the best ways to learn.
Get the picture
Getting the picture is a two part process: understanding the terrain you travel through; and making observations that tell you about changing conditions.
When understanding terrain, you must dive into the slope angle of the pitch you're skiing or beneath, the aspect and elevation you will be traveling through, and the variety of terrain features you may encounter. This can take years of practice and experience. Start in terrain you have spent some time in, measure slope angles in the field, and try quizzing yourself on what orientation different terrain is. You can also use digital tools like CalTopo, Fatmap, or OnX to get a better understanding of terrain. The slope angle layers on those sites are very handy.
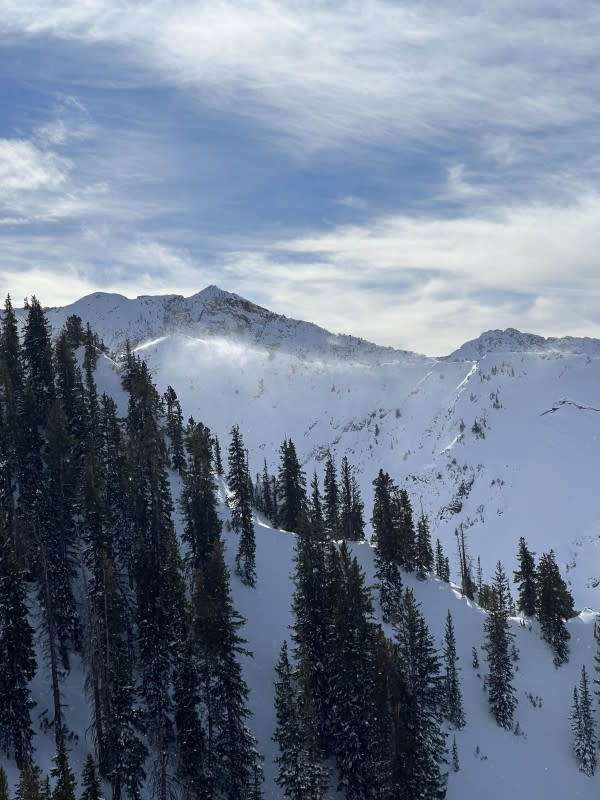
Photo: Jack Stauss
Making observations is the backcountry skier’s best friend. Watching what the wind is going to snow, recognizing solar input, feeling changes in the density of snow you are traveling through are all key components of staying out of harm’s way. Once again, these are skills that take a lot of experience, but nothing beats getting out in the field and doing it.
Keep Learning
KBYG is also a platform for education: it provides seminars and resources for education. You can also explore their suggestions for avalanche education providers by clicking on the “continued learning” link.

