The Internet Is Losing Its Mind Over This Gift-Wrapping Trick
A video showing a better way to wrap holiday gifts has gone viral.
The clever hack—wrap diagonally, not horizontally or vertically—is based in math.
Basic geometric principles explain how it works.
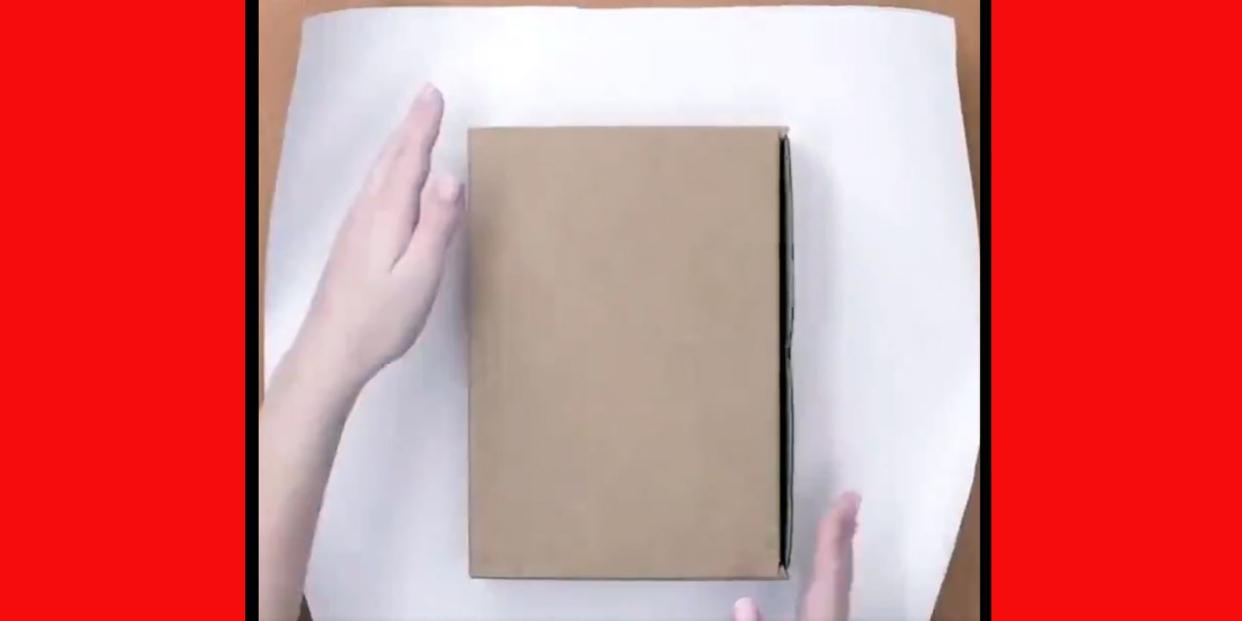
Just in time for the holidays, the diagonal gift wrap hack has gone viral. It’s age-old wisdom in some circles—a graduate student even wrote a paper about the math of the perfect gift wrap in 2007, and it’s how Subway sandwich artists already wrap your lunch—but it seems like the internet is only now catching up. Exhibit A:
You've got to be kidding me. After all these years... pic.twitter.com/dhNgjCVzeG
— Chuck B (@chUckbUte) December 15, 2019
Wrapping presents is such a culturally agreed upon futile challenge that there are explainers and demonstration videos everywhere, which most people watch, enjoy, and then never emulate. Somehow, wrapping presents feels like art and math in the ways people fear most about both subjects.
But this method is super easy to learn and use—and appropriately nerdy, to boot.
The secret to the economy of the diagonal wrap is that, for specific book-shaped things, it cuts way down on the redundant areas of paper and maximizes your coverage. I watched the video and planned an object size and paper size that match the conditions: a little too short in either direction when wrapping in a traditional squared-off way. In an example, I wrapped a flat, 4 × 5 “book” in a 7 × 9 sheet.

The green and pink dotted lines show where you fold over, and I’ve shaded the resulting flaps to show the sad leftover square we typically conceal with a separate piece you tape on as a patch. Bonus points if you make the patch from a scrap you should never have cut off your whole piece to begin with.
I wrapped a flat “book” with an area of 20 (4 × 5) in a sheet with an area of 63 ( 7 × 9). If somehow wrapping could be absolutely, perfectly efficient, I'd need a minimum of 40 to cover the flat rectangle with area 20. The wrapping sheet has enough to do this job with 23 square units leftover. Where are they going? I need a sheet that's long enough in one direction to completely wrap around my item. For the 4 × 5 book, that means at least 8 in one direction or at least 10 in the other. An 8 × 8 or 10 × 6 sheet would be enough.
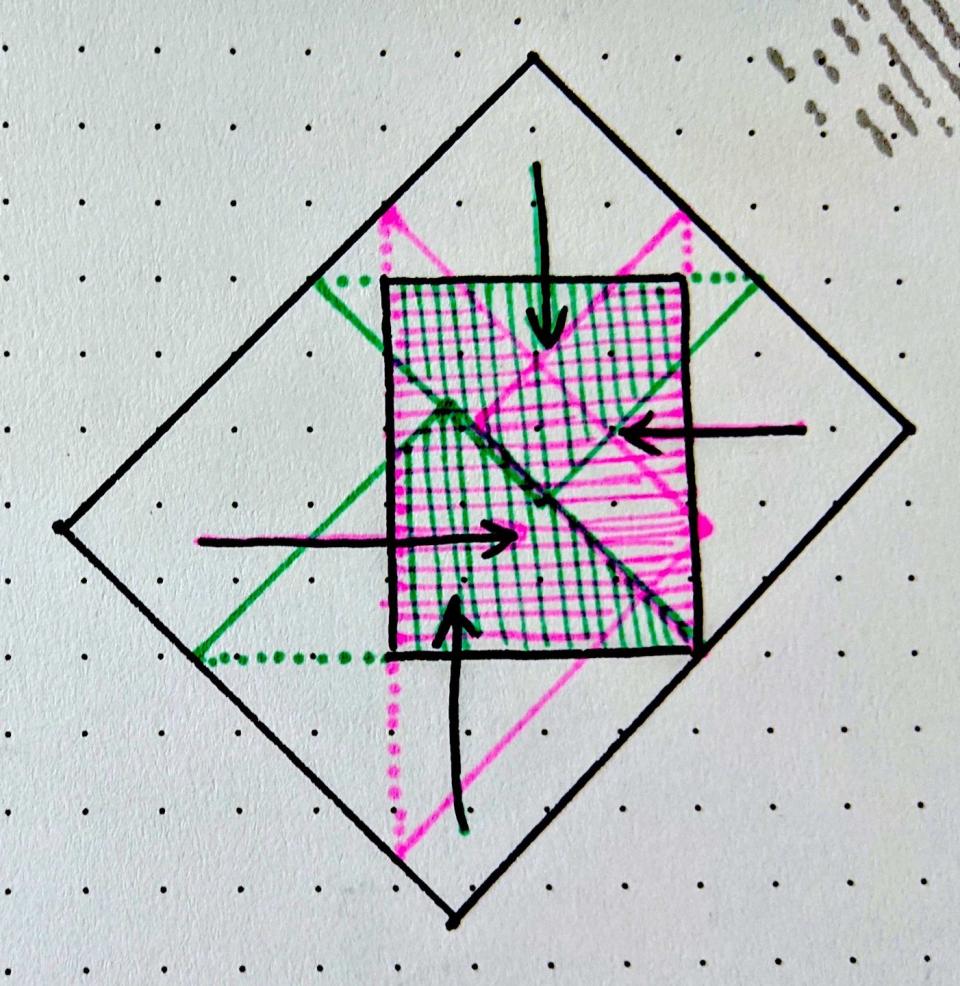
When you turn the paper 45 degrees, the same size sheet of paper suddenly looks huge. You’ve moved all the extra dead space in the corners so that now it forms the longest part of your sheet, which easily folds across and makes a comfortable overlap zone with the opposite flap. I turned my illustration just about 45 degrees exactly to make the demonstration easier, but you definitely don’t have to be that exact. This same spatial idea is how envelopes are made, and most envelopes are made of rounded rhombuses, not squares.
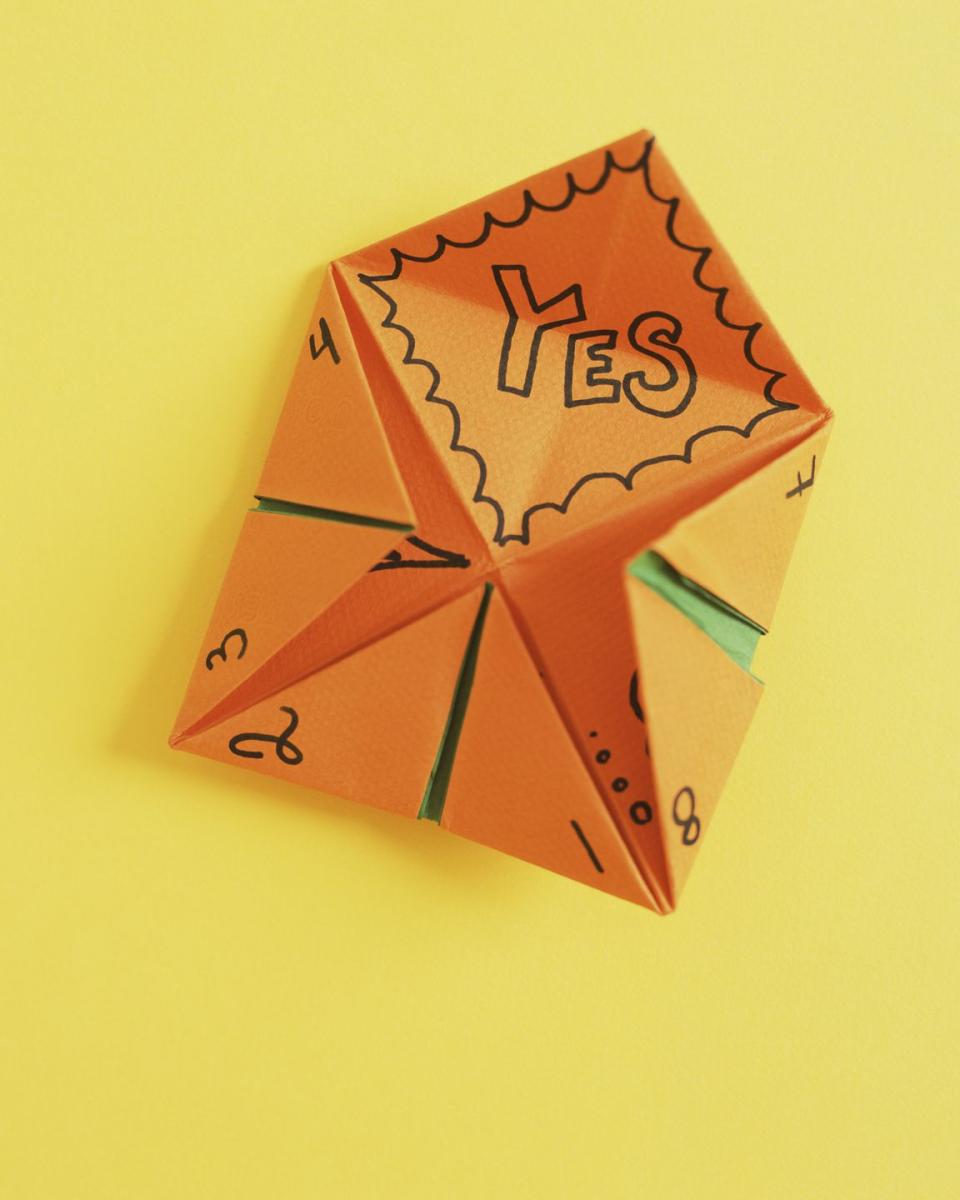
Again, the secret is how you're wrapping all the way around the item. A diamond orientation means you're folding over right triangles, with the longest side of each one, the hypotenuse, covering the entire edge of your item. If the tails of each end wrap all the way around your book and overlap even a little bit, your entire book is enclosed. Our effective wrapping length increased from 7 or 9 to over 11 inches for each diagonal. A folded "fortune teller" shows us how elegantly this can work when our piece of paper is square, forming a perfect juncture with no overlap.
If you insist, the most efficient squared-off way to wrap a book is to cut enough paper to wrap around it one way and trim the other edges short so you can carefully fold them together and tape them. This is how you use the least paper in this configuration, but it requires unnecessary amounts of finesse, more tape, and very neat edges on your cuts of paper. Most people cut the ends long and just fold them over around the back of the book, but that requires clever folding and looks messy despite it. Save some stress, paper, and tape and just turn your book 45 degrees.
You Might Also Like

