How to Insulate Your Garage Door With Weather Stripping
Installing weather stripping on a garage door is a relatively simple process that can help improve thermal efficiency by sealing gaps and preventing drafts. Both in the extreme heat of the summer and during poor winter weather, you'll be glad you have it.
There are different types of weather stripping materials, including vinyl and rubber. Whichever product you choose will be installed at the bottom of the garage door to reduce heat transfer between the door and the concrete garage floor. Choose a material that suits your climate and provides a good moisture and air seal.
Benefits of an Insulated Garage Door
Energy Efficiency. Insulation regulates the temperature inside the garage space, preventing heat loss and offering energy savings. This can result in lower energy bills.
Improved Comfort. The addition of weather stripping and other types of insulation panels helps with energy loss and will keep your garage a more comfortable temperature.
Noise reduction. Standard garage door insulation kits create a quieter indoor environment. Insulation materials reduce noise transfer from street traffic, neighbors, or severe weather conditions.
Increased Weatherproofing. An effective seal can provide a sense of climate control and offer additional protection by acting as a barrier against moisture.
As with any specialty product, make sure you follow the manufacturer's instructions to have the best results.
Materials and Tools:
Weather stripping kit (vinyl or rubber)
Measuring tape
Utility knife or scissors
Screwdriver or cordless drill
Soap and water (for cleaning)
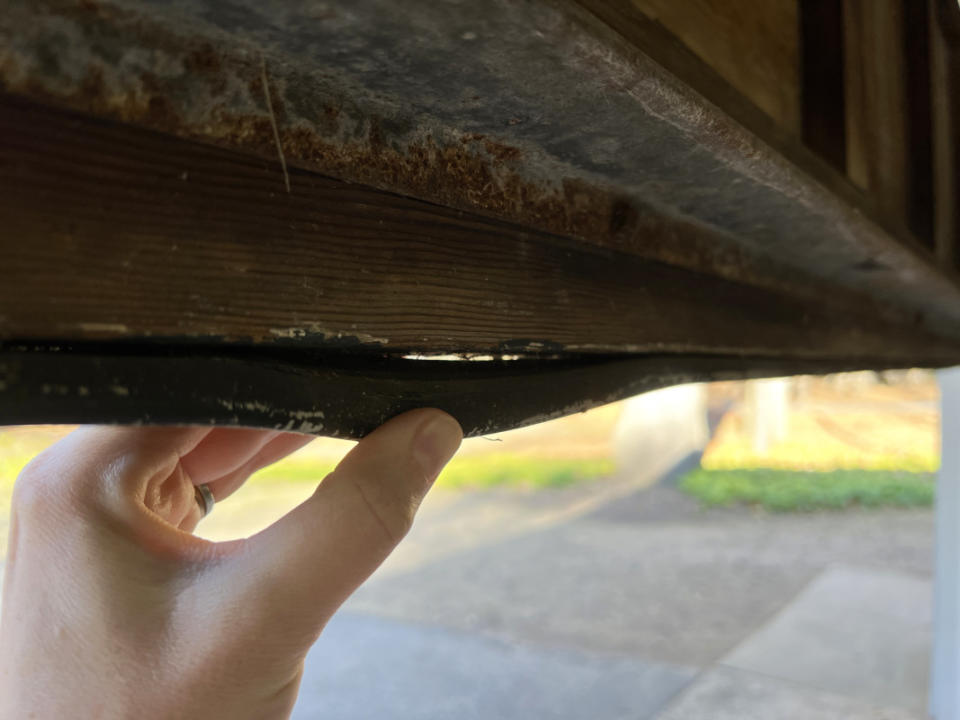
1. Raise and Clean the Bottom Edge of the Door
Thoroughly clean the surface where you will be attaching the weather stripping with soap and water. If your garage door has existing weather proofing, but it's damaged, you will need to remove the old material first.
Emily Fazio
2. Measure the Width
Measure the width of the door where you plan to install the weather stripping.
3. Cut the Weather Stripping
Using the measurements you took, cut the weather stripping to the appropriate length. Use a utility knife or scissors to make clean cuts.
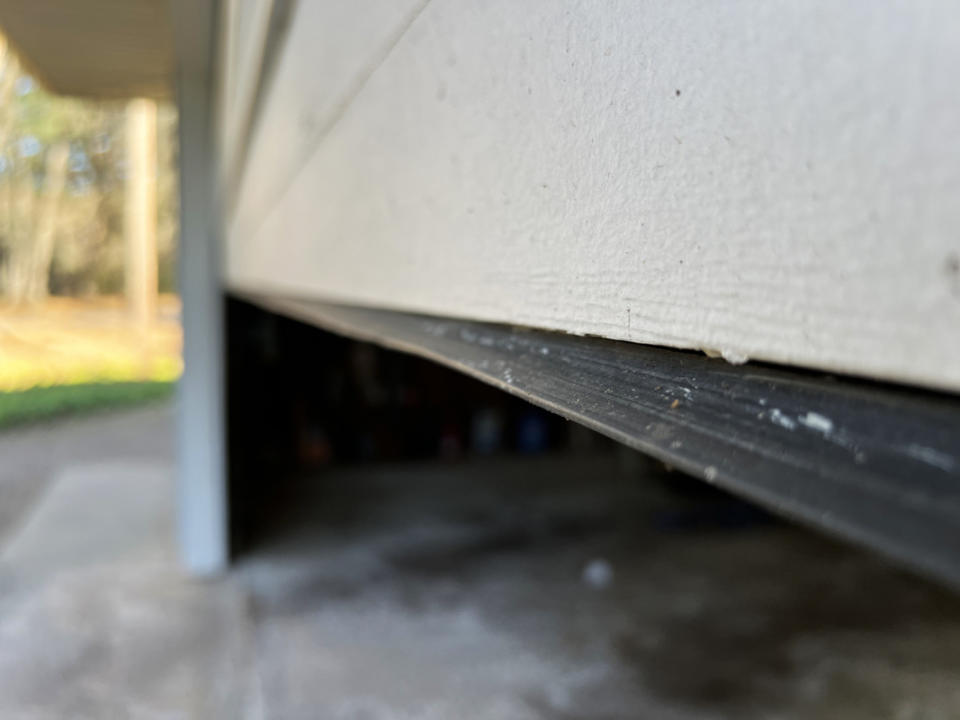
4. Attach the Weather Stripping
Peel off the backing from the adhesive side of the weather stripping and press it firmly into place along the bottom edge of the door. Trim any excess weather stripping at the bottom using the utility knife.
5. Secure with Screws
Some weather stripping kits come with holes for screws to provide additional stability. If your kit includes this feature, you can use a screwdriver to secure the weather stripping in place.
6. Test the Seal
Close the garage door and check for any gaps or areas where the weather stripping may not be making proper contact. Adjust as needed.
Emily Fazio
Other Options for Weatherproofing a Garage Door
Create an airtight seal at the sides of your garage door with top and side seals.
Buy a garage door insulation panel kit with R-8 vinyl-faced insulation panels. It can cost between $60-$120, depending on the size of your standard door.
Also, you can buy individual R-1.9 rigid foam insulation panels and cut them down to size.

