How to Install an Underground, Flush-Mount Bubbler Drain
Men’s Journal aims to feature only the best products and services. If you buy something via one of our links, we may earn a commission.
Installing a bubbler drainage system is an easy way to redirect water away from the foundation of the house while eliminating the need for unsightly gutter extensions. Unlike a French drain installation designed to collect runoff water that flows towards the house, a bubbler drainage solution is installed just underground, seamlessly integrating with existing gutter downspouts. For many homeowners struggling with basement moisture, grading the soil isn't always enough. This system is a permanent solution to resolve exterior drainage issues. It requires minimal maintenance and is a cost-effective upgrade that homeowners can undertake independently.
Emily Fazio
You'll Need:
Standard 4" Drain Grates (we did not use pop-ups)
Drainage stone
Landscape fabric
Tarp
Spade shovel
Level
Utility blade
Drill with 1/2" bit
Post hole digger (optional)
Why We Chose These Materials
There are a wide variety of kits and materials available for this type of project—and yes, many are more complex than what we use—but we found this DIY configuration highly affordable and easy for anyone to source.
Cost-effective. 4 in. x 10 ft. Triplewall Solid Drain Pipe is affordable and is also wide enough to accommodate heavy water flow. Choose longer lengths if you need — you should consider this method for any custom structure you design for your exterior drain.
Less likely to clog. Smooth walls inside the drain pipe would be easier to clean. It wouldn't collect as much organic material as a corrugated pipe.
Standard lengths. The product was sold in 10-foot sections, and a solid length helps to minimize connections where roots may eventually interfere. A single length also minimizes measuring and cutting.
Does not require you to dig a really big hole! This is a manageable DIY project and avoids backbreaking labor.
How to Install This Underground Drain in 9 Steps
Emily Fazio
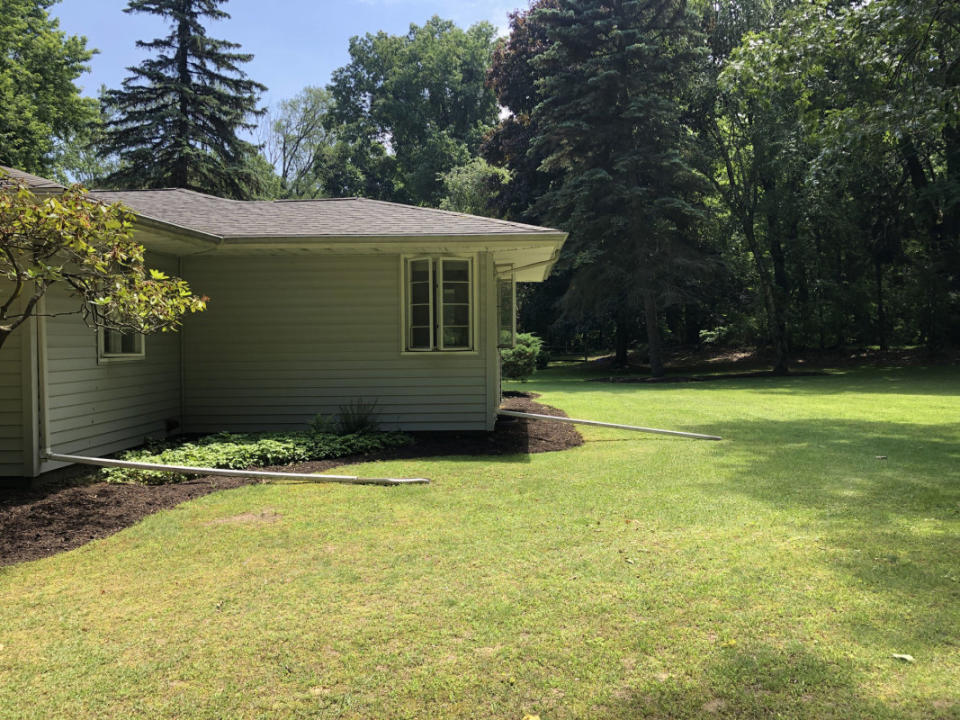
Step 1. Measure Your SpaceGetting the flow of water far from your foundation is the main goal of installing bubbler drains as an extension of your gutter system. For our project and slope of our land, 10 feet was far enough to get the water away from the house. Some homeowners may need longer lengths of pipe to move the water where they want it.
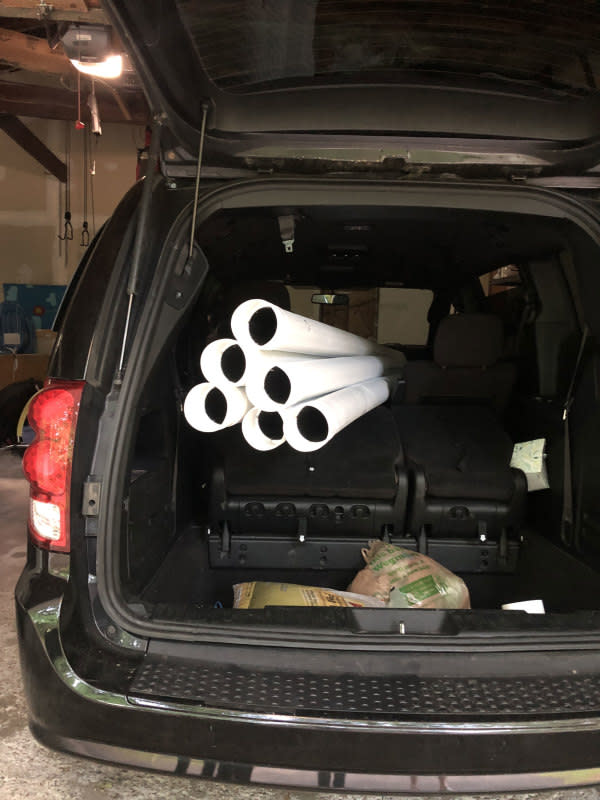
Step 2. Purchase Supplies- Having all the supplies on hand makes the project much easier.
- Remember to buy a few extra four-inch pipes. These will be used as vertical lengths to bridge between the downspout and up to the exit drain.
Emily Fazio
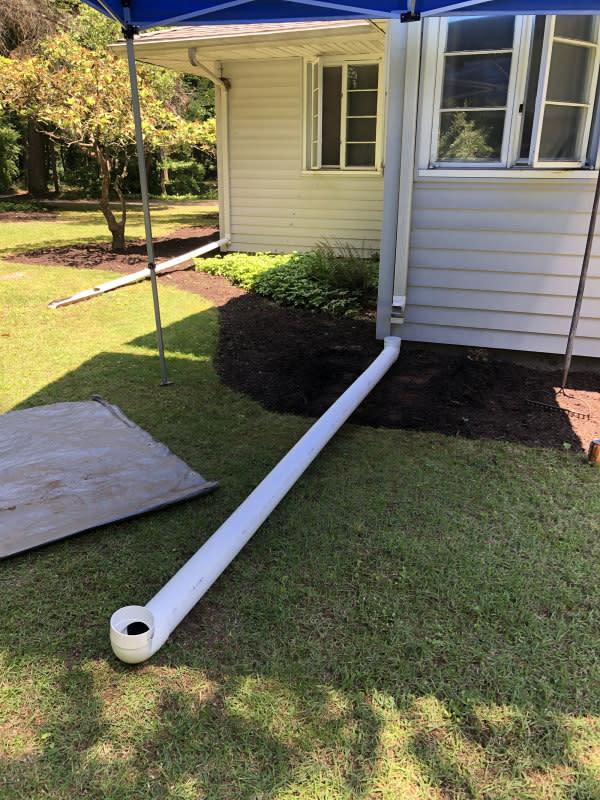
Step 3. Position the Horizontal Pipe- Dry fit the horizontal pieces and elbows together above ground to match your ideal drainage pipe configuration.
- Lay the pieces on the grass, angling away from the house and, if possible, downhill. to make sure everything is the way you want it.
- If there's any question, remember to call 811 before you dig to prevent hitting underground utility lines.
Emily Fazio
Emily Fazio
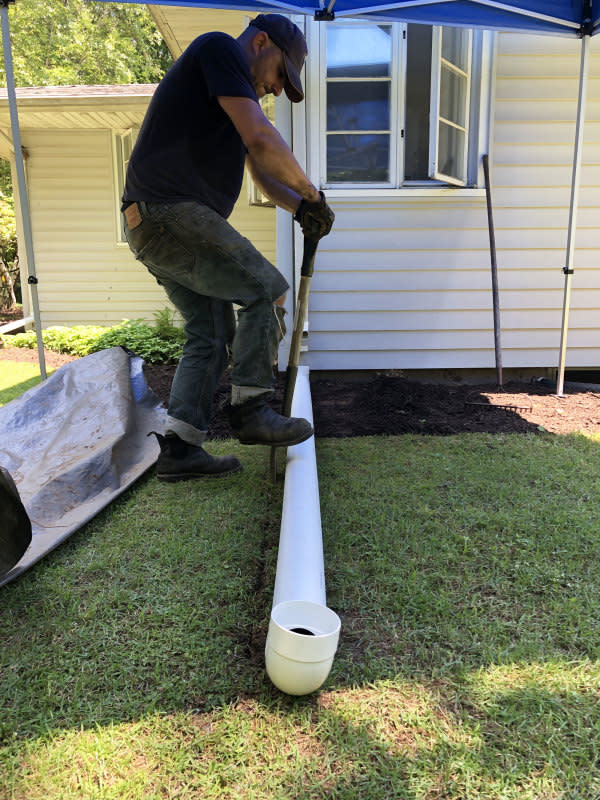
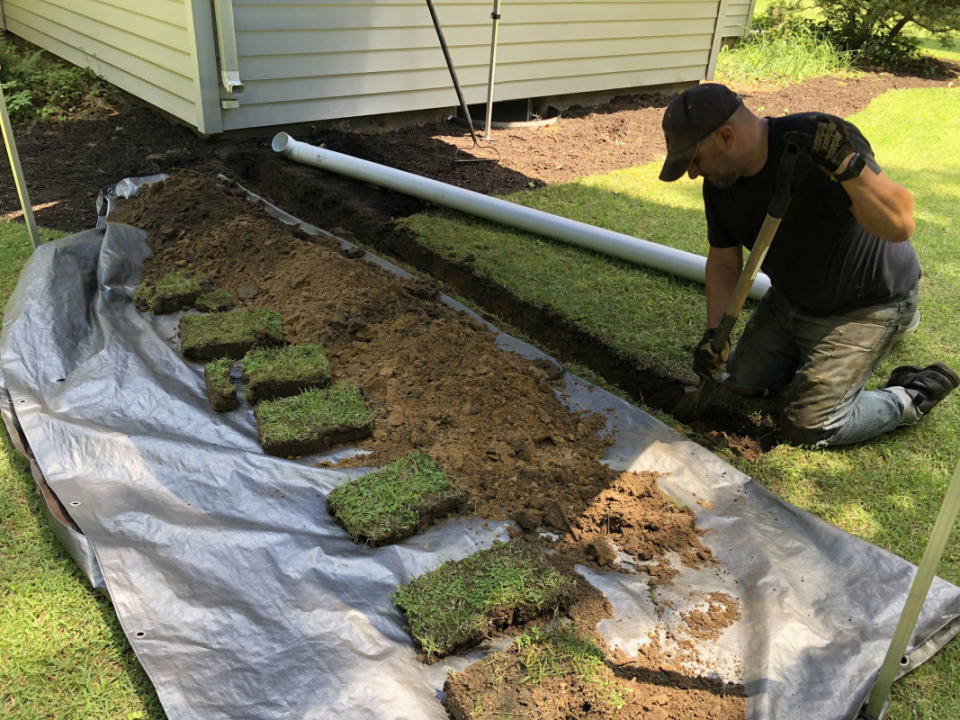
Step 4. Remove Grass and Dirt
Lay a tarp alongside the trench. Use it as a place to collect the soil and grass you remove.
Edge along the pipe with the space and cut away sections of grass with the spade. Set them aside. Saving the grass in chunks helps to eliminate the need for reseeding the lawn.
The trench will end up being about eight inches wide by one to two feet deep.
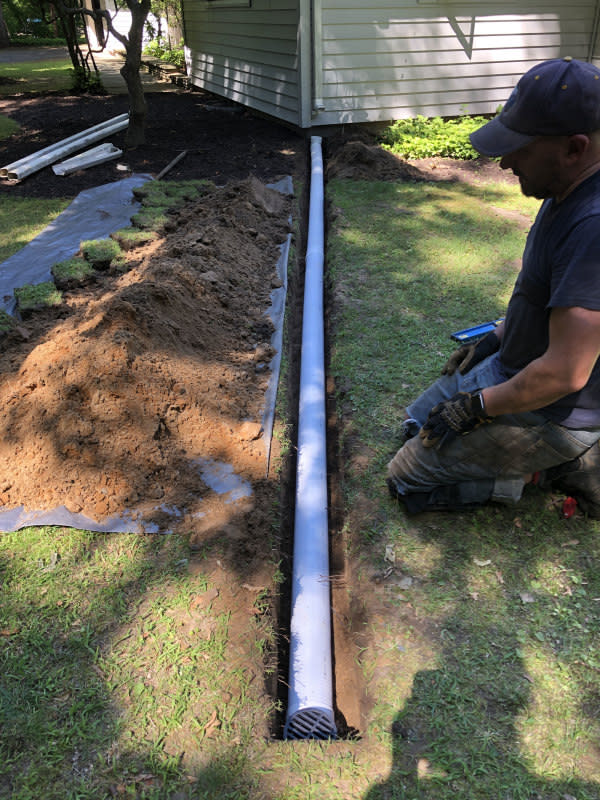
Step 5. Check the Depth of the Trench
Remember that the trench you dig can be shallower close to the house, but needs to be deeper as it extends away from the foundation to encourage proper drainage. The T-shaped hub you're installing at the end of the ground drainage pipe will sit vertically, and the trench needs to be deep enough to accommodate a layer of gravel and landscaping fabric.
A standard gutter slope is half an inch over ten feet, but in this installation, you'll really want to prevent the excess rainwater from potential backflow that could threaten your foundation. Plan to have your underground pipe drops five to eight inches deep over the ten-foot length
Place the pipe in the trench and check its positioning with a level to make sure it has proper slope. Adjust the slope with some of the dirt, as needed.
Step 6. Fill the End of the Trench With Drainage Gravel
Lay a piece of landscaping fabric in the last foot of the trench and cover it with three inches of gravel. The end of the pipe and the hub will rest directly on these stones to support better drainage.
During heavy rain, drain water that can't be accommodated by the soil at the bottom drainage hole in the hub will flood upwards and emerge out of the bubbler. Having two exit paths from the end of the drainage pipe is helpful if you have compacted soil or clay soil.
Emily Fazio
Emily Fazio
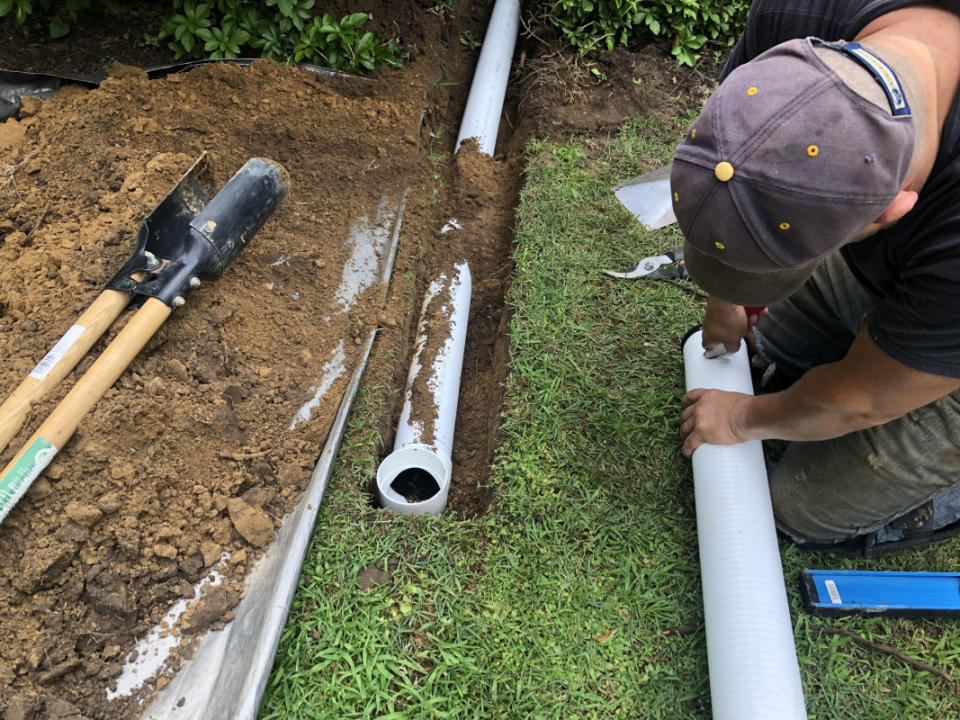
Step 7. Position the Pipe and Cut Vertical Lengths
With the horizontal piece positioned in the trench, use a utility knife to cut extra lengths of the 4" drain pipe. You'll need two:
One length extends from the underground drain pipe to the bottom of the downspout.
One length extends from the far end of the drain pipe up be flush with the soil and grass in your yard.
Step 8. Install Filter Caps
Two drain covers are used to complete the installation:
The downspout debris filter connects directly to the vertical pipe below your downspout. The water that flows down the downspout will get redirected into the drainage pipe. The filter helps prevent leaves and small sticks that navigate the downspout from entering the underground
No — we did not use a pop-up emitter because we didn't see much added value for the cost, but they do work well. The standard drain we used covers cover the end of the pipe that opens into the yard. It reduces the likelihood that leaves and soil will enter the hole. Make sure that the cover is flush with the ground level when you position it, and trim off more pipe to lower it if necessary. If not, you will hit it with the lawn mower. 😉
Emily Fazio
Step 9. Backfill Dirt and Patch Grass- Replace dirt into trench, firmly packing it around the pipe
- Puzzle-piece the layer of sod you removed, and stomp them back in place
- Water the ground to help the grass roots
- Wait for a good rainstorm to see how your ground drainage system performs
Related: 5 Ways to Identify a House With Foundation Issues—We Hadn’t Considered #2
How do you maintain your drainage bubbler?
Maintaining a drainage bubbler involves periodic upkeep to clear particle and debris buildup. Every few months, during a dry spell, remove the drain cap and manually clear debris from the downspout. You can also use a leaf blower for more power.
For a more thorough clean, you can run a hose through the pipe by inserting it into the downspout end of the connected pipe structure. If it's really blocked, use a pressure washer with a drain cleaning head to blast out any stubborn blockages.
Can you use a perforated drainage pipe?
A perforated pipe has too many holes. We wouldn't use something that had holes along the whole length. If you need to improve drainage along the length of the drain pipe, consider drilling 1/2-inch holes in the bottom of the pipe, but avoid puncturing the pipe within five feet of the home's foundation.

