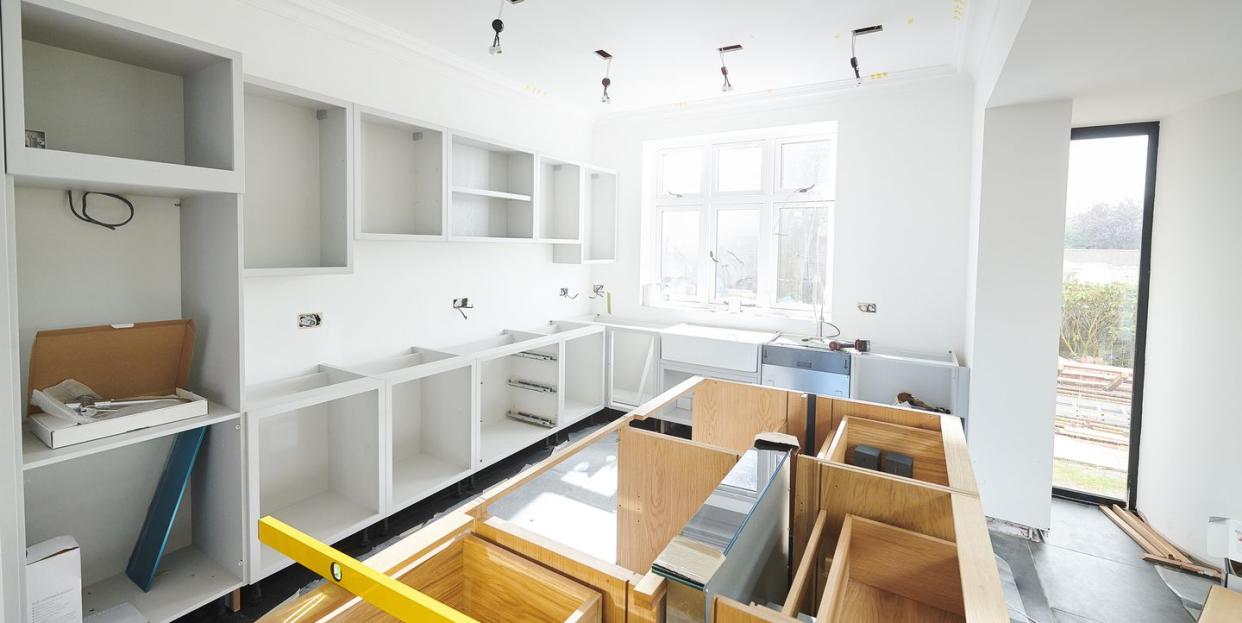
Here's How to Install Cabinets Without Having to Call Professionals

Aside from choosing the proper countertops and backsplash for your kitchen, cabinets can really make or break a space, so installing new ones—whether you're looking to increase the resell value of your home or are just down for an upgrade—is always a good idea.
Thanks to HGTV's Chip Wade of Wade Works, DIYing your new cabinet installation doesn't have to be all that tricky if you have the right materials and are ready to tackle the project. Here's exactly what you'll need to install or hang cabinets and the step-by-step process to getting it done, according to the expert himself.

What You'll Need:
4’ level or laser level
Stud finder
Tape measure
Pencil
Screw gun
Clamps or clamping pliers
Wood shims
Cabinet screws
1 ¼" screws
Ledger board
Instructions:
Step 1: Remove everything from the room.
Step 2: Identify mechanicals that need to be installed within cabinets.
Step 3: Stage cabinets nearby and inspect for damage.
Step 4: Draw a level line approximately 36” above the finished floor.
Step 5: Measure down the floor to locate where the floor is the highest.
Note: This will be the location where you start setting the cabinets.
Step 6: Draw another level line across the room at 34 ¼” from the highest spot you just located on the finished floor.
Note: This will be the reference for the top of your lower cabinets.
Step 7: Locate all wall studs and mark them
Tip: Mark in a place where cabinets won't cover them.
Step 8: Mark on the wall with vertical hatch marks the location of all cabinets.
Tip: If installing upper cabinets, hang these first for easier access.
Step 9: Using your 34 ½” reference line previously drawn, mark another level line 19 ½” above.
Note: This is because the bottom of the upper cabinets should be 54” from the finished floor.
Step 10: Install a ledger board just below this line to hang the upper cabinets atop.
Step 11: Secure upper cabinets to wall studs and adjacent cabinets with cabinet screws.
Step 12: Place first lower cabinet at the location of the highest point in the floor using shims, a level, and cabinet screws to secure into studs.
Step 13: Move across the wall using shims and 1 ¼” screws to secure cabinet boxes together and to wall with cabinet screws.
Step 14: Fill any voids next to the walls with filler panels or scribe molding.
Click here to check out more of the DIY project tutorials that Chip is doing exclusively with House Beautiful as he takes on a gorgeous lake house renovation.
Follow House Beautiful on Instagram.
('You Might Also Like',)

