Here's Exactly What It Takes to Install a New Door
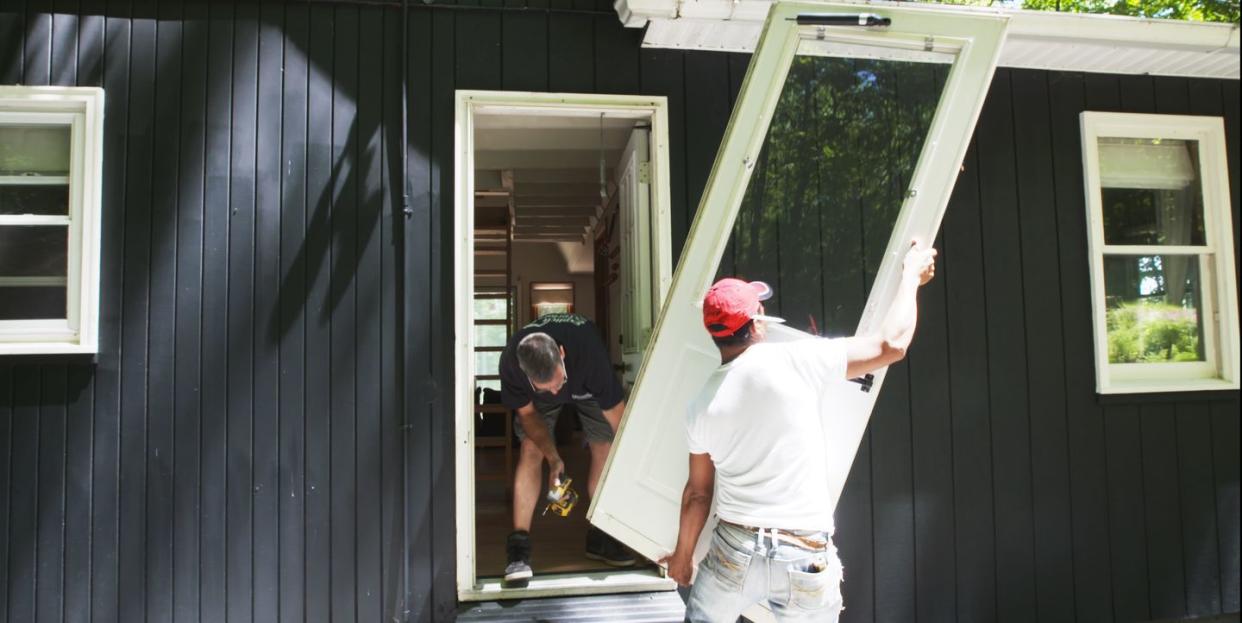
Among the elements of your home, the front—or really any exterior-facing—door is pretty important. So, it's no secret that if you're planning to swap out yours, you'll want to be well prepared. On a recent DIY project to replace the front door on a cabin in upstate New York, the House Beautiful team learned juuust how complicated this task can be.

Here's What You'll Need:
a drill
drill bits
hole saws in various sizes
nail gun
hammer
X-Acto knife
caulk gun
wood patch
pry bar
level
window wrap
Once you've secured your tools, you'll want to carefully measure and read all of the instructions on your door of choice before you get started on the actual install, for which, fair warning, you're going to likely need a handy friend or two to help.
Bottom line: If you don't consider yourself an experienced DIYer, you'll probably want to hire a contractor for this one—at least the first time. But, if you think you've got what it takes, we're here for you. Check out the video above to see the full process, then read on for a step-by-step breakdown of what to do.
How to Install A Door:
Assemble your tools.
Remove all screws from current door.
Remove door from frame.
Remove the frame and any molding.
Test the new door to fit.
Apply protective window wrap.
Apply caulk over protective wrap.
Place new door in opening (Don’t forget to check that it’s level!)
Nail in manufacturer frame.
Screw in hinges.
Install protective wrap over manufacturer frame.
Anchor molding over wrap.
Patch anchor holes.
Caulk between molding and siding.
Paint molding
Drill holes for doorknob mount and lock.
Install lock, lock plate, and doorknob.
Anchor interior molding.
Paint (if desired).
Step through your new door!
Follow House Beautiful on Instagram.
You Might Also Like

