Here's How to Create a Banquette for a Cozy Nook
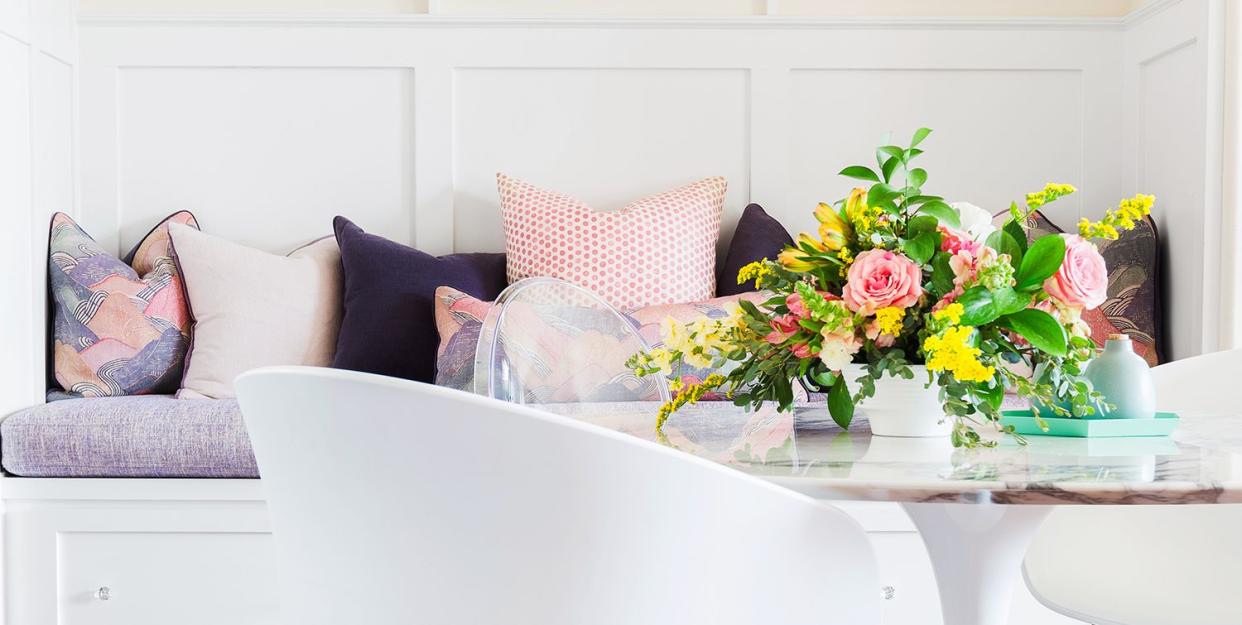
Up for a surprisingly simple weekend project? Believe it or not, you can make your own banquette out of stock kitchen cabinets, a couple of two-by-fours, and a comfy cushion. Complete the look with an assortment of graphic and solid-colored throw pillows.
See below for step-by-step instructions from Allie Mann of Case Architects & Remodelers to get started on your banquette.
Materials Needed
Level
Speed square
Measuring tape
Pencil
Nail or screw gun with trim nails or trim screws
2x4 lumber material (amount will depend on the size of the banquette)
1x4 lumber material (amount will depend on the size of the banquette)
1x2 lumber material (amount will depend on the size of the banquette)
Window sill material
¼” thick birch plywood
¾” thick birch plywood
Construction glue
Circular saw
Stock wall cabinets, 12” tall and 12” deep, width depending on space.
How to Build the Banquette
Determine desired size of banquette seating (stock cabinets come in 3” increments, so if you intend to use the banquette for storage, keep this in mind). The cabinets should not sit tight wall-to-wall. There should be a filler or piece of trim between the box of the cabinet and the wall to allow for the door to open.
Frame the platform of the bench using the 2x4 lumber material.
Frame a knee wall or partial wall at cabinet height to attach the cabinet using the 2x4 lumber material.
Secure bench frame to wall, along with knee wall and cabinetry, using nail or screw gun.
Cut the ¼ ” birch plywood on circular saw to wrap the toe kick space (this will be painted later).
Cut the ¾” birch plywood on the circular saw for the wooden top. When measuring the plywood top, allow a ¾” overhang in front of the cabinet door; this would be a 1.5” overhang from the actual cabinet box.
How to Build the Banquette Wall Trim
Next, measure, cut, and apply a piece of ¼ birch plywood to the wall—the length of the bench—using your finish screws and glue. The piece of plywood and bench together should finish 48” tall above the finish floor, making the plywood piece around 30– 32” tall.
Next, apply a 1x4 horizontal piece to create the rectangular box above the bench at the top and bottom of the plywood piece.
Measure, cut, place, and attach the 1x4 vertical components on the plywood with screw or nail gun. Be sure the wainscot rectangles mimic the same width as those on the bench cabinet if possible. These rectangles you are creating on the wall will likely be between 18” – 24” wide.
Finish top of the wainscot rectangle with the window sill trim material or the 1x2 lumbar (measured, cut, and nailed in place).
Caulk and putty any seams, gaps, fill holes, etc.
Sand, prime, and paint the plywood.
A version of this feature appeared in the July/August 2020 issue of Good Housekeeping.
You Might Also Like

