How to Hang Curtains Like a Professional

Curtains instantly elevate the style of any room if you have freshly moved into a new house or apartment or are just looking to freshen up your décor. Whether they are hanging in a bedroom, adding extra elegance in your dining room, or dressing up your living room (perhaps near a house plant), curtains also increase privacy, block drafts and control sun that can fading carpet and upholstery. But before you can enjoy them, you have to know how to hang the curtains.
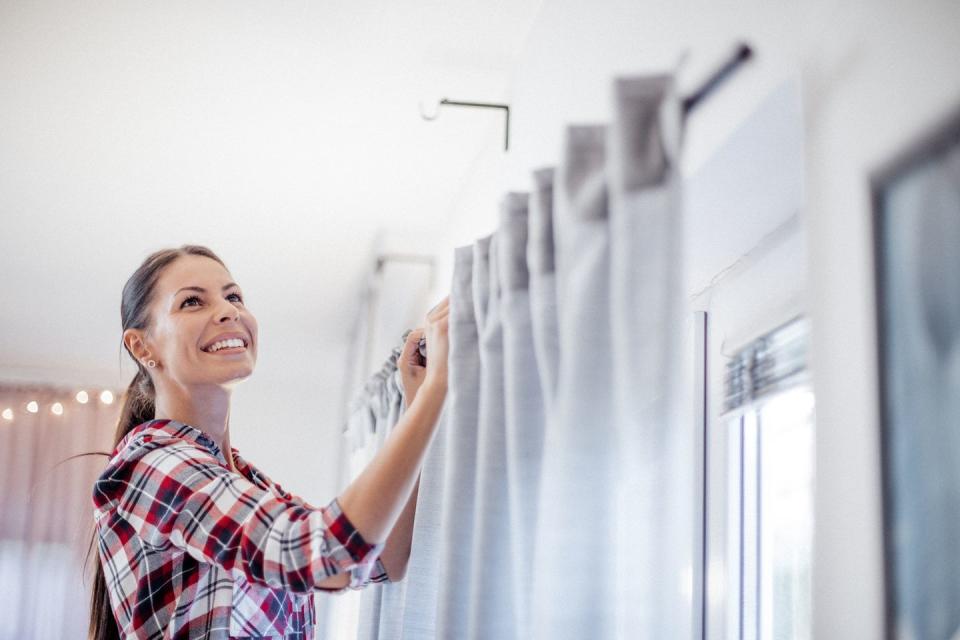
First of all, you’ll need to select a specific curtain rod for the panels you have ready for the walls. For a simple style, basic metal rods, which are hidden when you slide the curtains onto them, are simple, fuss-free, and budget-friendly. For a more formal look, consider decorative rods with pretty finials on either end. For these, curtains may slide directly on the pole through a rod pocket or through large decorative metal grommets, or they may be attached by ornamental rings or metal drapery hooks or rings, which stick into the back of the curtain.
No matter what rod you select, you can follow these tips on how to hang curtains from lifestyle blogger Julie Blanner, starting with the proper height for them.
Figure out the mounting height.
First of all, “Decide how high on the wall you want the drapery pole,” says Blanner. You can mount the rod or pole just above the frame, but for a more dramatic look and to make the room appear larger, place the rod about four to six inches above the window. Be sure the brackets for mounting the rod are also deep enough so they clear the window frame and allow your drapes to hang properly.
Curtains come in standard lengths such as 63, 84, and 96, so if you’re not going with custom-made panels, take that into account when determining rod height. Also, consider how you want curtains to hit the floor. They should be right at or skimming the floor, but if you plan to “puddle” them for a formal room, add another eight inches to the length, suggests Blanner. It's a dramatic, beautiful look, but be aware that it's not for everyone: Pet hair tends to pile up on puddled drapes, it's more difficult to vacuum around them, and they can look "sloppy" if not done right.
Decide on width.
Make sure the decorative rod extends 8 to 12 inches past the window so the drapes could be pulled all the way to the side of the window, if you plan to open and close them. If you’re using a rod pocket style pole, follow the same rules for coming up with the proper width. Adding width also makes the window look larger, says Blanner. Typically, curtain panels should be about twice the width of the window, which means you may need more than one panel per side depending on how big your windows are.
For widths greater than 60 inches, install an extra bracket for support in the middle, says Blanner. This is especially important if your drapes are a heavy material, such as velvet or damask. Pencil in your marks on the wall so you can re-check your work. It’s also helpful to have an assistant to hold up the pole so you can make sure it’s even by using a laser or traditional level.
Mount the brackets.
No matter what style of rod you use, the curtain rod needs need solid support or it will get droopy and pull out of the wall, says Blanner. If possible, drill and mount brackets into a stud, though studs may not always be where you need them! In that case, use heavy-duty wall anchors, which will expand in the wall to provide a better “grip.” Some types require pre-drilling, while others are can be installed with only a screwdriver.
Measure twice.
There’s an old saying from carpentry: Measure twice, cut once. The same goes for drilling holes! Sometime all these calculations can become a bit confusing, so make sure you check your work after you determine rod height and width. Then check it again! Trust us: It’s way easier to fix a mistake before you start drilling. If you do make a mistake, you can touch up later by filling holes with a dab of spackle.
You Might Also Like

