How to grow hydrangeas from cuttings — easy steps to get more blooms
Whether you want to brighten up your backyard, or want a porch plant to showcase your home, hydrangeas are a popular choice. With their beautiful, clustered blooms, and pastel colors of pink, white and blues, these can quickly become the centerpiece of any area.
Given the right conditions and climate, most varieties are easy to grow, and tend to have a long flowering season. As long as you don't make any of these mistakes when growing hydrangeas.
Luckily, you can get more blooms of your favorite flower by learning how to grow hydrangeas from cuttings. And while it might seem tricky to propagate your plant, all it takes is a few simple steps to build up your stunning hydrangea display.
Before you begin, it’s important to take cuttings from stems that have not flowered yet, to allow more energy to develop a new root system. Typically, you can grow hydrangeas from softwood (fresh growth) cuttings in early spring or semi-hardwood cuttings (woody base) in late summer.
So if you want to spruce up your garden or display in a vase indoors, follow these easy steps to grow hydrangeas from cuttings — for beautiful blooms all year round.
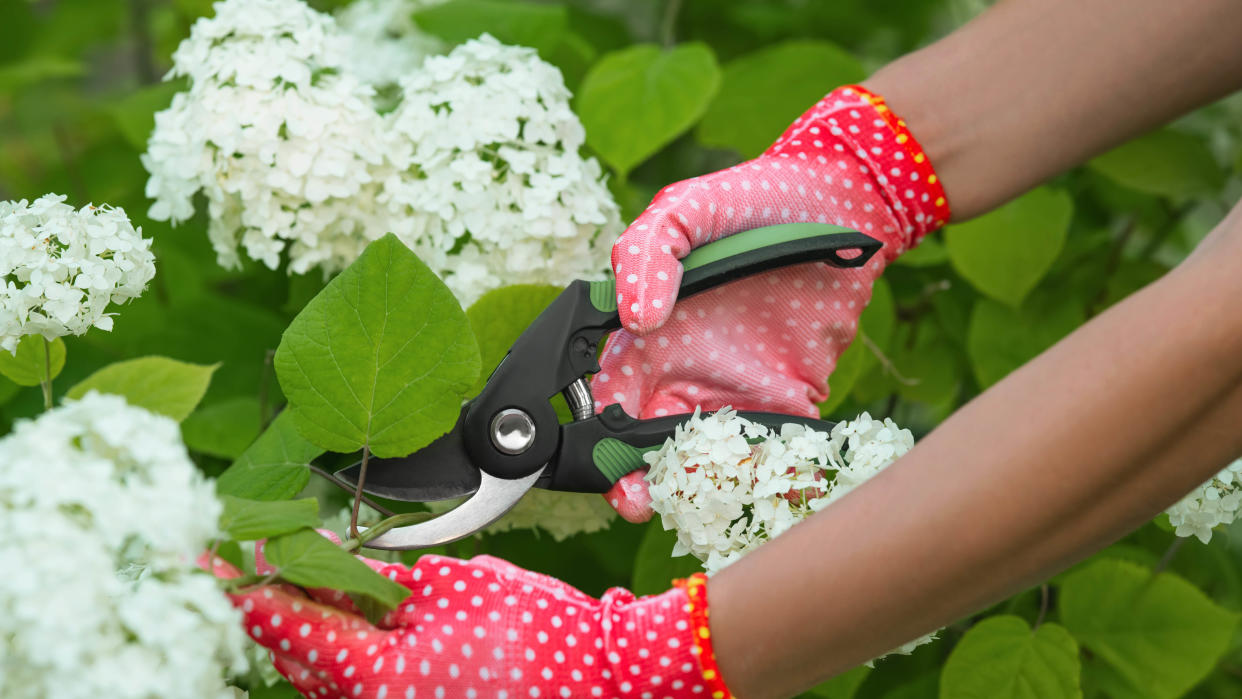
Take your hydrangea cuttings the right way
First, ensure you have one of the best pruning shears at hand to get the job done well. These also need to be sharp to get a precise cut, and disinfected to avoid transferring dirt or disease from plant to plant. You can follow these easy tips for cleaning pruning shears for more guidance.
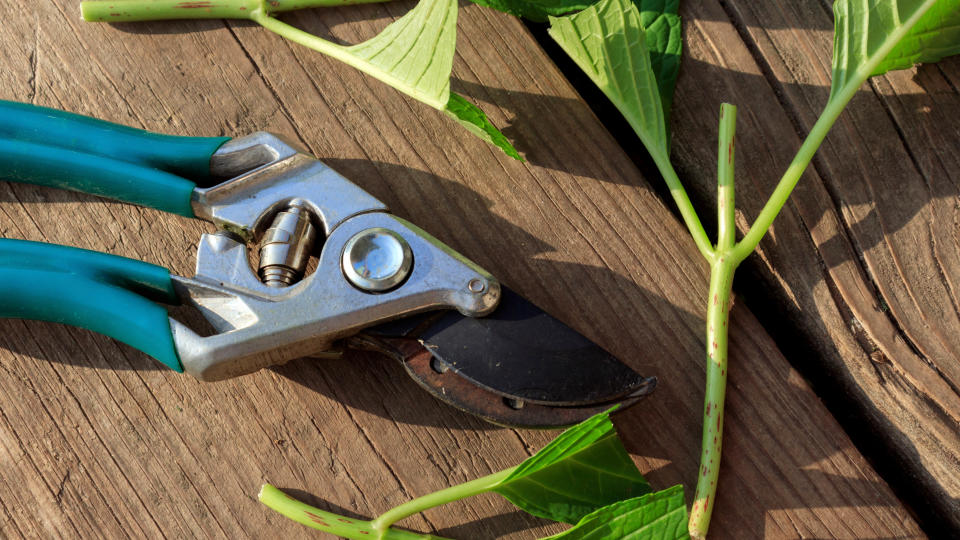
Once you’ve selected healthy stems of your plant donor, (checking that they haven't flowered), cut a 4- to 6-inch section, leaving at least two nodes below the top set of leaves. Then, remove just the lower leaves, allowing the top set of leaves to remain.
Experts also advise to take cuttings first thing in the morning, when the stems are full of water and not too dry.
If you need more top tips, check out how to prune hydrangeas and when you should do it. Just avoid these 7 pruning mistakes you never knew you were making.
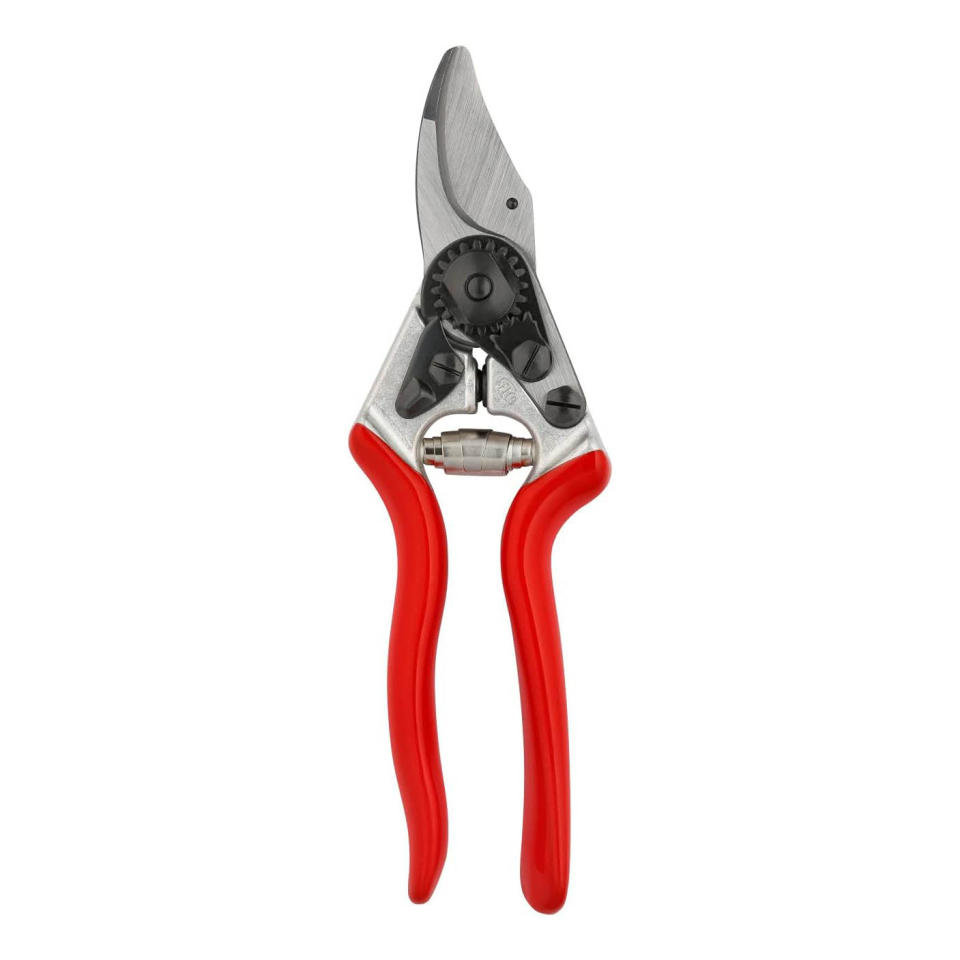
Felco Pruning Shears (F 6): $54 @ Amazon
Every gardener needs to own a trusty pair of pruning shears, and if you’re looking to splurge on top quality and high performance, the Felco F6 bypass shears is a great investment. With a durable construction of forged aluminum handles and hardened steel blades, they offer a large cutting capacity and well-balanced weight. More importantly, its ergonomic handle ensures a firmer grip, which makes it easier to handle and get the job done faster. In addition, the Felco 6 bypass pruner came out top in our tests for its ergonomic grip and sturdy but lightweight design.View Deal
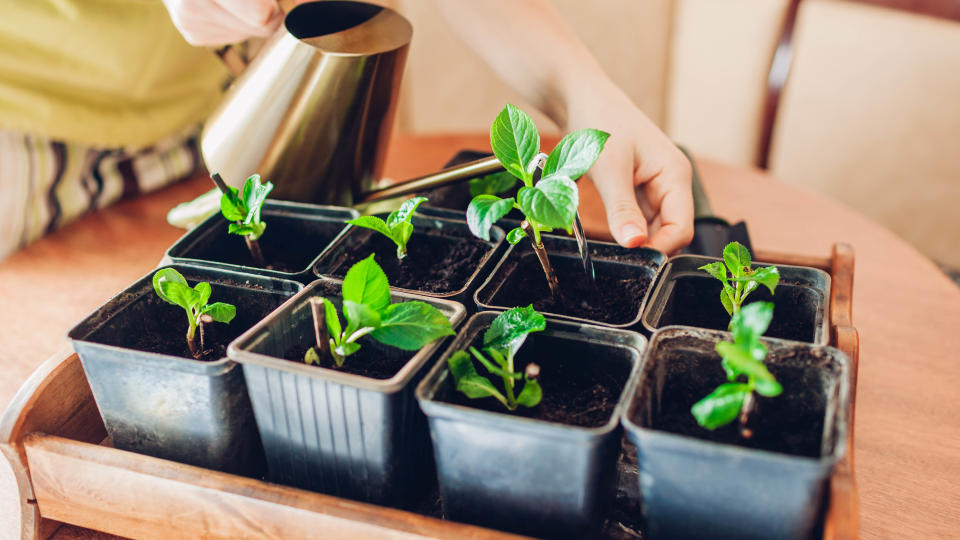
Prepare your hydrangea pots
Next up, prepare your pots for your cuttings. Ideally, these should be 6-inch or larger in size to plant several stems at once, or you can use smaller pots for those individual cuttings. In addition, make sure these have drainage holes at the bottom to avoid root root, or plant disease as they grow.
Fill the pots with fresh potting mix made for container plants (without fertilizer). Gently press down at the top, leaving an inch below the lip of the pot.
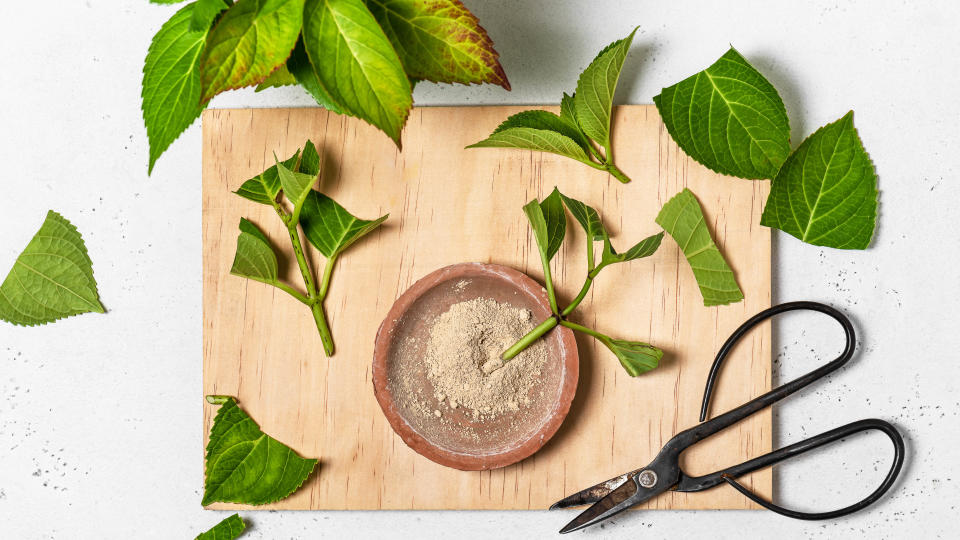
Before rooting your cut stems, experts recommend dipping the lower two leaf nodes in a rooting hormone. This is a substance that comes in a liquid or powder form, that will help to stimulate root growth for cuttings. Then, use a pencil or blunt tool to make a hole in the potting mix before burying the cutting two leaf nodes deep.
Water and cover with plastic domes
After planting your cuttings, water well, and allow proper drainage. Then cover the pots with a clear, plastic dome that is tall enough to not touch the leaves. This acts as a mini greenhouse, retaining humidity and aiding new growth. It’s recommended to leave the cover in place for around two to three weeks, removing it once you see the cuttings have begun to form roots.
In addition, it’s best to place cuttings in a bright environment, like a sunny windowsill, but avoid direct sunlight for long periods, as cuttings may get too hot under the plastic cover.
Transplant into bigger pots or your backyard

Once you see signs of new top growth, and you feel firm root resistance from gently tugging the cutting , it’s time to transplant your cuttings. This is usually about six weeks.
You can either transfer to individual container pots, or directly into soil in your backyard to continue its growth. By the following spring, your new hydrangeas should have started to flower and produce beautiful blooms.
But if you’re wondering why your hydrangea is not blooming, here’s why and how to fix the problem.

G & F 1852-3 Women Soft Jersey Garden Gloves: $11 @ Amazon
Combining practicality with pretty, we recommend these women's gardening gloves for an affordable, but dependable accessory. They ranked as the best gloves for small hands in our best gardening gloves test. We found them to be both comfortable and soft, with good dexterity. Plus, you get three colors in a pack which is amazing value for money. View Deal

