The Grandpa-Approved Trick for Tender, Juicy, Silk-Free Corn

High summer is also high time for corn. It's spilling out of bins in the grocery store, piled high on tables at the farmers market and there's probably an ear or two in your fridge right now.
The sweet, tender veggie is great for salads, soups, pastas—or just eaten slathered in butter straight off the cob. There's just one problem: corn is a pain to shuck, especially with those pesky silks that stick to the kernels like glue. I used to whine about corn silk, too, until I saw Ken Craig's viral YouTube video. I think the year might have been 2011. The magic of his technique—cooking corn husk-on in the microwave!—wowed me then and still impresses me more than two decades later.
Recently, I've seen a few other folks get excited about this method, including another internet Grandpa and food writer and cookbook author Julia Turshen. It's definitely my favorite way to cook corn, and I think it might be yours, too. Here's what you need to know to change your corn-cooking life for the better.
Related: 20 Best Corn on the Cob Recipes for Summer
Why You Should Cook Corn on the Cob in the Microwave
If you're only using your microwave to reheat leftovers, you're missing out. That little box can do a lot more for you—and this is just one example. Microwaving corn in the husk is easy, hand's off and gives you tender, juicy silk-free kernels every time. Boiling will also get you there, but you have to deal with shucking and silk-plucking, which isn't a job you want to do every day (or maybe any day), am I right? You can also grill corn, of course, but I've found grilling in the husk to be a little tricky and messy and grilled husked corn always turns a little tough for me.
Related: How to Deep Clean Your Microwave in 10 Minutes Flat
Nina Elder
How Do You Cook Corn on the Cob in the Microwave?
As you might imagine, the process is really easy. Here's how to do it.
1. Place your corn (still in the husk) in the microwave.
2. I cook my corn for 4 minutes for one ear and then add 2 minutes for each additional ear, but the cooking time will vary by microwave, as well as how large or small your ears of corn are. You might have to experiment a bit to get the timing right for your machine.
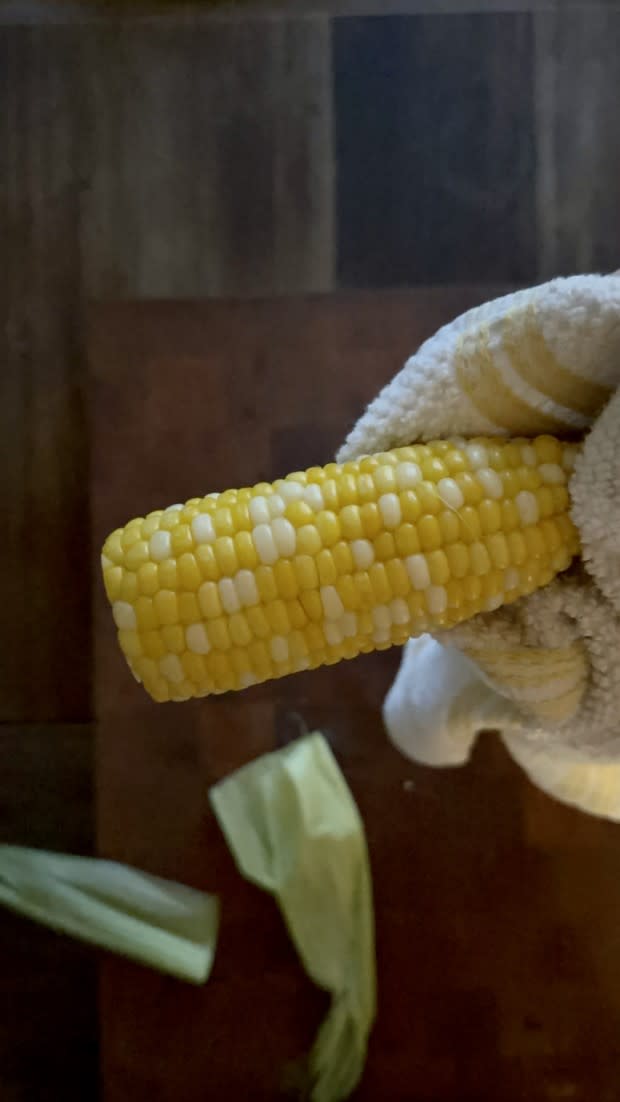
3. When the corn is done cooking, remove it from the microwave with an oven mitt or thick kitchen towel. It'll be hot, so be careful.
4. Let the corn cool for a minute or two, then slice through the stalk end (the end opposite of the pointy end with the silks sticking out) with a knife. Don't let the corn cool completely in the husk or the silks will stick.
5. Using your fingers or a kitchen towel, gently squeeze from the uncut end of the corn. The corn will pop right out, clean as a whistle!
Next Up: We Cracked the Code to Starbucks' Signature Egg Bites
