Forget the Stove Top. This Is the Best Way To Make Brown Butter
You can even walk away while the butter is browning.
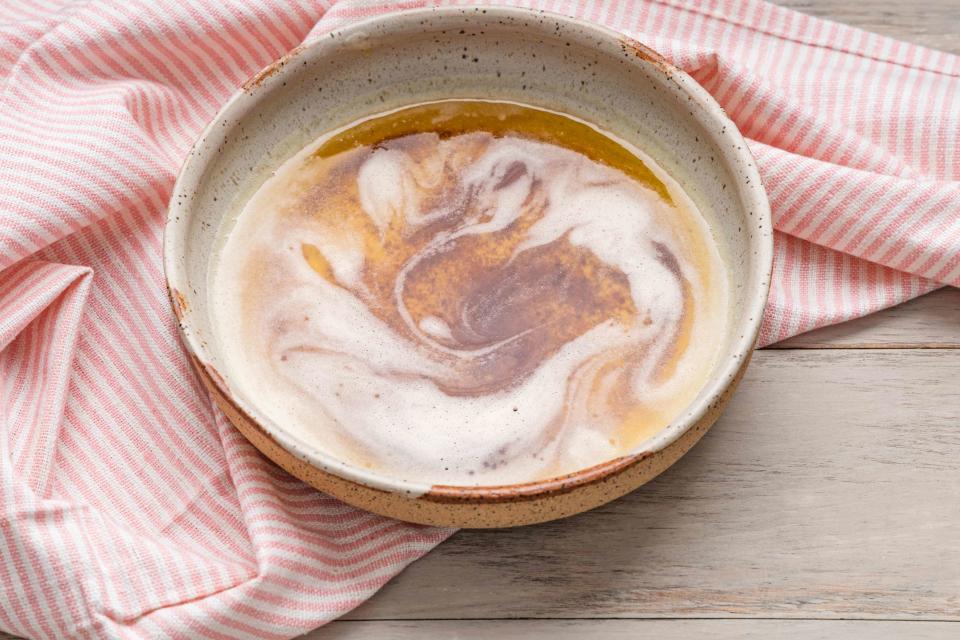
Simply Recipes / Mark Beahm
If there were a simple way to achieve a wow-factor in baked goods and dinner recipes alike that required no extra ingredients and just a few minutes, you’d jump at it, right? Me too. The simple secret in question is brown butter: the nutty, caramel-y x-factor that can enhance everything from a chocolate chip cookie to a ravioli recipe.
There’s just one catch.
Browning butter may require just butter and a little time, but it does demand the utmost vigilance at the risk of everything going south in an instant. If you’re making brown butter on the stove, your precious secret weapon can go from an aromatic dream to a burnt nightmare in the blink of an eye, so you have to keep those eyes peeled and watch very, very closely.
Luckily there’s a trick to eliminate error in this high-risk, high-reward chef’s secret: the microwave! Yes, you can make brown butter in the microwave, and here’s why you should.
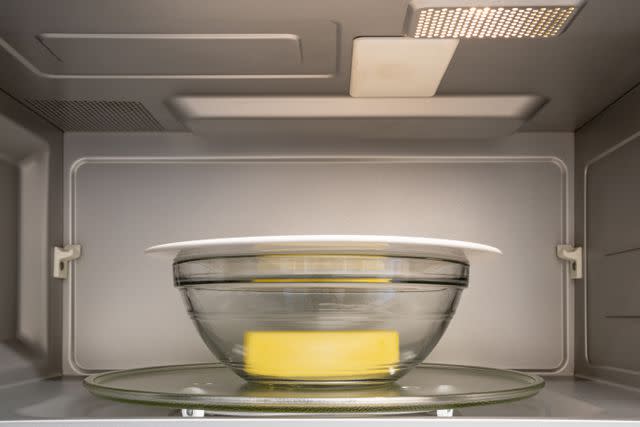
Simply Recipes / Mark Beahm
Browning Butter on the Stove Is Risky Business
To make brown butter on the stove, you need to cut up evenly-sized chunks of butter and melt them over medium to high heat. As soon as you smell the nutty aroma wafting from the skillet, you need to remove the butter from the heat. If you’re not watching closely, the milk solids that have separated out and started to turn a golden hue could quickly burn. This will leave you with an unfixable batch of burnt, melted butter. Another con of browning butter on the stove? It can easily lead to splattered—and wasted—butter!
Pros of Browning Butter in the Microwave
Rely on your trusty friend the microwave, however, and you have a foolproof, largely hands-off method to achieve those golden, toasty notes. Using a big bowl with some kind of lid—parchment paper or a plate, for example—keeps splatter from hitting the microwave and leaving behind a mess. But most importantly, the steady, controlled environment of the microwave means you don’t have to watch the butter like a hawk.
How to Make Butter in the Microwave
Place your butter in a large bowl. You don’t even have to cut it up! (You can cut it into smaller pieces if it fits the bowl better.) Cover the bowl with a plate or parchment paper secured with a rubber band. If you want to keep your plate clean or if you’re worried about the plate wiggling around, place a layer of parchment under the plate. Heat in the microwave for anywhere between 4 to 10 minutes, depending on the quantity of butter you’re using, and check every so often.
For half a stick of butter (1/4 cup) heat for 4 minutes, checking at the 3-minute mark. If it’s not toasted quite enough, heat in 30-second intervals until you see that caramel color and smell those nutty notes.
For a full stick of butter (1/2 cup) microwave for 5 minutes, checking after the 4-minute mark.
For two sticks of butter (1 cup) heat for 5 to 10 minutes, checking every minute after the 5-minute mark.
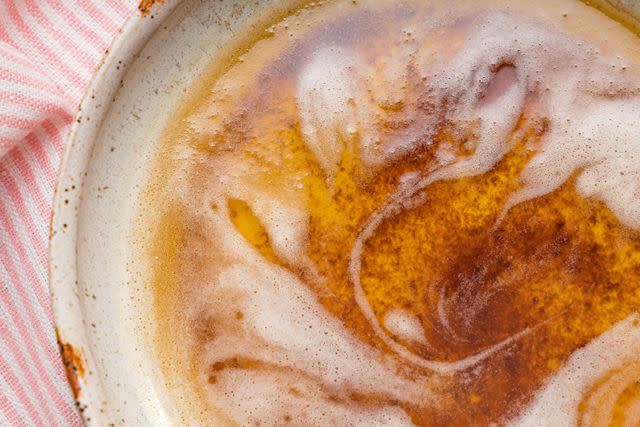
Simply Recipes / Mark Beahm
Microwave Brown Butter Pro Tips
A bigger bowl is better at containing splatter. Don’t forget to cover the bowl.
Use parchment paper, a plate, or both as a lid to keep splatter in. Don’t use plastic wrap, which could get too hot and melt.
When you remove the brown butter from the microwave, the color will tell you if it’s browned to your liking, but also remember that the nose knows. You should smell rich, butterscotch-y, hazelnut-y aromas.
Be mindful when you remove the bowl and cover from the microwave. It will be hot!
Make a bigger batch than you’re intending to use right away, and store it wrapped in the refrigerator or freezer so that you can upgrade your recipes at a moment’s notice. Brown butter will keep in the refrigerator for up to five days and in the freezer for up to three months. Let the butter come to room temperature before storing.
Read the original article on Simply Recipes.

