If your MTB is feeling rough after a winter of riding, here are the five essential things I do to get my mountain bike sorted for summer
Summer is officially here and for the riders who endured the misery of winter, the prospect of long warm days and dry trails couldn’t have come sooner.
While a season of slipping and sliding around in the winter slop will have done wonders for sharpening bike control, the repeated blasting of grit and grime has probably played absolute havoc on your bike and components. Even if you’re the most fastidious cleaner and maintainer, winter has a habit of wrecking bike components, but some post-winter maintenance will get your bike running factory fresh again. Summer riding also brings with it different trail conditions. Mud hardens and dirt turns to dust increasing riding speed and changing grip levels, so a few dry-season tweaks to your bike and setup will have you confidently sending the sunny trails.
Keep reading for my top five tips on getting your bike ready for summer.
1. New tires and new pressures
The best MTB tires are condition-specific, without a soft muddy surface to bite into the best winter tires can become a handful once the trails have been baked by summer. Switching to an all-condition or shallower tread summer tire should not only enhance grip but also reduce rolling resistance. Confused by different tire options? We have a guide to help you choose the right MTB tires for your riding.
While changing your tires it’s a good time to treat yourself to some fresh tire sealant too, to keep the punctures at bay for the season.
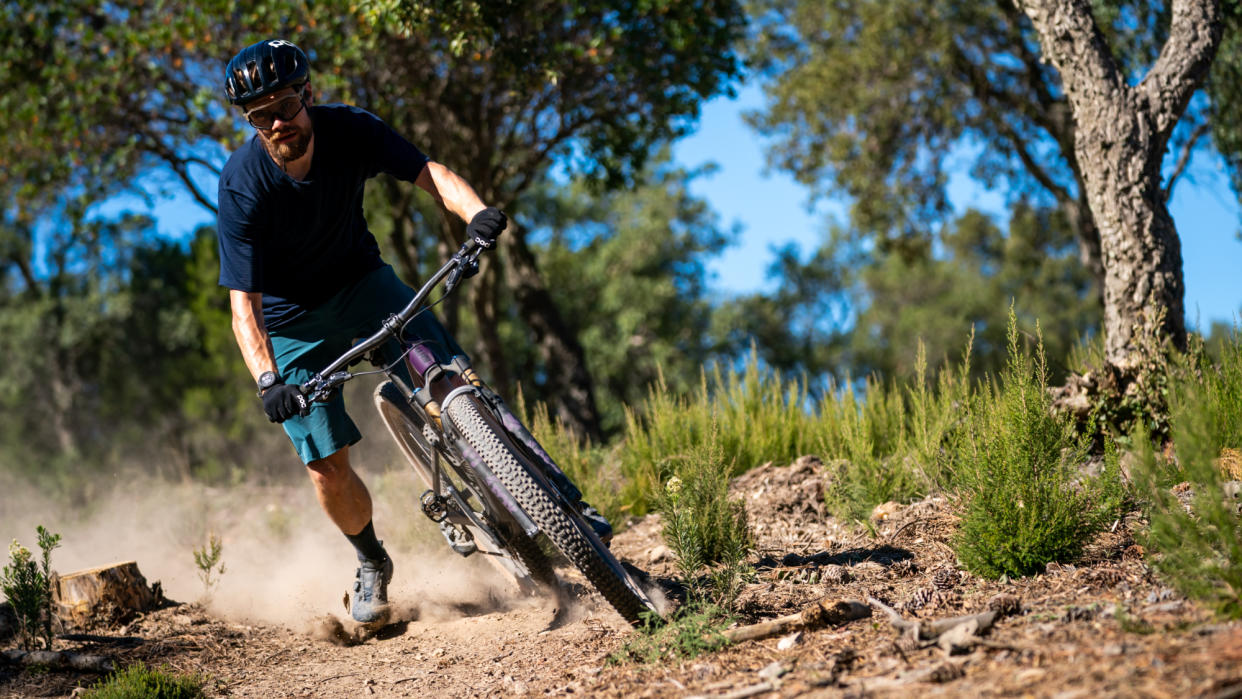
It’s also worth thinking about your MTB tire setup. Low pressures enhance grip on winter trails but as the trails dry out and speeds increase, you may want to add a few extra psi to avoid pinch punctures. Fitting the best tire inserts will also help avoid tire or rim damage when you send it through a bonedry rock garden.
2. Change your brake pads and check for wear
Brake pads take a hammering during winter, repeatedly getting doused in water and dirt which increases pad wear. With warmer dryer weather inbound, now is the perfect time to check your pads and, if needed, fit some fresh ones.
Brake rotors also wear out so it’s worth checking those too. Some rotors will have wear marks on them while others will require you to measure them with Vernier calipers. The minimum thickness of a rotor will differ based on which disc brakes you use, so it’s worth double-checking with your manufacturer. For Shimano it's 1.5mm and SRAM it’s 1.55mm, although some brands like Hayes and Magura require a thicker rotor. Disc rotor thickness may be measured in fractions of a millimeter, but it can significantly impact brake performance.
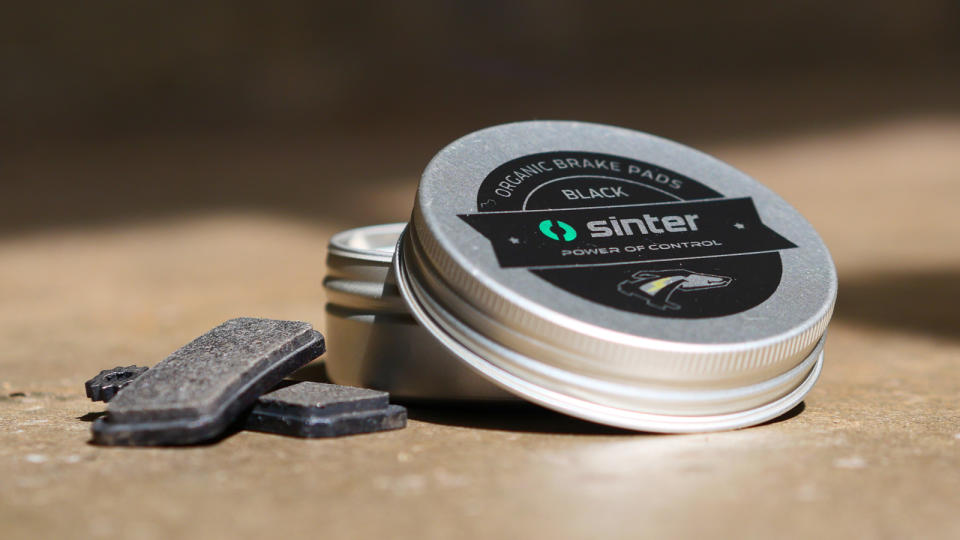
If you’re replacing your disc brake pads then it might be worth switching compounds too. Brake pads come in several different compounds which have different characteristics and benefits. Metallic pads (sintered) are winter favorites due to their resistance to wear and powerful performance in all weather, however, they require heat to get the best from them and can be quite noisy. If you’re not riding long steep downhill trails, switching to an organic pad or semi-metallic pad will offer better modulation and reduce braking noise and vibrations for trail riding.
3. Service your bearings
Bearings play an integral role in a bike's performance, after all, they keep all the bits that spin turning smoothly. Even your winter workhorse hardtail has at least 14 different bearings, and on a full-suspension bike there could be double that. A winter full of dirt and some hurried or haphazard pressure washing (we are all guilty of it) can flush bearings of their grease and leave them feeling rough and notchy.
Some bearings are more straightforward to replace than others. Pedals, headsets, pulley wheels, and bottom brackets (aside from press-fit) are the easiest to test for resistance and play (side-to-side movement) and only require a few tools to replace or service. Wheel bearings, pivot bearings, and some headsets may require more technical know-how and some specialist tools.
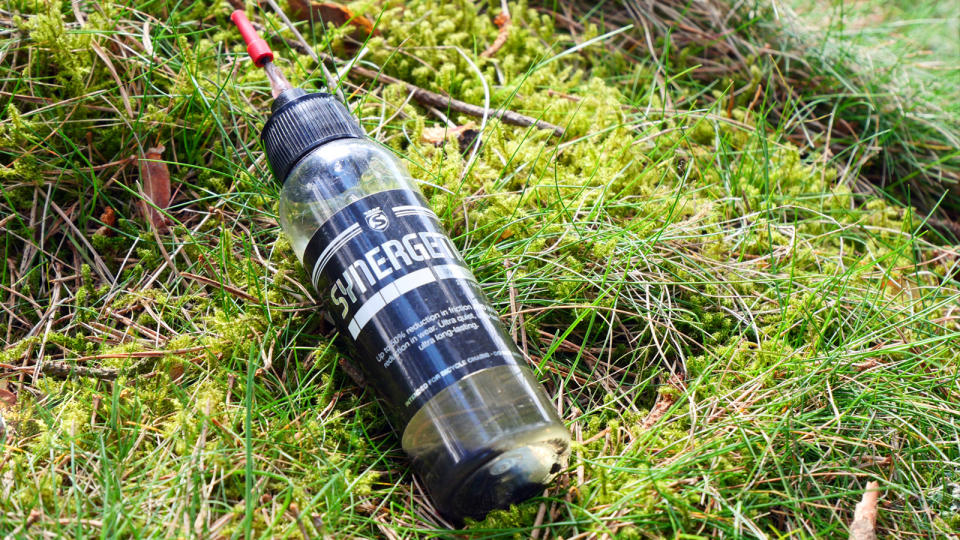
4. Clean chain and clean lubes
Winter lubes are designed specifically to withstand rain, stay on your chain, and keep corrosion at bay. They aren’t best known for their efficiency – especially if the chain isn’t regularly cleaned properly, so switching to a lighter chain lube can have a dramatic effect on pedaling performance. If you subscribe to winter lubes and plan on making the switch to a lighter summer lube, it's worth giving your chain a proper scrubbing to get all the winter lube off first. There are a variety of chain cleaner methods and gadgets, although few match the simplicity and effectiveness of taking the chain off the bike, putting it in a plastic bottle with some strong degreaser, and giving it a soak and a hard shake to remove the worst of the dirt. Once you have done that, wipe clean, rinse, and dry the chain before fitting it back on the bike. While your chain drys, it's also worth checking for gunky build-up that may have collected on your chain ring, cassette, or jockey wheels.
Picking the best chain lube is important, if you're opting for an oil-based lube then Silca’s Wet Lube would be my recommendation. Alternatively, you could ditch the whole winter-summer lube cycle and switch to a drip wax lube. I personally use Squirt’s Chain Lube and have found it to work extremely well through summer and winter, running smooth and resisting any grime or dirt buildup.
Before you embark on cleaning your chain it's worth checking it for wear, if it has stretched beyond 0.5 percent it's probably worth buying a new chain.
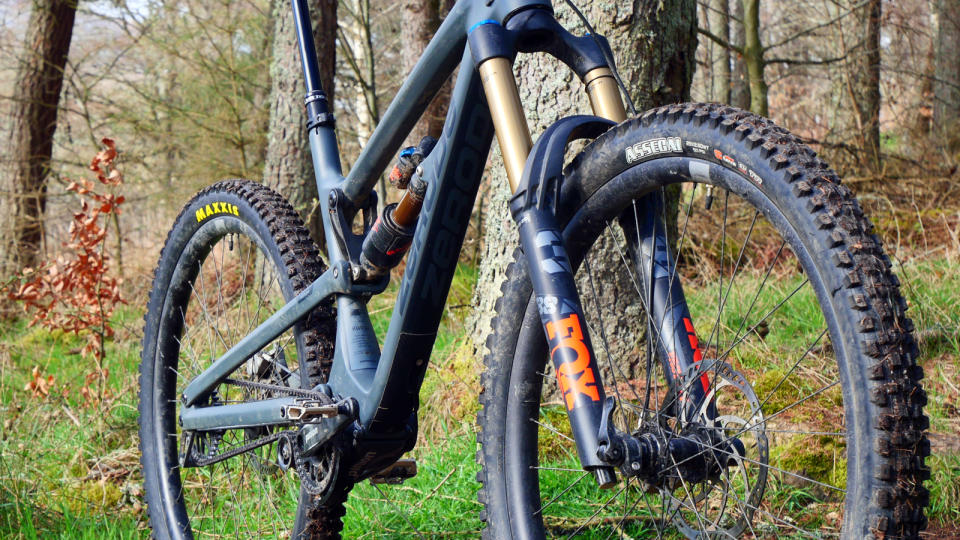
5. Service your suspension and tweak your settings
The best suspension forks and shocks need regular servicing and after a winter of protecting your fork internals from dirt, it is time to treat your forks to some new seals and fresh fluids. While some forks and shocks can be serviced at home by a confident mechanic, if in doubt it’s a job that is best left to the professionals who will ensure your suspension is buttery smooth again.
Depending on the trails you ride, you may benefit from tweaking your suspension settings as speeds increase and the ground hardens which increases impact forces. Try experimenting with a little more rebound, high-speed compression, and/or air pressure to give the fork more support when riding. Take note of your initial suspension settings so you can revert back when winter returns.

