How To Figure Out Your Bronzer Placement, According to Makeup Artists

Getty Images
Some makeup applications are super individualized in that the shape of your features determines the best, most flawless technique. Take eyeshadow, for example. You’ll apply your pigmented powders and creams differently based on whether you have downturned, hooded, monolid, or upturned lids. The same is true of lips. If you have a super-defined cupid’s bow, you may want to outline it carefully to preserve the shape. (Though, many modern applications seem to gloss over it to create a fuller-looking lip overall). When it comes to broader face makeup applications, such as bronzer, though, the steps to achieve seamless, natural-looking coverage are more streamlined. While the best way to apply bronzer does depend on your face structure, it’s ultimately the same for everyone.
Meet Our Expert
Bruce Grayson is a Hollywood makeup artist and Oscars’ Department head of makeup.
Mat Wulff is a celebrity makeup artist and Ulta Beauty Pro Team member.
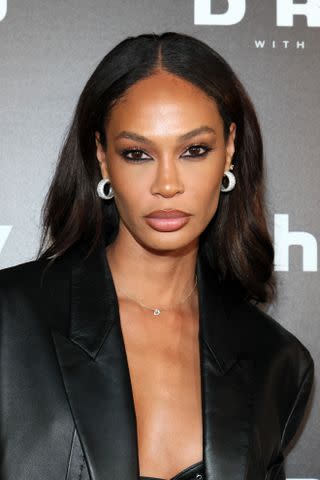
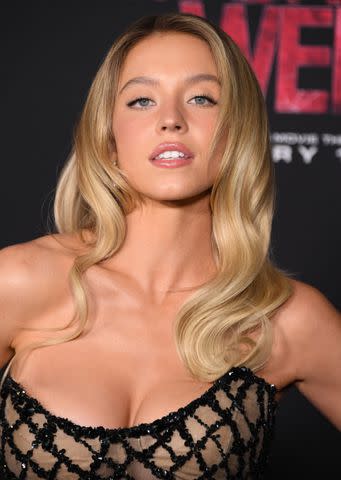
“Generally, for a natural look, focus on areas where the sun naturally hits your face—your cheeks, temples, nose, jawline, neck, and forehead,” says Hollywood makeup artist Bruce Grayson.
Keep reading for further instructions on flawless bronzer placement.
How to Apply Bronzer Like a Pro
Getty Images
Now that you have a better idea of the products and tools necessary for picture-perfect bronzer placement, let’s get into the steps to bring your look to life. After applying a primer and your base foundation makeup and concealer, move on to bronzer, following the below steps.
Step One: Pick your bronzer

Getty Images
First things first, you have to determine your bronzer of choice because, as you just learned, it will determine what you apply it with. Celebrity makeup artist Mat Wulff is a big fan of the Estée Lauder Bronze Goddess Powder Bronzer ($53). “The colors are a perfect natural bronze for various skin tones—not too warm and not too cool,” he says. He also enjoys the Fenty Beauty Sun Stalk’r Instant Warmth Bronzer ($35). “It has such a great shade range with many beautiful colors to choose from,” he points out.
If you prefer cream formulas, though, you might consider the cult favorite Nudestix Nudies Matte Cream Bronzer ($35), which is beloved by over 46,000 Sephora shoppers, or the NARS Laguna Bronzing Cream ($40), which has amassed over 100,000 likes at Sephora.
Step Two: Select your brush
Once you have your chosen bronzer laid out, it’s time to select the proper brush. After all, using the wrong brush can lend to a cakey, creased, unnatural-looking application. How seamless your bronzer looks will ultimately depend on your chosen formula and the tools you use to apply it.
“A fluffy, angled brush works best for powder bronzer application,” Grayson says. A few great brushes that fit the bill are the IT Brushes for Ulta Airbrush Soft Focus Blush Brush #113 ($26), Fenty Beauty by Rihanna Cheek Hugging Bronzer Brush 190 ($36), and Patrick Ta Precision Dual Ended Sculpting Brush ($45).
Meanwhile, Grayson says that a tight, round brush works best for cream bronzer. “It allows for precise placement and seamless blending,” he explains. Some solid options include the Real Techniques Expert Face Makeup Brush ($10), Makeup by Mario F4 Brush ($30), and Sephora Collection PRO Bronzer Brush #88 ($34).
Step Three: Pick up some product
When working with powder bronzer, Wulff says to tap your brush into the powder, then tap it on your hand to remove excess product from the bristles. “This technique ensures a more even application,” he explains. If you’re using a cream bronzer, just lightly dip your domed brush into the product—so softly that you don’t really even dent the surface. Trust us: Less is more in the realm of bronzer.
Step Four: Take note of your high points
Getty Images
Bronzer is meant to make your skin look sun-kissed. As such, Wulff says you want to focus on areas the sun naturally hits, such as your cheekbones, temples, the top of your forehead, sides of your nose, and even the tip of your chin.
Step Five: Press the bronzer into your skin
Instead of swiping bronzer on, Wulff says to press or tap it into place. This prevents your base face makeup from smearing or caking in the process—and it goes for both powder and cream formulas. “For a super bronzed appearance, apply bronzer to all highlighted areas,” Wulff says. “For a more subtle bronzed effect, focus on the cheekbones and bridge of the nose.”
Step Six: Blur the edges
“For a seamless blend, lightly tap around the edges of the bronzer application with a sponge,” Wulff concludes. “This ensures no harsh lines.”
For more InStyle news, make sure to sign up for our newsletter!
Read the original article on InStyle.

