Make fantastic composites in Affinity Photo with the Blend Options
Watch video (above): Make composites in Affinity Photo 2
If you know how to merge two photos, you can create all kinds of amazing images. It’s a useful skill, whether you want to make imaginative composites or for more everyday image editing. The standard approach when making a composite would be to use selections to isolate the subject, then a layer mask to remove the background. But this can be time-consuming. Sometimes there’s a quicker way.
The Blend Options dialog lets us blend layers based on luminosity. In a way it’s a bit like a layer blend mode, but with far greater control. It’s ideal when you want to combine images like ours here, where one has a very bright background. Rather than painstakingly cutting out the person, all we have to do is go to the Blend Options and knock out the highlight range, and that bright background can be removed in a couple of seconds.
There’s a slight catch. If there are bright highlights in the person – like in the shoes of our subject here – then these can also get knocked out. But the fix is simple, we duplicate the layer, remove the blend effect then paint a simple mask to add back in any missing details. From this point, it’s about making our images look as if they fit naturally together. To do so, we can paint shadows where they would naturally fall, and add a subtle reflection to the glass.
1. Paste and position
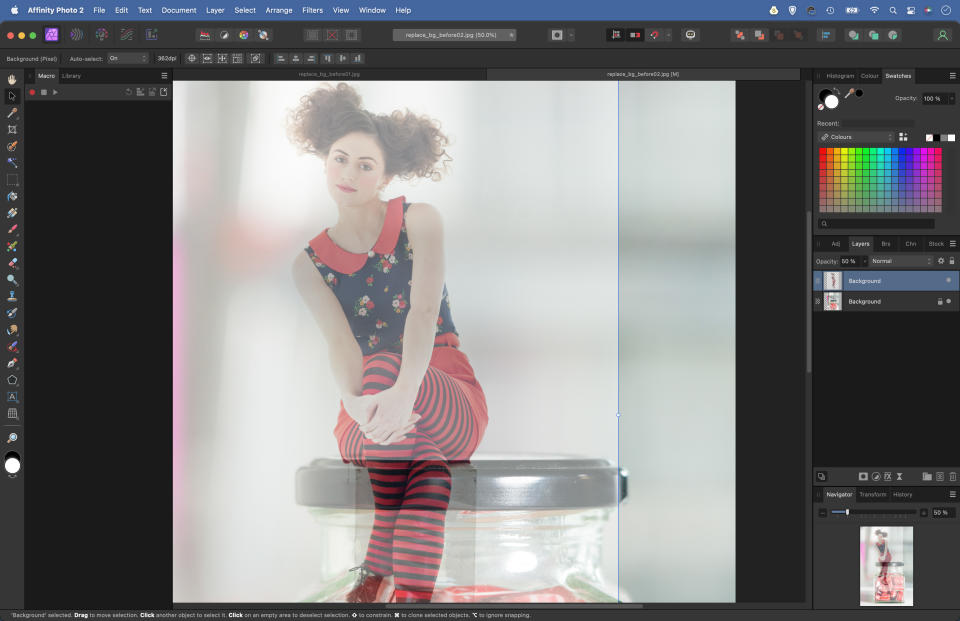
Open our Blend_1.jpg and Blend_2.jpg start images (download here) in Affinity Photo. Go to the Blend_1.jpg image and hit Cmd/Ctrl+C to copy, then go to the Blend_2.jpg pic and hit Cmd/Ctrl+V to paste them onto the sweet jar image. Drop the opacity of the top layer to position it. Grab the Move tool and use the bounding box to resize and reposition them.
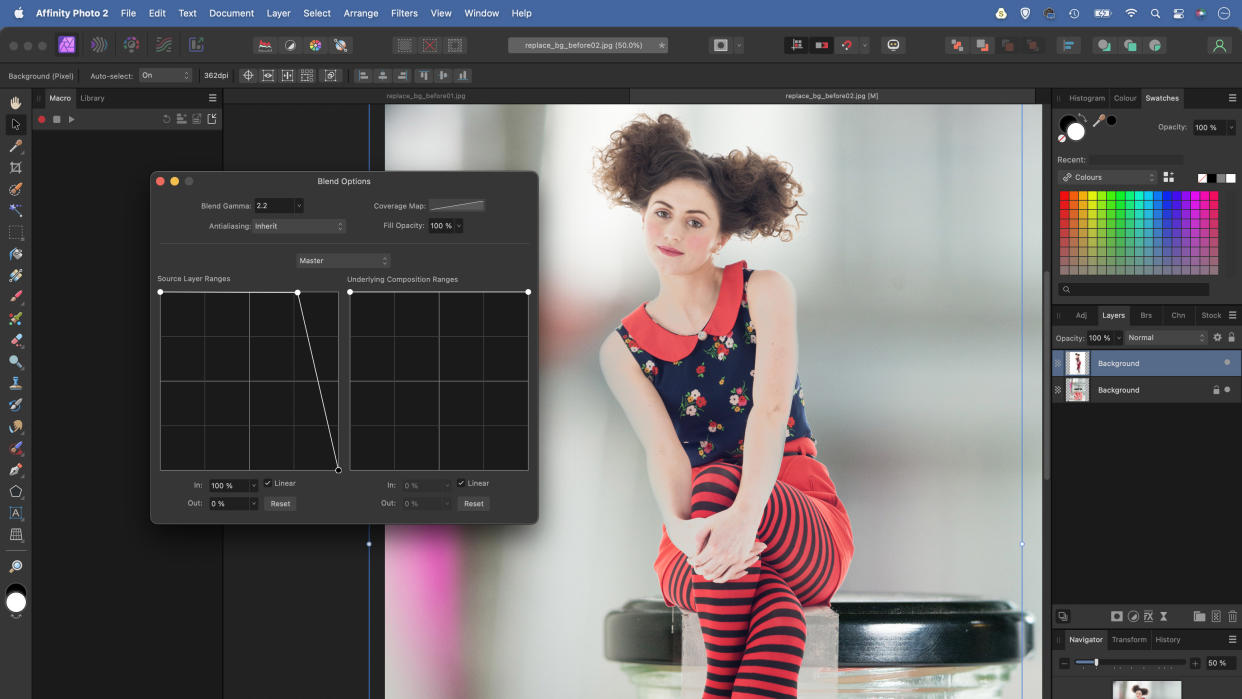
2. Use Blend Options
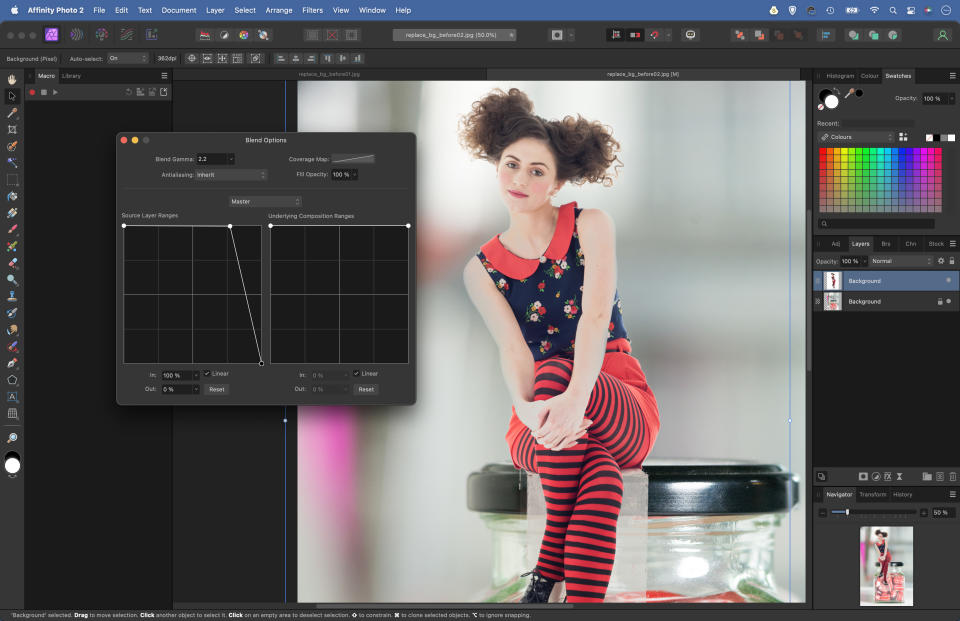
Bring the layer opacity back up to 100%. Click the cog icon on the Layers Panel to open the Blend Options. In the Source Layer Ranges box click a point about 3/4 of the way along the line to anchor it, then drag the right point down as shown.
3. Dodge to hide
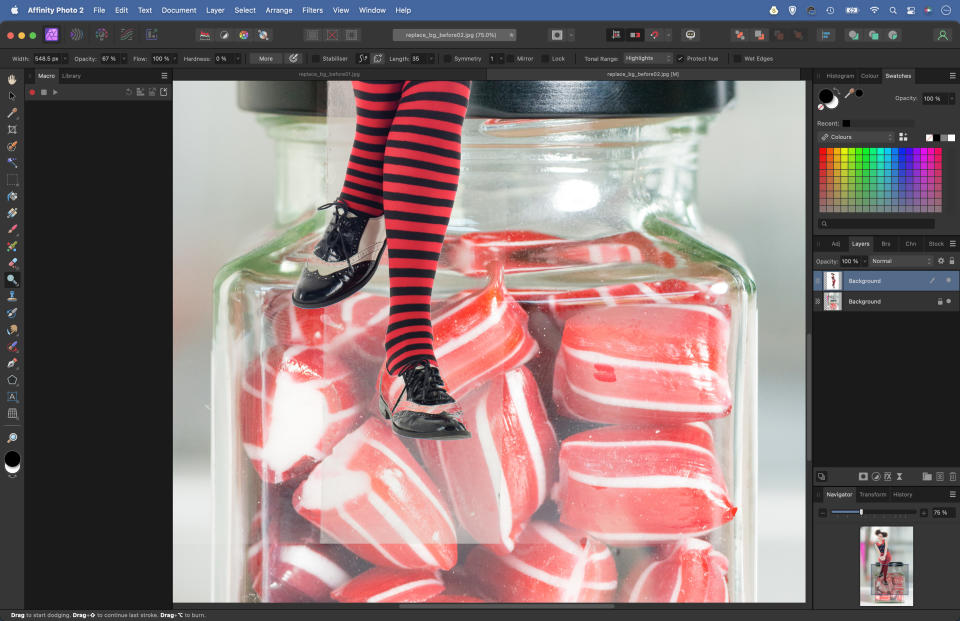
The majority of the background is now hidden, but there’s still an impression of the box our subject is sitting on. We could mask it out, but it’s easier to dodge it. Grab the Dodge tool, set the Tonal Range to Highlights then paint to lift the area and hide the box.
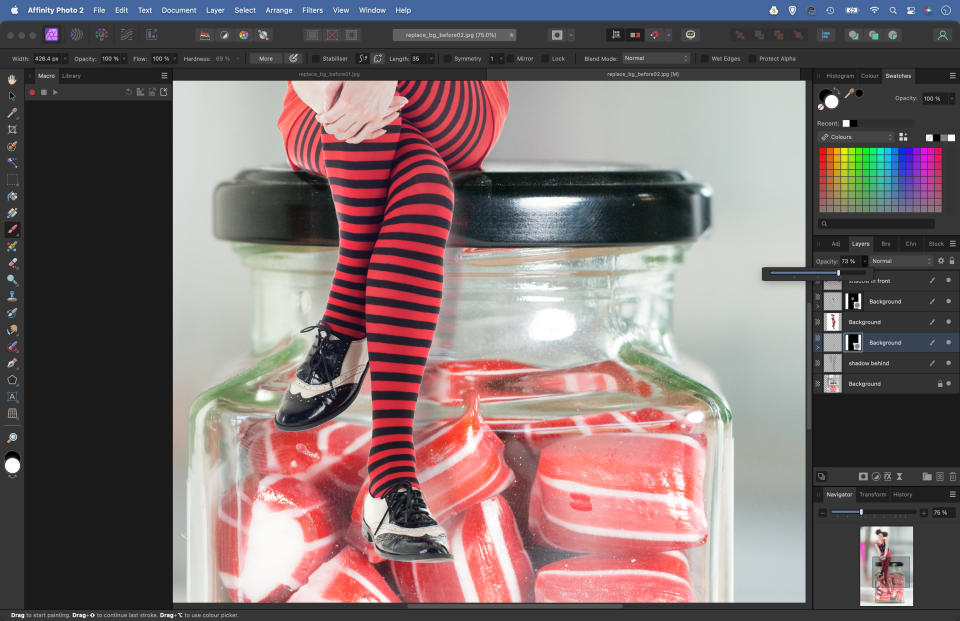
4. Add lost highlights

Hit Cmd/Ctrl+J to copy the layer then click the cog to go back to the blend options and restore the default. Click the Mask icon to add a mask then hit Cmd/Ctrl+I to invert it to black to hide the layer. Paint white to reveal the highlights along the arms and the shoes.
5. Paint in some shadows
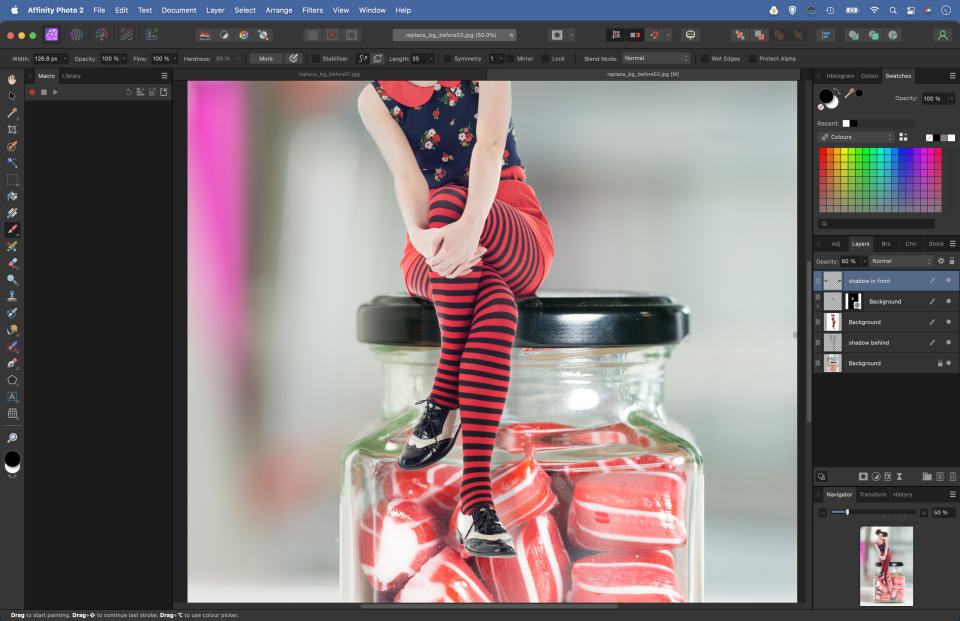
Highlight the bottom layer then click the New Layer icon. Grab the Brush tool and set the colour to black, with opacity 10%. Paint a shadow below the figure so that it looks like they’re sitting on the jar. Add a layer at the top and paint shadows in front of the person.
6. Make a reflection
Duplicate the lower layer of the subject then grab the Move tool and offset it. Go to Filter>Blur>Gaussian Blur to blur it, then add a layer mask and invert it to black. Paint white to reveal it in the glass, creating a reflection. Lower the layer opacity to tone it down.

PhotoPlus: The Canon Magazine is the world's only monthly newsstand title that's 100% devoted to Canon, so you can be sure the magazine is completely relevant to your system. Every issue comes with downloadable video tutorials too.
Get US$10 voucher if you subscribe before July 24View Deal
Check out more Affinity Photo tutorials, along with the best photo editing software reviews. You might also like the best cameras for portraits and the best lenses for portraits.

