Experts take the guesswork out of creating the perfect gallery wall – this is what you need to do
Creating the perfect gallery wall is no joke. There are so many things to consider - the selection of artworks or photographs that will make the cut, whether they go together, then there is the question of frames, their designs and sizes. Do you make them uniform or all different? All of that you even get to the gallery wall layout, which is a whole other thing. But turns out there’s a whole ‘science’ to the perfect gallery wall measurements we had no idea about.
If you’ve been scouring Instagram and Pinterest in search of gallery wall ideas, you’ll know that they come in all shapes, sizes and layouts. Which is why one might be under the impression that their creation is entirely random. But the opposite is true. To achieve a successful and effortless-looking gallery wall of mismatched frames and variously sized artworks and memories you need to employ some very specific techniques and exact measurements. And our interiors experts told us all about this gallery wall ‘science’.
The perfect gallery wall measurements
The first step you must undertake, whether you’re creating a photo gallery wall or realising a living room feature wall idea, is to measure your wall space. It’s not a very sexy step but one that must be done to establish how much space you’re working with.
‘Measure the available space (top to bottom and left to right), taking account of the height and any furniture that's placed in front of this wall too,’ advises Sue Jones, luxury interiors expert and co-founder of OKA, a brand of homewares and furniture.
She continues explaining where the lowest point of your gallery wall should fall, ‘If your gallery wall is hanging above a piece of furniture, then aim for the bottom of your lowest frame to hang 7 to 10 inches above the top of your furniture. If on an empty wall, then aim for the whole arrangement to be hanging around 57 inches above the floor.’ See? Specific!
Annica Wallin, executive creative director of wall art company Desenio, known for its gallery walls, agrees. ‘Take features such as furniture into account, for example, the edge of the sofa – here, the lowest hanging frame should hang at least 15cm, 6 inches, above the sofa.’
Lay out your gallery wall arrangement on the floor
But hold your horses before you start hammering nails and hooks into the wall just because you have the perfect living room wall art idea. There’s more to learn first.
After taking your wall measurements, utilise your floor to lay out your artworks and experiment with the different placements until you’re absolutely happy with the result.
‘Lay your gallery arrangement out on the floor, step back and squint,’ recommends Kelly Stevens-McLaughlan of wall art house FabFunky. ‘We have hung many gallery walls at events and in showrooms, and it’s so easy to get it wrong and run out of wall space because we’ve not laid it out in advance. So it really is worth the time to plan it.’
So if even pros can get it wrong, please don’t skip this step, we beg of you.
The centre of the gallery wall

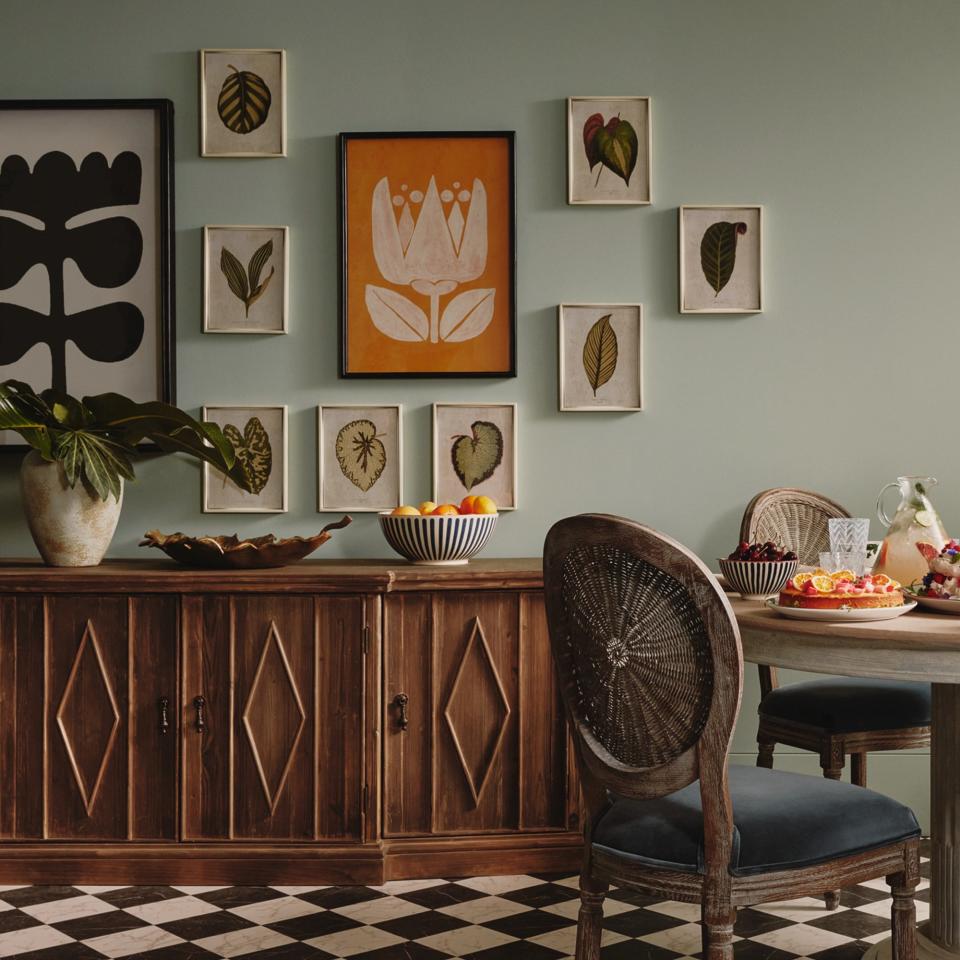
Starting with the centre and going from there is generally the recommended process.
‘Regardless of your formation, you want to start with the middle picture first and work outwards. Measure the central point in your desired area, making a light mark on the wall with a pencil. This pencil mark is ideally where you want to put your first nail or hook, but hold the picture in place to make sure you’re happy with its placement,’ Sue says.
But how do you figure out where exactly the centre should fall on your chosen wall?
Kelly shares a general guidance, ‘A very common starting point is to hang artworks at or around eye level. So with this in mind a good general guidance would be to hang a gallery wall with the centre of the collection at eye level.’
But Annica is more exact with her recommendation, ‘A universal rule is to place the centre of your gallery wall approximately 145cm, 57 inches, above the floor. Do feel free to experiment with this rule, if you have a high ceiling it may have to be adjusted a bit.’
Spacing between frames
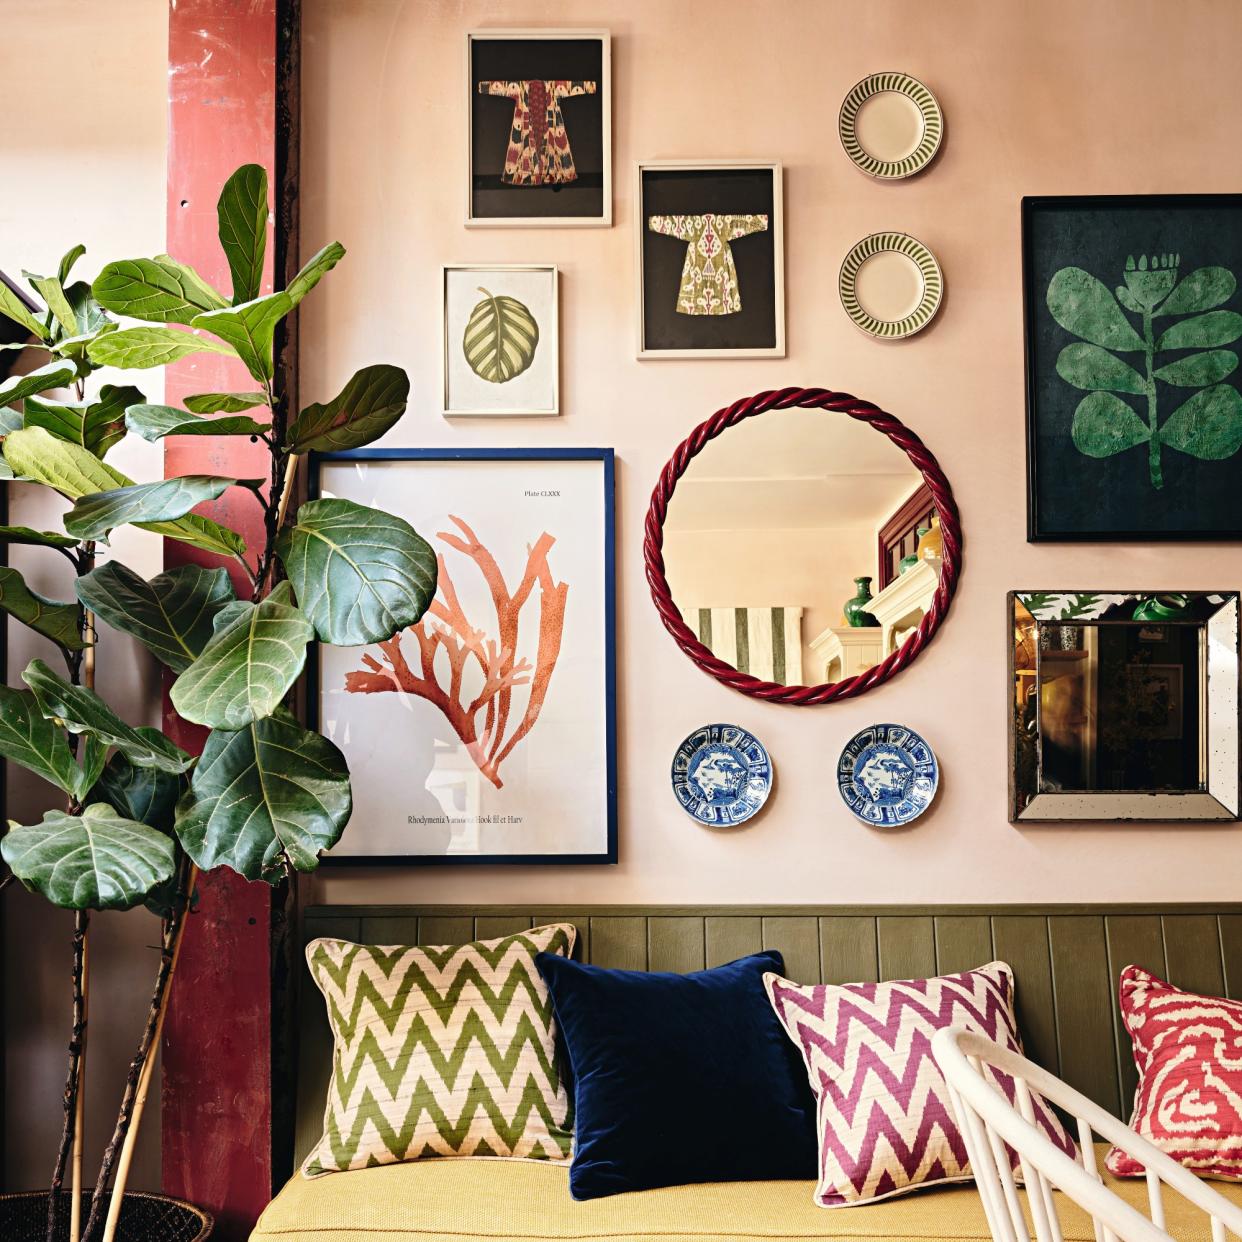
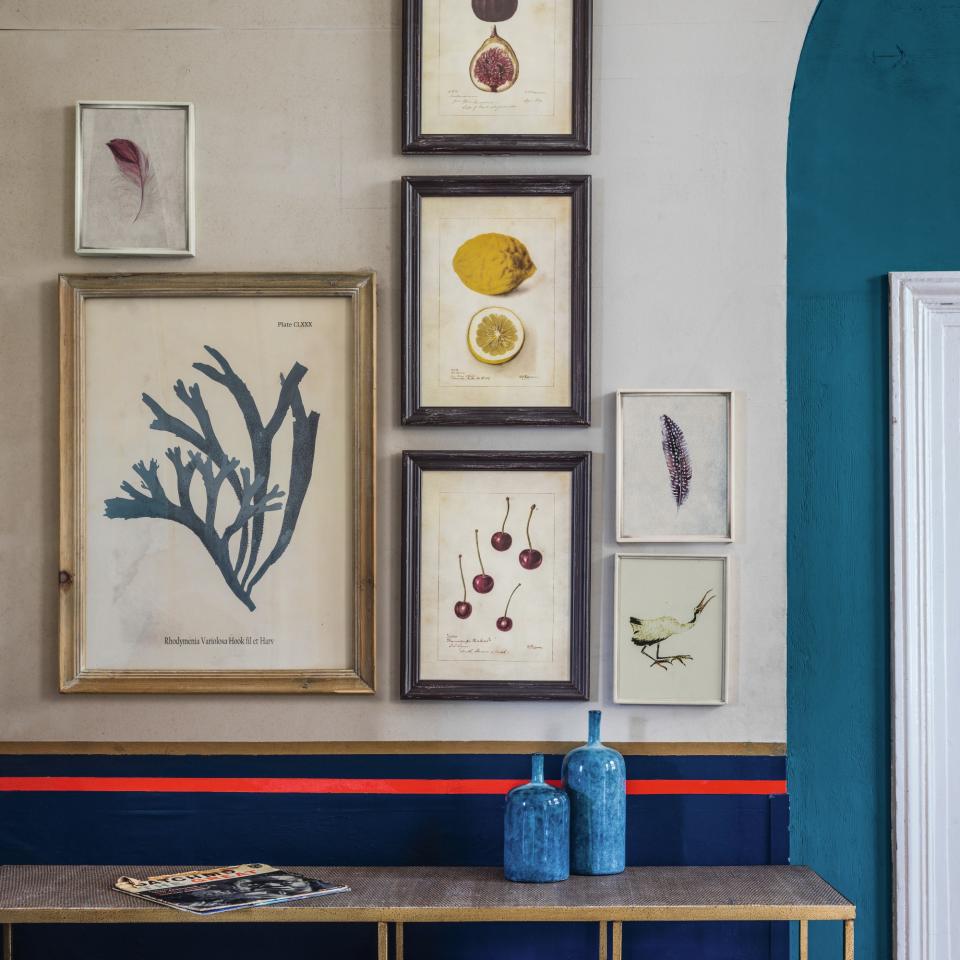
You might be asking yourself whether the spacing between each of the frames in your gallery wall should be the same or whether they should vary. According to our experts, if you’re using all the same frames then uniform spacing is a possibility to consider. But if your frames vary in style and size, then it might be difficult to achieve the exact same spacing between each. So perhaps embrace the beauty of asymmetry.
‘While your art is still on the floor, take a few minutes and experiment with the placing. Usually, we would recommend spacing the frames 5 to 10cm, 2 to 4 inches, apart. You could also try hanging them closer together to create the look of one solid piece of art. It all comes down to your personal taste and style. Start with a 5-centimetre spacing between frames and go from there,’ says Annica.
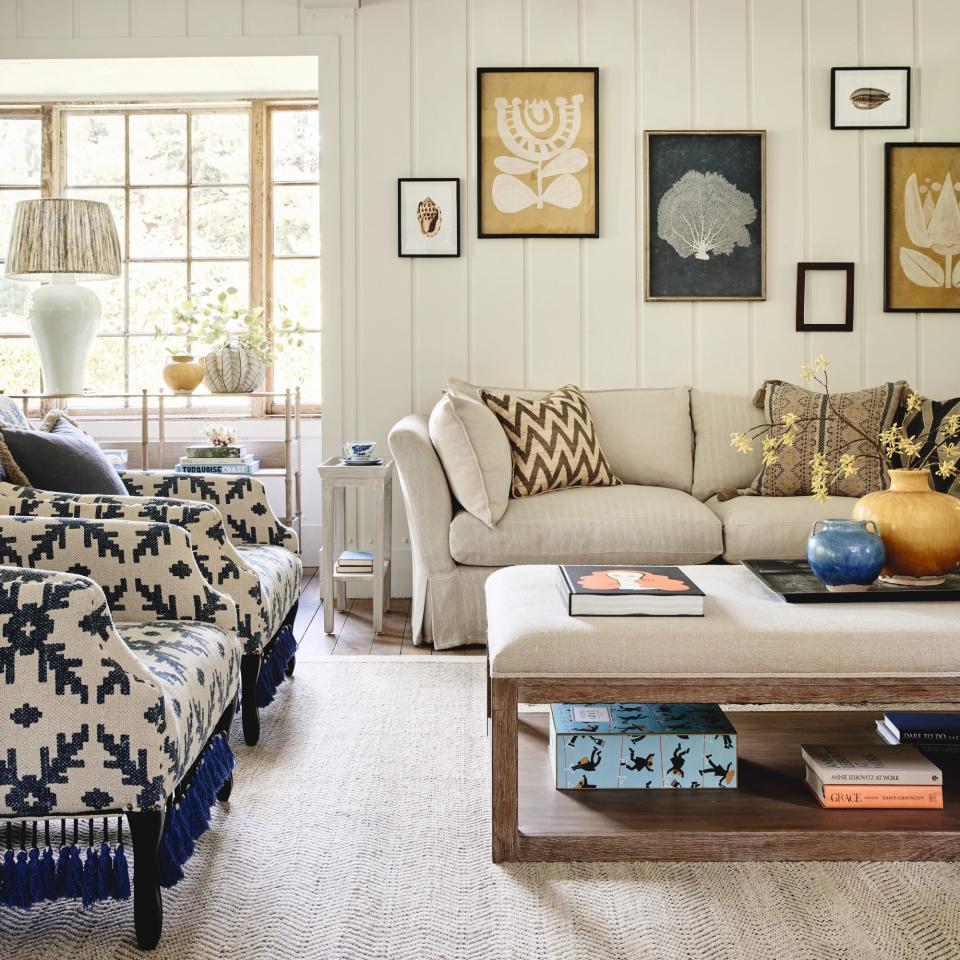
Kelly adds, ‘A gallery wall that is made up of many different sizes and styles and which wraps around furniture and even around corners of the room, can add huge interest to a room and have a massive impact.’
Amen to that.

