The Easiest (And Prettiest) Holiday Gift Ever: This DIY Glitter Tray

Jilly and Sally are New York-based sisters and style bloggers who share their personal style, beauty tips, and peeks into their lives on their blog, Sorelle in Style. You can find them at @sorelleinstyle on Twitter and Instagram.
More from StyleCaster
The 22 Best Places To Buy Jewelry Online, No Matter Your Budget
The Adorable Choker That Hailey Bieber Loves Is 50% Off Right Now & Sure to Sell Out
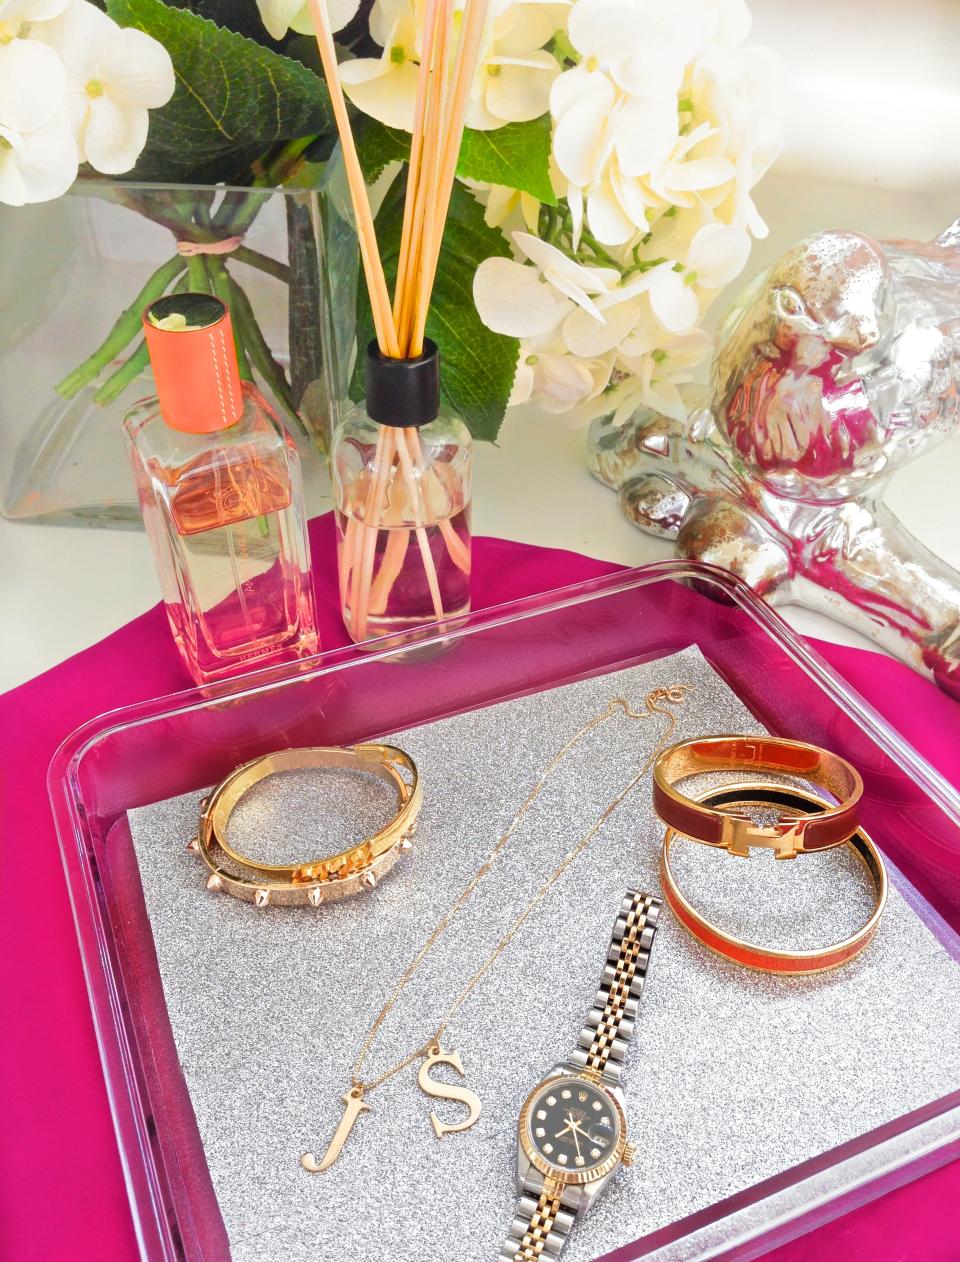
Lately we’ve been obsessing over pretty new ways to display our prettiest things (blame it on Pinterest). Why hide our favorite baubles away in jewelry boxes when we can artfully showcase them on a glittery tray? In a D.I.Y. with all the sparkle and none of the messy, glitter-for-days aftermath, we’ll show you how to craft your very own glitter jewelry tray in a few simple steps.
Click here to read the full article.
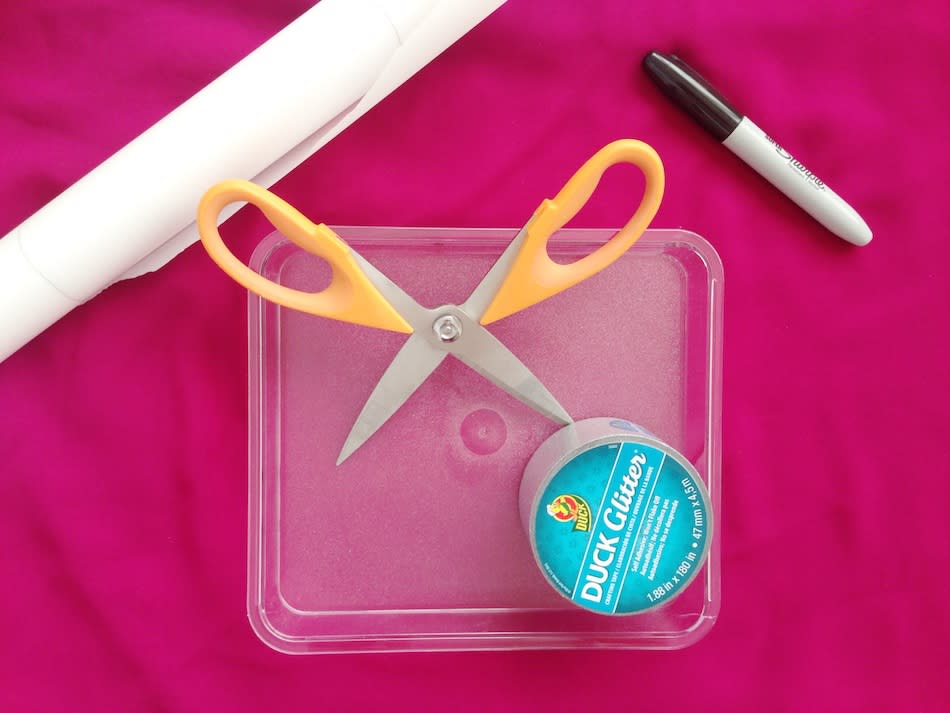
What You’ll Need: A plastic/lucite tray, Duck glitter tape, a marker, scissors, and parchment paper
Step 1: Place the tray on the parchment paper and trace around the bottom of it.
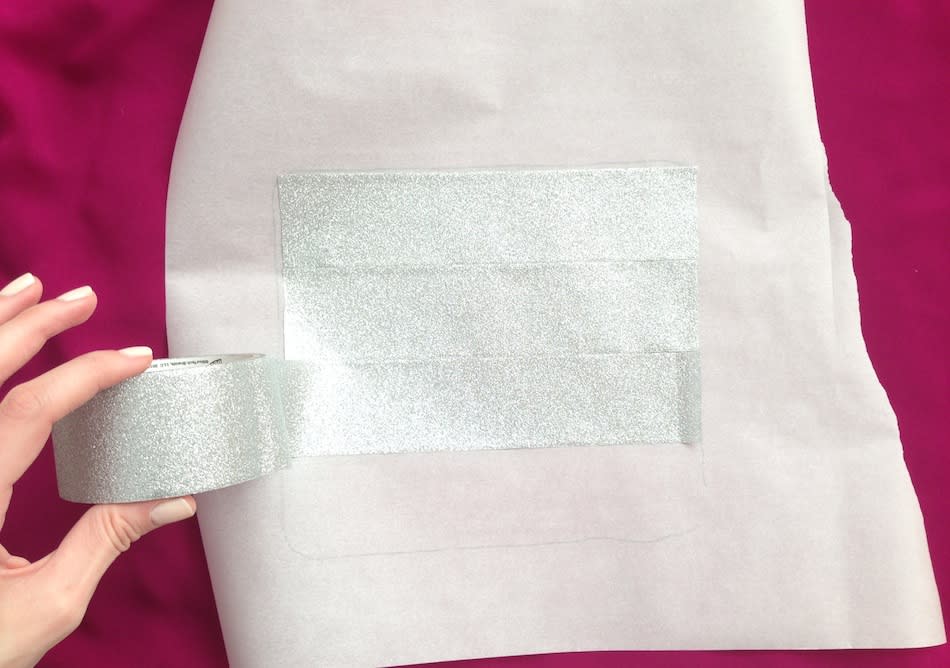
Step 2: Flip the parchment paper over and tape strips of the glitter tape within the traced area.
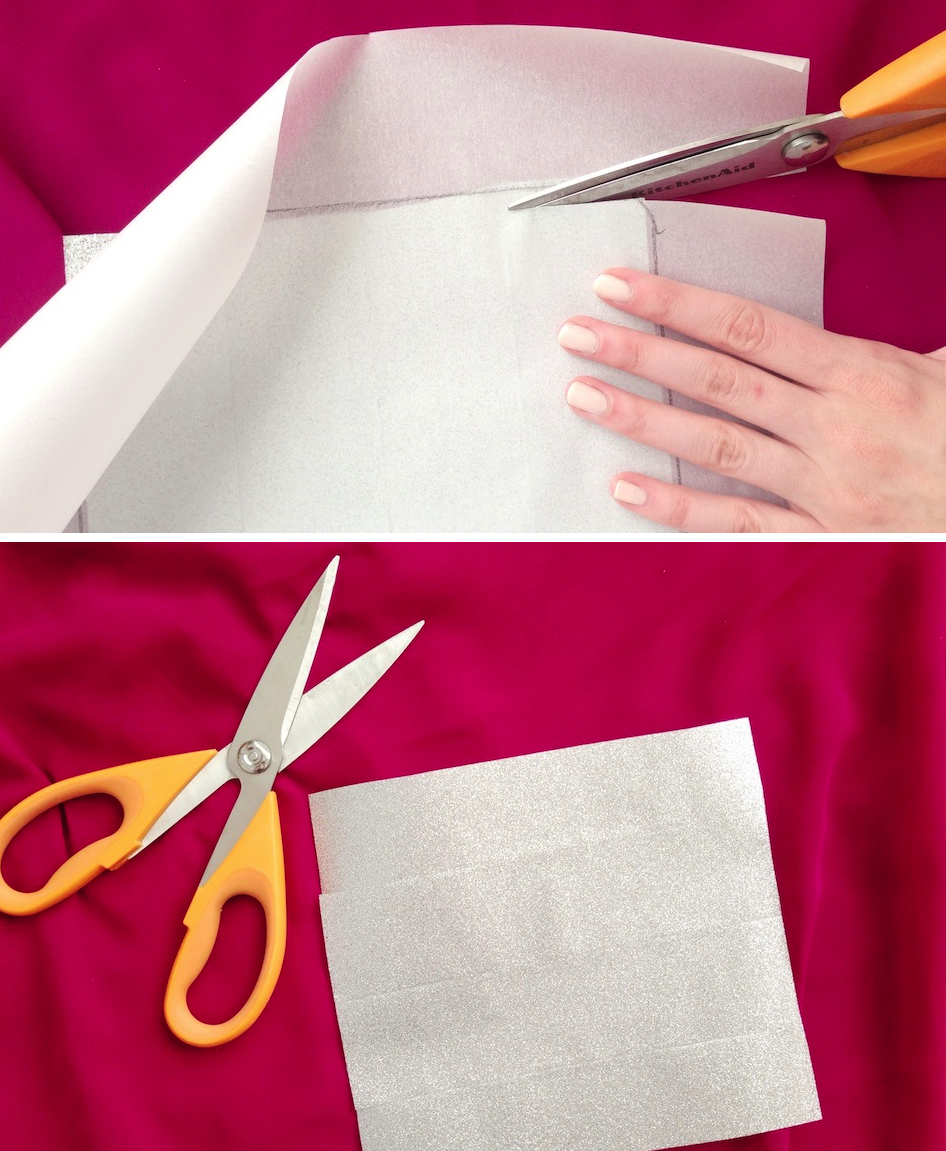
Step 3: Flip the parchment paper over again (glitter side down) and cut within the traced lines.
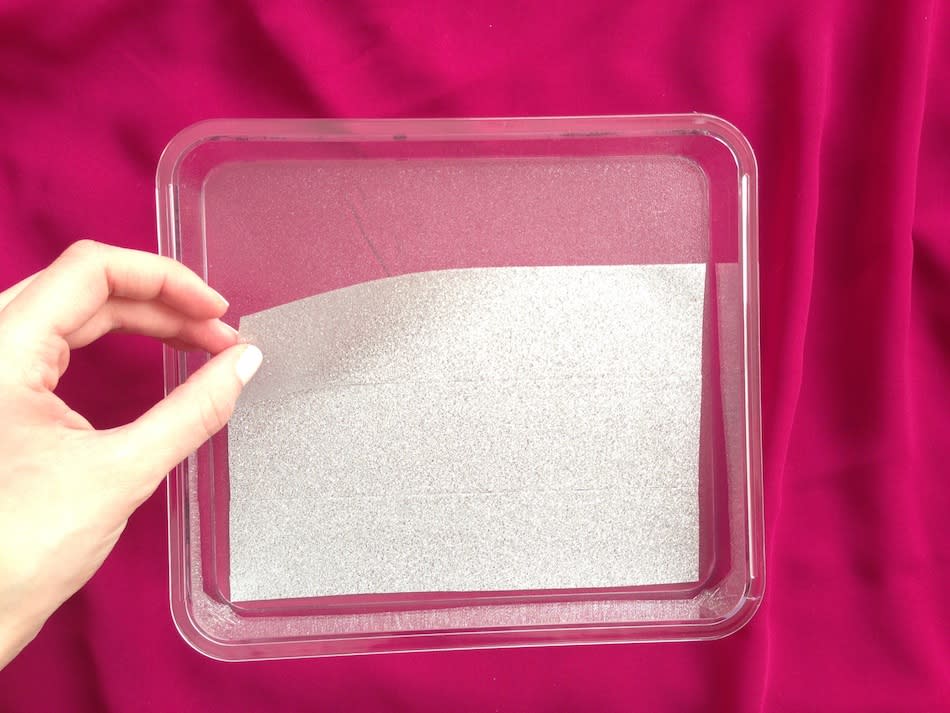
Step 4: Working carefully, peel one strip of glitter tape at a time off of the parchment paper and stick it to the bottom of the tray. Try to get each strip as close as possible to the other without overlapping them.
Then, fill it with your favorite jewels!
More From Sorelle in Style
D.I.Y. Chain Friendship Bracelet
D.I.Y. Love Bracelet
D.I.Y. Jewelry Organizer
Best of StyleCaster
