A dye-hard's guide to at-home hair color
My mother, a brunette, grew up envious of her older sister’s long, naturally blonde hair. So when I was born with a head of golden strands, she vowed to protect it—which translated to roughly two-inches of my hair chopped at every haircut, and actual laughter from my mom at any request to dye my hair. This continued until I was in college when it dawned on me: I was free! I headed to the drug store to pick up two boxes of ginger hair dye, brought them back to my dorm room, and painted my hair without delay. When I was finished, a totally different person looked back at me in the mirror. It felt like magic.
I’ve been hooked on hair dye ever since, and the roughly ten shades I’ve experimented with since then are proof—from platinum blonde and icy blue to the literal pastel rainbow strands I once donned for one day only. (I made the mistake of going to a spa with multiple pools the day after I dyed it, and every last bit rinsed out. I’m still mourning the loss, TBH.) Suffice it to say, I’ve learned a lot about hair color since my dorm room days, and there are some rules even the most intense color chameleons need to follow. These are my non-negotiables.
💁🏼♀️➡️👩🏻🎤 (DIY’ed some pink highlights last night with @manicpanicnyc Fleurs du Mal)
A post shared by Kate Foster (@katebfoster) on Jul 15, 2019 at 3:46pm PDT
Don’t DIY without an emergency fund.
Confession: I used to bleach my own hair white-blonde at home, which you should never, ever do. (More on that later.) In my defense, I tucked away about $500 beforehand in case things went terribly wrong and I needed an expensive colorist to fix it, which you should always do. Coloring your hair is basically one big chemistry experiment, and you never know what could go awry—and if you accidentally dye your hair orange and have to keep it for weeks because you can’t afford to get it fixed, I promise there will be lots of tears.
Gather your tools ahead of time.
Before you start, make sure you have: an extra box or tube of dye (especially if your hair is longer than shoulder-length), gloves, a mixing bowl and brush, a comb (to brush the dye through and ensure it’s coating every hair), Vaseline (to dab on your hairline and prevent your skin from being dyed), and old towels or trash bags to cover your sink and floor with, in case you drip or spill. Trust, you don’t want to realize you’re missing any of these things mid-process.

Know your formulas.
Let’s say you just know you want to dye your hair red. You’re going to be seriously confused when you walk into the beauty supply store and realize you can do it with permanent, semi-permanent, and temporary dyes, and even glazes and color boosters. Which to choose?! Stephanie Brown, Master Colorist at IGK Soho in NYC, walks us through the key differences:
Permanent (like Wella‘s): “Permanent color can lighten, darken, or change the tone of your hair, and will last until you need to touch up your roots,” says Brown. “Root touch-up products are usually permanent, and they fully cover gray strands.”

Semi-Permanent (like Manic Panic‘s): “This wears off over time because it doesn’t contain chemicals like ammonia or peroxide that permanently lighten or darken your hair,” says Brown. “Semi-permanent color is more low-maintenance and less of a long-term commitment.” This category also covers temporary dye, but be warned: even temporary or semi-permanent color can be pretty permanent if your hair is very light or very damaged.

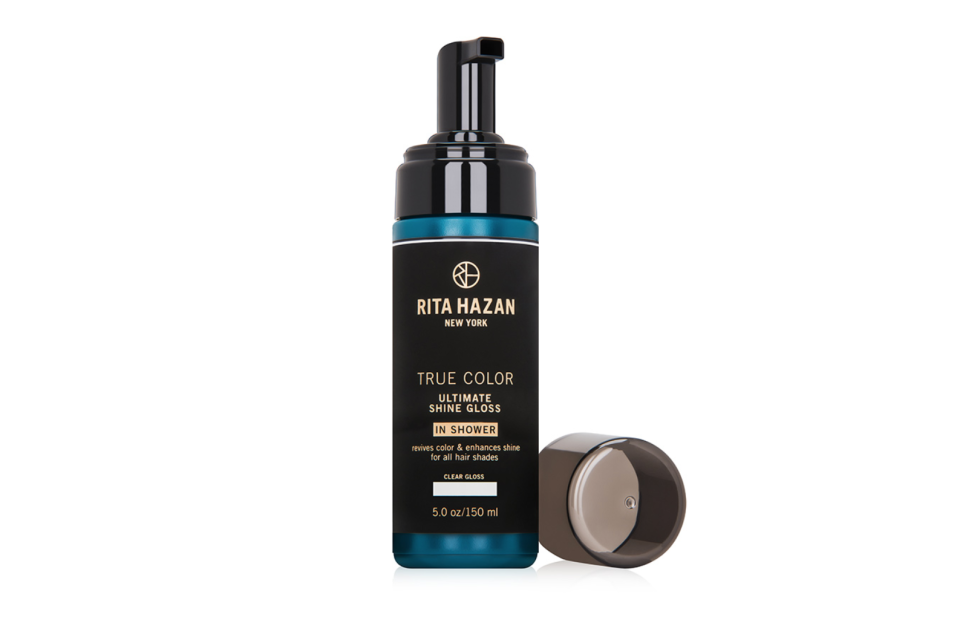
Color Boosters (like Rita Hazan‘s): “Color boosters are also known as glosses,” says Brown. “They’re semi-permanent and are usually only left on the hair for five to ten minutes to freshen up the color and add shine.”
Divide strands into four sections.
Thinking about tackling your entire head of hair at once can feel overwhelming. Instead, part your hair once down the middle, then again from ear to ear, to create four even sections. Start with the back sections—they’re a bit harder to reach, so it’s best to go for them before your arms start getting tired.
Work from root to tip—then comb.
The tips of your hair tend to be more damaged, especially if you’ve lightened your hair before. This means they’re more porous and will absorb color more quickly, so use your brush to apply color to your roots, then pull the color down to the tips with your fingers to ensure even-looking color. Comb each section after you apply the dye so every strand is saturated with color.
Anyone else remember when I had like 0.0001% of a tan this summer? No?
A post shared by Kate Foster (@katebfoster) on Dec 5, 2019 at 12:45pm PST
Know when to see a professional.
“Go to a colorist if you’re making any big changes: way lighter, way darker, or even a way different tone,” says Frédéric Fekkai Color Director AJ Lordet. “These are the situations when something could go terribly wrong at home.”
“Do not attempt to bleach your hair at home,” says Jan-Marie Arteca, a colorist at Antonio Prieto Salon. “It’s too unpredictable. Also, always see a colorist if your hair is very damaged. They’ll know how to minimize any further trauma.”
Give your hair some extra TLC afterward.
You’ve probably gotten the memo: At-home color can be pretty damaging, no matter which shade you’re going. After I dye my hair, I like to saturate it in a repairing mask (I swear by Amika Soulfood Nourishing Mask) and let it penetrate for a few hours, if possible. A daily dose of hydrating oil (like Paul Mitchell Tea Tree Lavender Mint Nourishing Oil) on your ends is also a requirement. Finally, if I want to give my color a boost after a few weeks, I try to use Overtone's color-depositing conditioner rather than a traditional dye, which can inflict more damage.

