How to Dry Fresh Herbs to Use in Your Cooking All Year Long
Don't let your herb garden bounty go to waste—dry your herbs to extend their life.
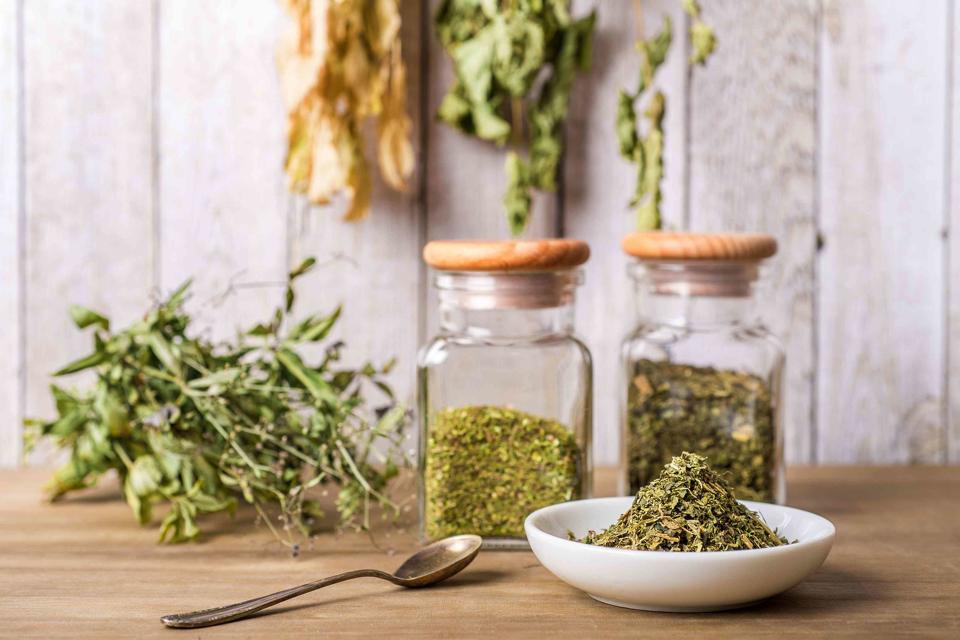
Kerrick / Getty Images
Herbs have been used for thousands of years to add flavor and color to all different types of meals. While fresh herbs are often the go-to, especially for those with herb gardens, dried herbs offer a wealth of benefits that can make them an even better choice, depending on what you’re cooking. Dried herbs are typically stronger, more cost-effective, and last longer than fresh herbs. If you’re wondering what to do with an abundance of herbs leftover in your garden, you may want to consider drying them to preserve their aroma and flavor long after the herb-growing season has passed.
Meet Our Expert
Dr. Carla L Schwan, assistant professor and extension food safety specialist at the University of Georgia; director of the National Center for Home Food Preservation
Related: How to Grow a Windowsill Herb Garden, From Planting to Harvesting
Best Herbs for Drying
Some herbs lend themselves better to drying than others. "Herbs can be categorized into two main groups, each offering suitability for drying based on factors like your time, environmental humidity, and resource availability," says Dr. Carla L. Schwan, assistant professor and extension food safety specialist at the University of Georgia and director of the National Center for Home Food Preservation.
Hearty, sturdier herbs, like rosemary, sage, thyme, and parsley, are considered less tender and easiest to dry without using a food dehydrator due to their low moisture content. Tender leaf herbs, like basil, oregano, tarragon, lemon balm, and mint varieties, have a high moisture content and will mold if not dried quickly, says Schwan. Their high moisture content means these herbs take longer to dry than their less tender counterparts.
Related: 10 Herbs You Should Stop Buying and Start Growing
How to Dry Herbs
Drying your own herbs is surprisingly simple, even for beginners. Follow Schwan’s own tried and true air-drying method, which she breaks down into these easy steps:
First, tear or punch holes into the side of a paper bag.
Then, tie your herbs into small bundles, as larger bundles will mold.
Hang the bundles inside of the paper bags and close the top with a rubber band.
Suspend the bag in a location where air currents can circulate.
Leave to dry for one to two weeks until they start to crumble. Adjust drying time as needed.
Your herbs are adequately dry when they begin crumbling. "Time varies based on temperature, humidity, and herb used during drying," says Schwan. Be sure to adjust the drying time as needed.
Related: 12 Herbs That Will Thrive Indoors—and Enhance Your Cooking All Year Round
Other Methods for Drying Herbs
If you don’t have time to air dry your herbs, there are a few other effective ways to make the most out of your herb garden’s bounty. Consider these additional methods:
Dehydrator Drying
A food dehydrator offers you the ability to dry your herbs quickly while allowing you to control the temperature and airflow.
First, preheat your food dehydrator to between 95 to 115 degrees Fahrenheit. (You may need to increase the temperature to 125 degrees Fahrenheit in more humid regions.) Then, wash your herbs in cool water, shake off any excess moisture, and arrange them in a single layer on the dehydrator trays. "Drying times can range from 1 to 4 hours, so check regularly," Schwan says. "Herbs are ready when they crumble easily, and their stems snap when bent." You may also want to consult your food dehydrator’s user manual for model-specific directions.
Oven Drying
Some herbs, like mint, sage, or bay leaves, are well suited to oven drying, which involves drying the leaves individually. “It's more effective than air-drying whole stems in high humidity areas,” says Schwan.
First, separate the best leaves from the stems and lay them out on a paper towel so they are not touching. Then, cover them with another towel, followed by another layer of leaves. Stack up to five layers, and then dry them in a very cool oven. "The oven light of an electric range or the pilot light of a gas range furnishes enough heat for overnight drying," says Schwab. "Leaves dry flat and retain a good color."
Microwave Drying
Believe it or not, you can even dry herbs using your microwave. "Microwave ovens are a fast way to dry herbs when only small quantities are to be prepared," says Schwab. "Follow the directions that come with your microwave oven." No two microwaves are exactly alike, so it’s better to defer to the user’s manual to ensure the best results.
How to Store Dried Herbs
The way you store your dried herbs plays an important role in the potency of their flavor in addition to their shelf life. The ideal way to store dried herbs is using an airtight container in a dark, cool, dry place. "Proper storage prevents moisture and light exposure, which can cause herbs to lose their flavor and aroma quickly," says Schwan. She recommends using glass containers, as they are generally the best at safeguarding your herbs against moisture, insects, and other contaminants.
Related: How to Store Fresh Herbs So They Last Longer
How Long Dried Herbs Last
Dried herbs are a pantry staple, and they can last for quite some time. "When stored correctly in airtight containers in a cool, dark place, dried herbs can retain their flavor and potency for up to one year," says Schwan. "However, for optimal freshness and flavor, it is recommended to use them within six months of drying." Drying your herbs and storing them properly can keep you from having to buy them between growing seasons, saving you money throughout the year.
Read the original article on Martha Stewart.

