These DIY Shibori Napkins Make the Best Hostess Gift
While rainbow swirls and pastel hues might be the tie-dye trend du jour in the fashion world, when it comes to tie-dyed home decor, we're all about shibori. The Japanese textile art (which roughly translates to "to wring, squeeze or press") involves resist-dyeing fabrics, often with indigo, to create gorgeous single-color patterns. There are numerous techniques, from arashi shibori—in which fabric is bound around a pole to create stripes—to nui shibori, which involves stitching the fabric and can result in highly detailed designs. (Check out the World Shibori Forum website for some incredible examples.)
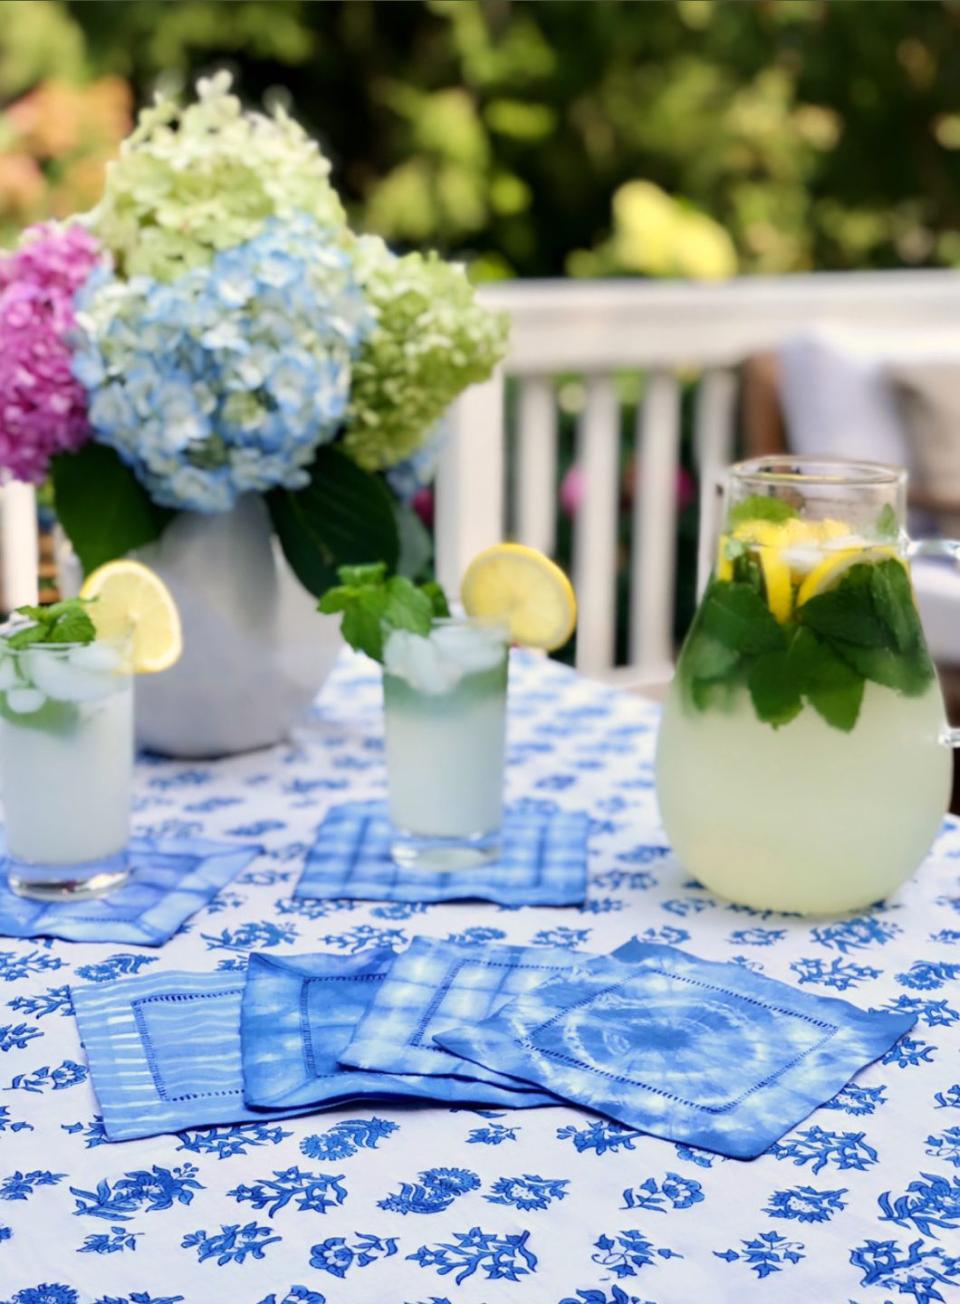
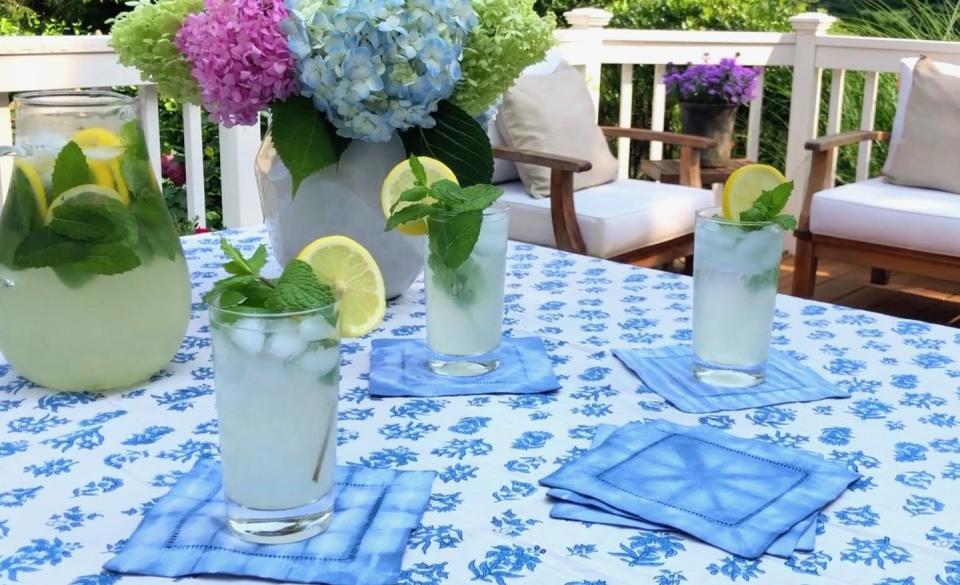
Ready to try it for yourself? Simple linen or cotton napkins are a great canvas to experiment with different shibori techniques, and the finished product makes a gorgeous gift. Read on to find out how to create your own set of shibori-dyed cocktail napkins.
You'll Need
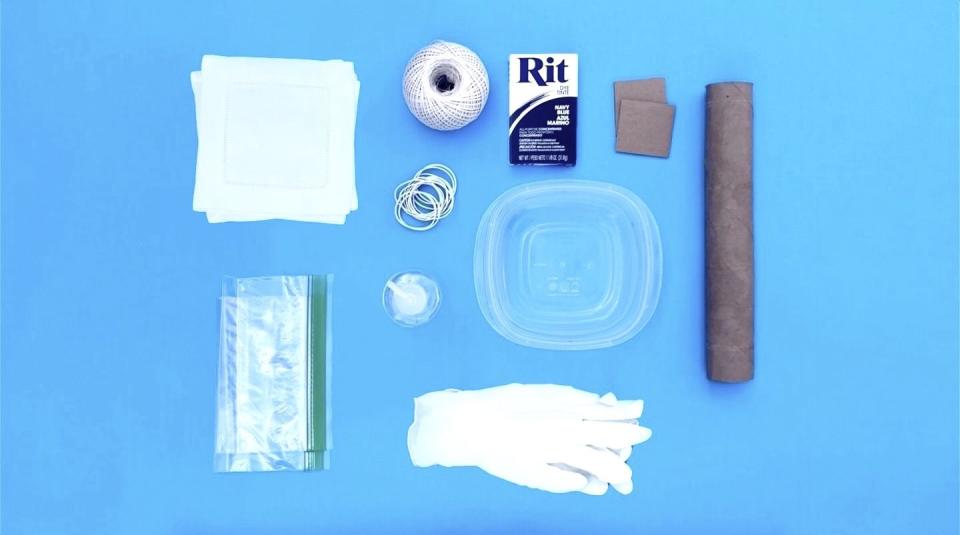
Linen or cotton cocktail napkins
Fabric dye
Squeeze bottle
Plastic container or tray
Rubber bands
String
Wide tube
Cardboard squares
Sandwich bags or plastic wrap
Rubber gloves
How to Make Shibori-Dyed Cocktail Napkins
Begin with clean, damp napkins.
To make squares, fold the napkin accordion-style into a strip, then fold the strip again, accordion-style, into a square.
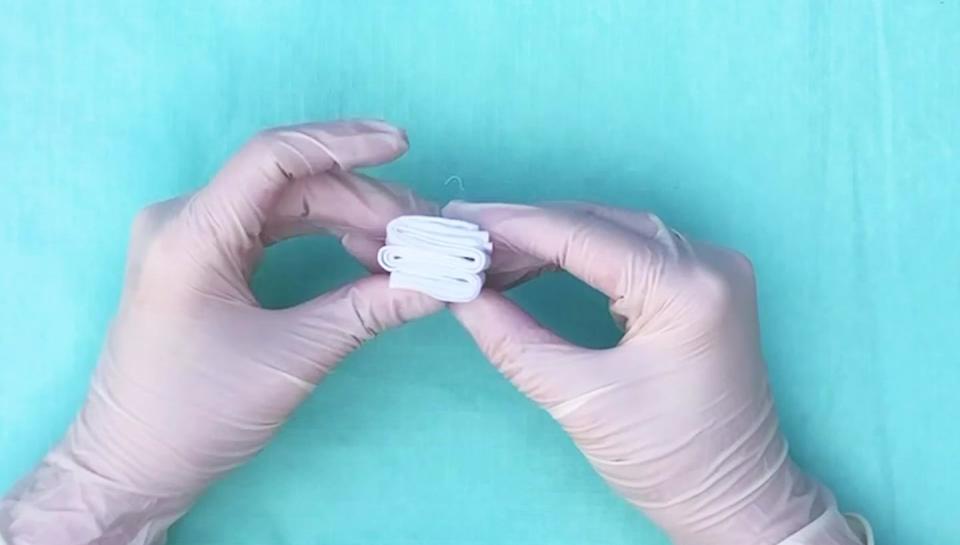
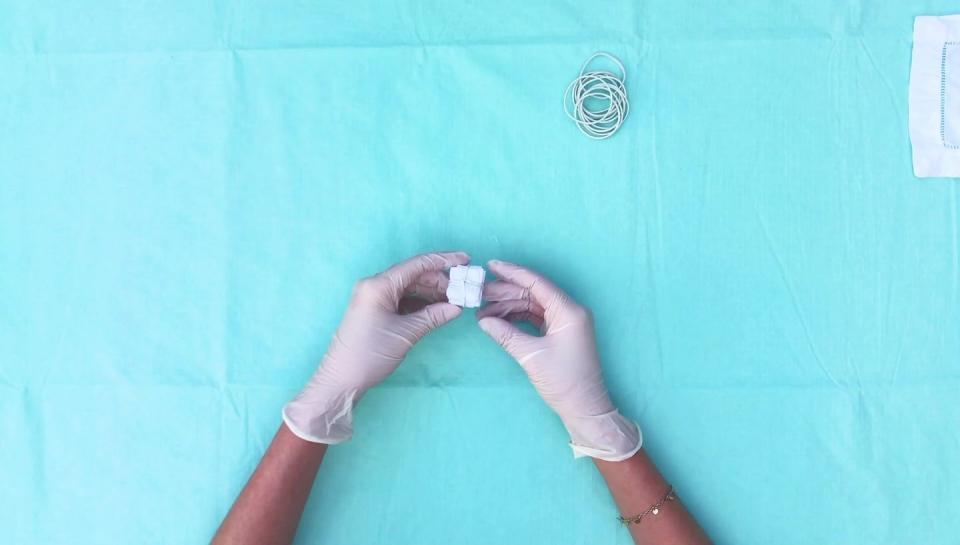
Secure with a rubber band.
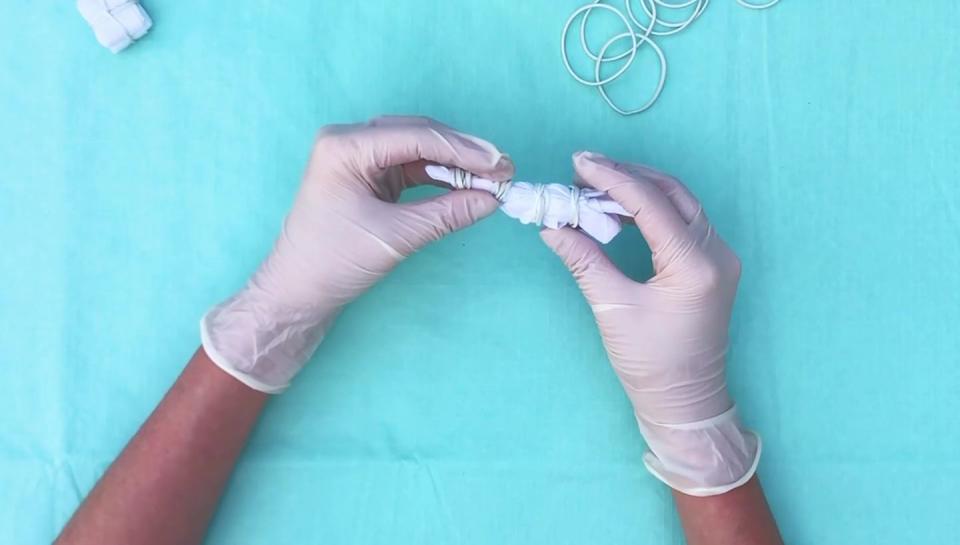
For circles, begin by pinching the napkin in the middle (or wherever you want the center of the circles to be) and gather evenly.

Use rubber bands to secure. More rubber bands will create more circles.
For triangles, fold the napkin in half diagonally. Keep folding in half until you have a small triangle.
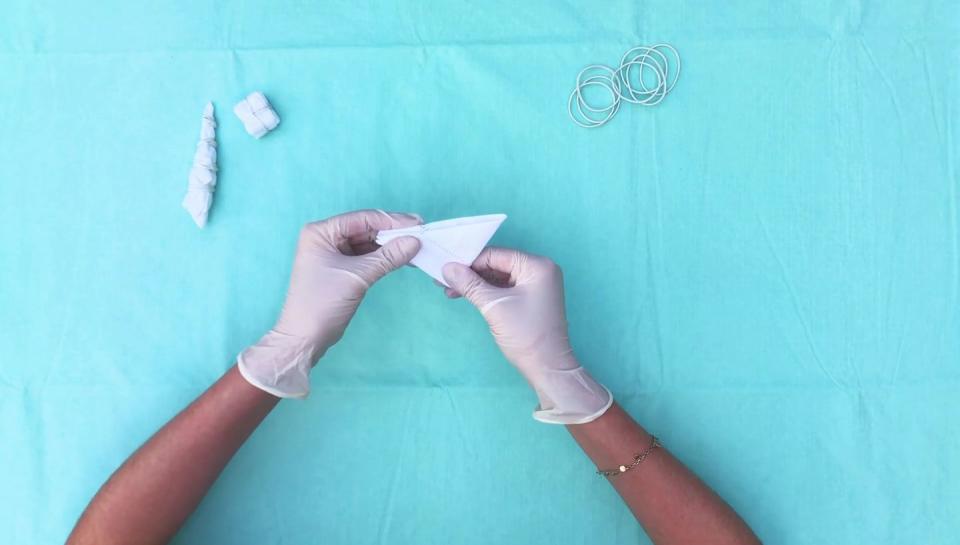
Cut two pieces of cardboard the same size as the folded napkin, and sandwich the napkin between the cardboard pieces. Use rubber bands to secure.

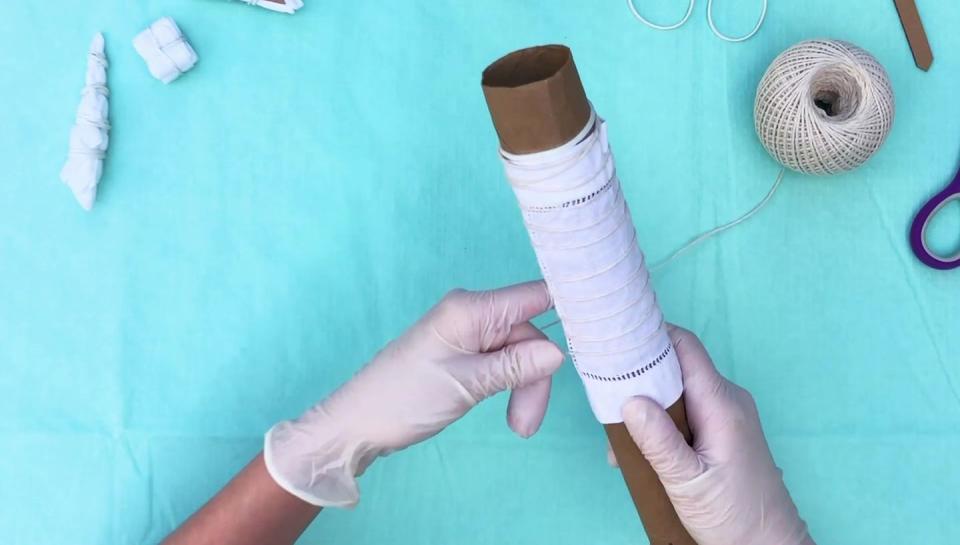
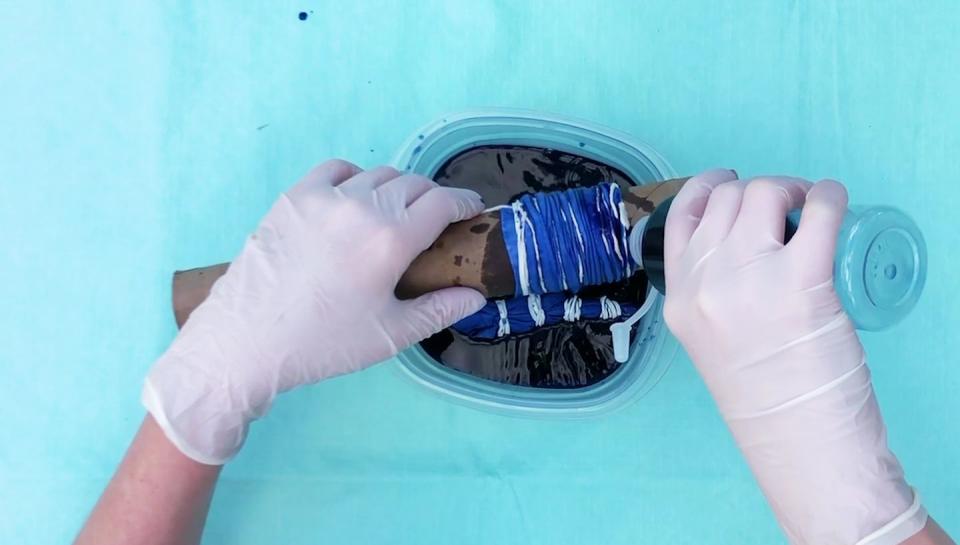
For stripes, start by using a rubber band to secure a piece of string to one end of a wide tube.
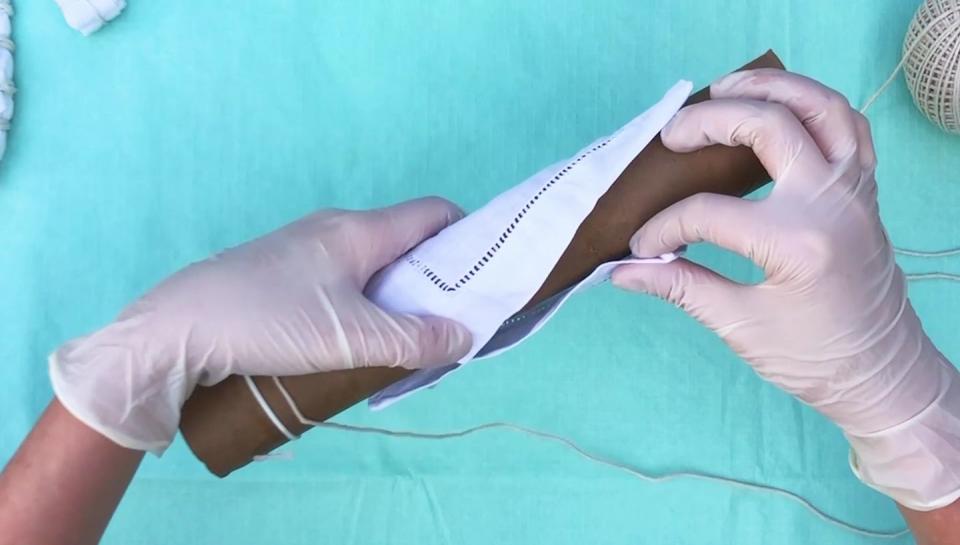
Wrap the napkin around the tube, then wrap the string around the napkin. Tie the string to itself at the other end.
Now you're ready to dye! Mix according to instructions and pour into a squeeze bottle. Apply the dye to the folded napkins, working over a plastic tub or tray to catch runoff.
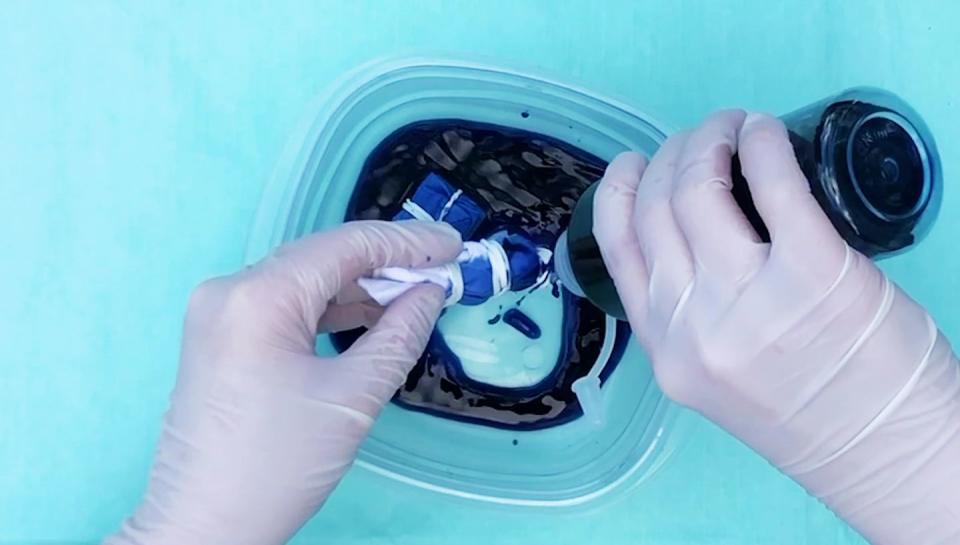
Use the tip of the nozzle to get into the folds and pleats. You can let the napkins soak in the dye for more saturated color.
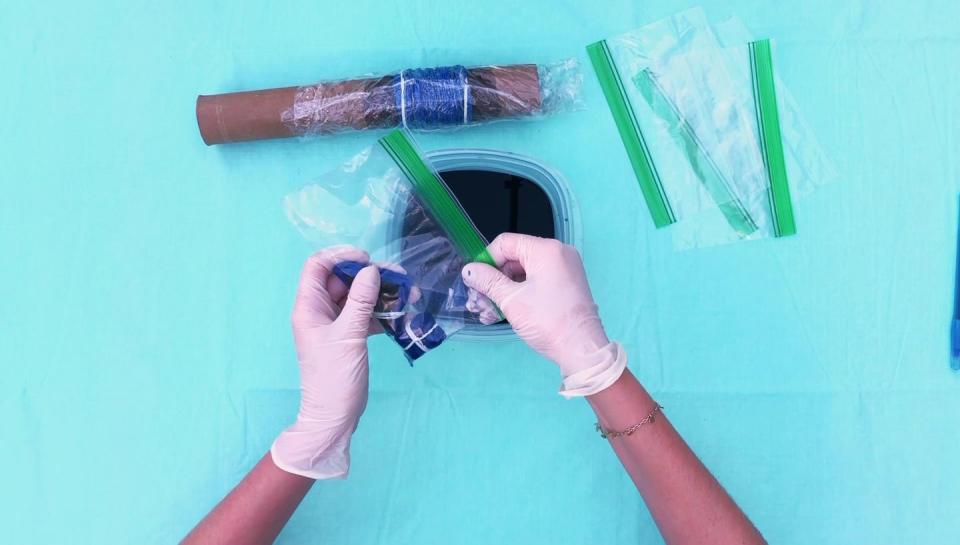
While still wet, wrap the dyed napkins in plastic wrap or place in sandwich bags, squeezing out any excess air. Let them sit for at least a few hours or overnight.
When the dye has set, unwrap the napkins and remove the rubber bands while rinsing under cool water. Keep in mind that the color will look lighter when dry.
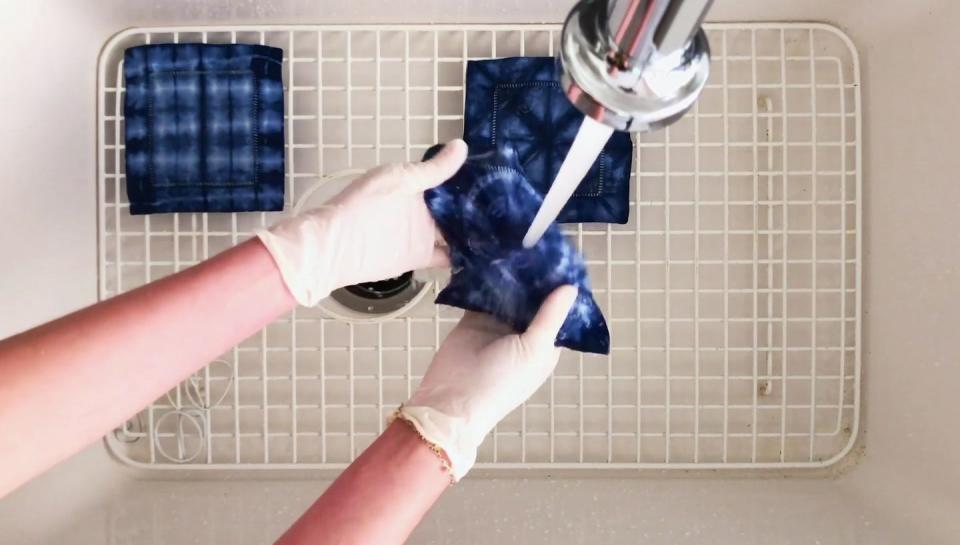
Once the excess dye has been rinsed out, wash the napkins with a bit of mild detergent and let dry. Iron for an extra-crisp finish.
Follow House Beautiful on Instagram.
You Might Also Like

