Discover the art of panning for dramatic action shots on your Canon camera
WATCH: Shoot action panning shots on your Canon camera
Fast-paced action can be one of the trickier genres of photography to master. You need quick reflexes to autofocus and change settings on the fly, but there’s a huge sense of accomplishment when you nail the shot.
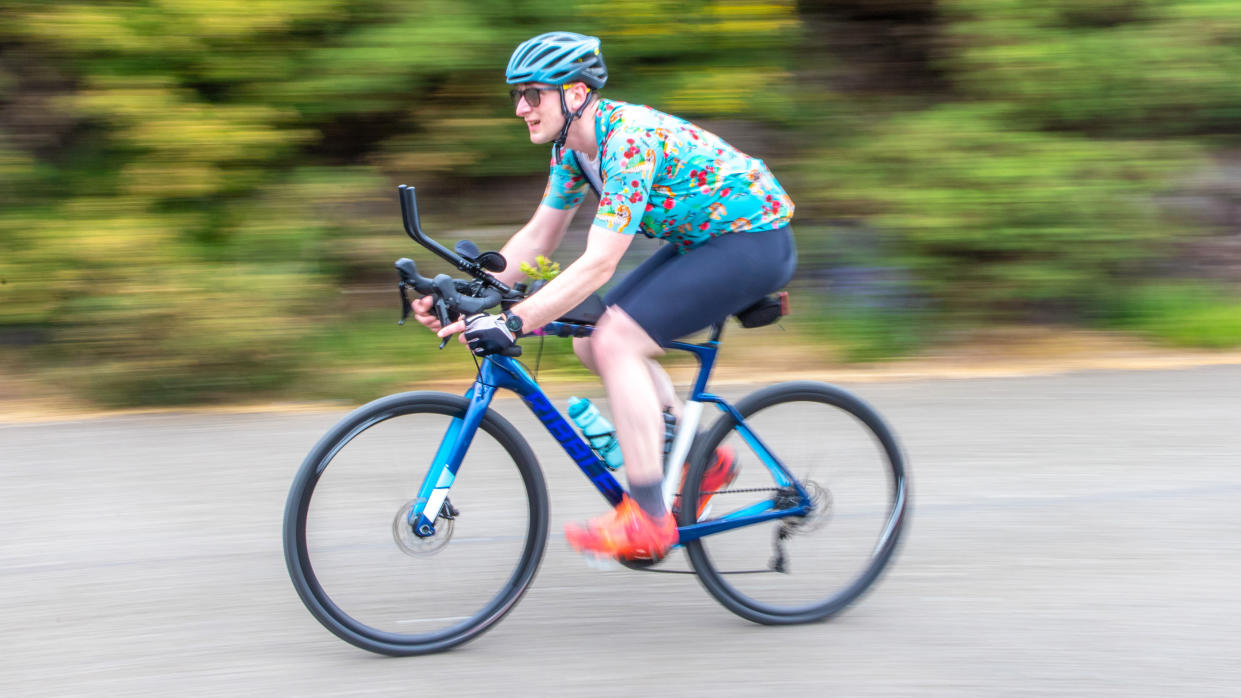
One way of making your action shots look more dynamic is with a technique called panning. This is where you pan – or move – your camera to track and follow your subject, such as a car, bird in flight, or in our case a cyclist. This method of tracking your subject via the viewfinder (or LCD screen), paired with a slower shutter speed, results in a shot where your subject should be sharp and the background has been turned into a wonderful rush of motion blur and colour.
In this project, we cover the core essentials to help you get started with panning. One extra step you can take that will help with your action photography is to enable back-button focusing. Many cameras have this capability and have a dedicated AF-On button on the back of the camera to which you can assign the autofocus activation, which means the shutter button is then purely for firing the shutter and doesn’t interfere with your AF.
If you’d like to try this out, go to your camera’s Custom Controls or Customize Buttons menu and set the Shutter button to half-press Metering Start, then set the AF-On button to Metering and AF Start. This is a super-handy method for all sorts of photographic disciplines, but particularly helpful for action and wildlife scenes because you have access to Continuous AF, Single Servo AF and Manual focus, all without diving into menus.
It’s also worth remembering that you ideally want to start taking shots before your subject passes in front of you, then track them through the frame, only releasing your trigger finger when they’ve passed, because this helps you get a smoother panning motion. In a good panning shot, you either have the subject approaching you, or are perfectly side-on; you don’t want an image where you see the back of your subject going away from you.
1. Camera settings
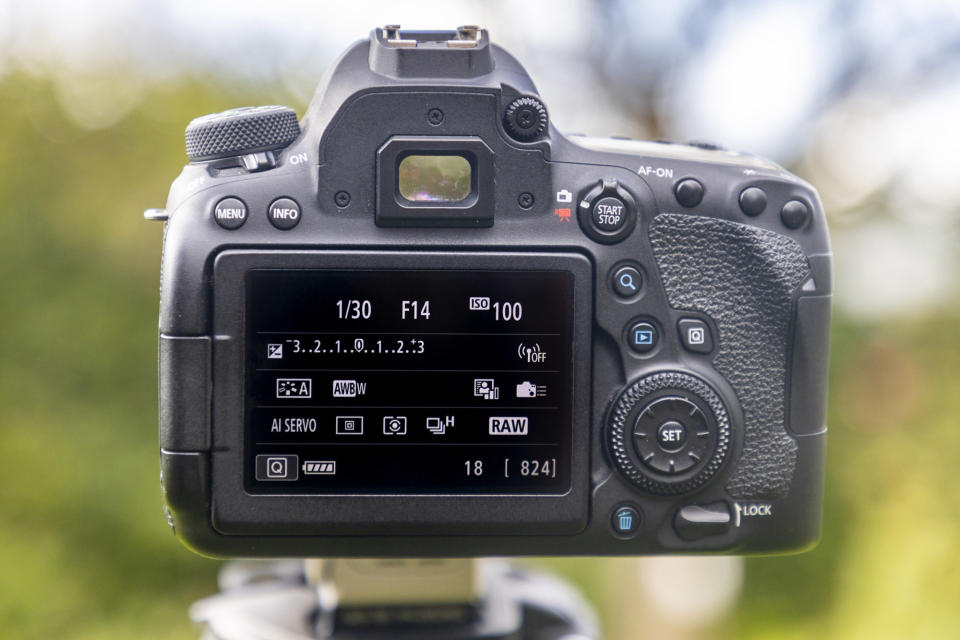
Put your camera into Shutter priority (S or Tv) mode, and set the ISO to 100, then frame up on your scene, and dial in a shutter speed of around 1/30 sec, noting the aperture. Now go into Manual mode and enter the same settings to lock them off.
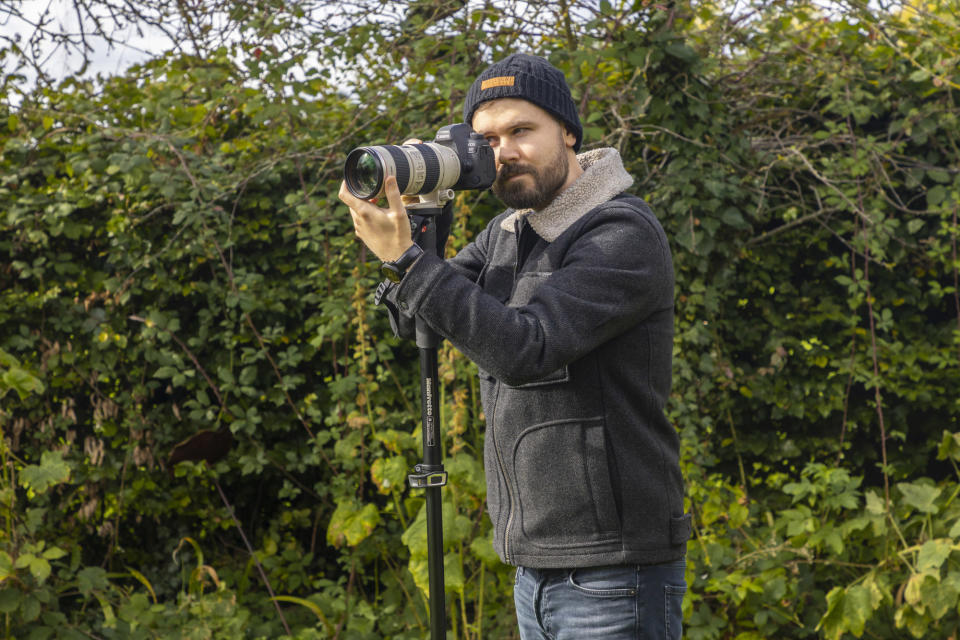
2. Use a monopod
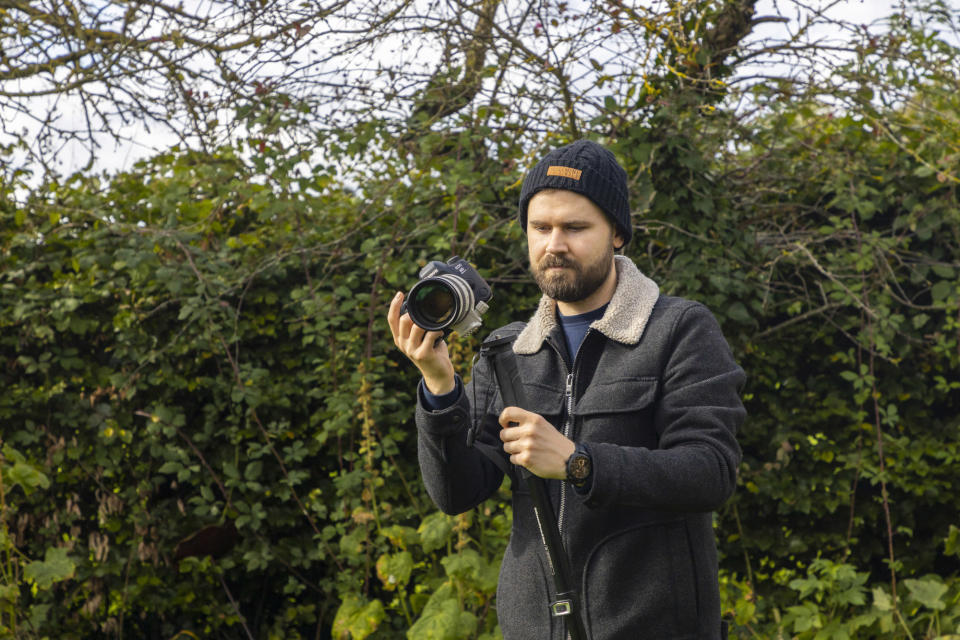
While not essential, a monopod comes in very handy for panning shots as it helps reduce any motion on the vertical axis, so you’re left with just the panning motion on the horizontal axis. You could also use a tripod with one leg extended instead.
3. Image Stabilization
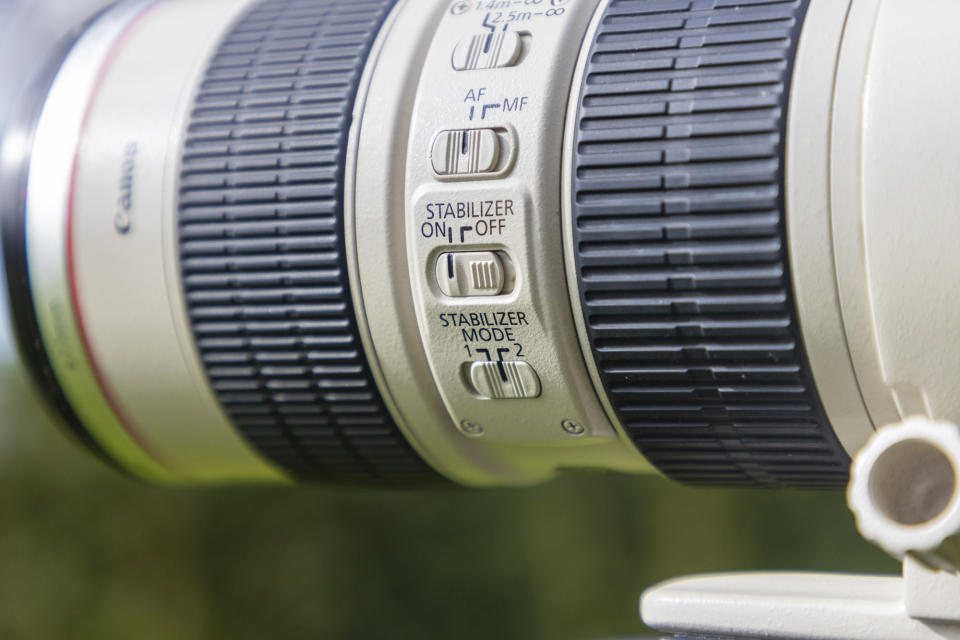
If your lens has an IS On/Off switch, turn this off to stop it correcting the blur that is essential for a panning shot (since the stabilization is designed to counteract camera movement, it will work against you!). Some lenses, like our Canon EF 70-200mm f/2.8L, have different IS modes that can aid panning; in this case choose Mode 2, which only corrects vertical movement.
4. Track and shoot
Now you’re ready to start taking some test shots. A good place to set up is safely on a kerbside next to a road, where cars or bikes regularly go past. Use continuous or tracking AF to focus on your subject as it comes past, and take a group of shots as you pan to follow them through the lens.
5. Refine the shutter speed
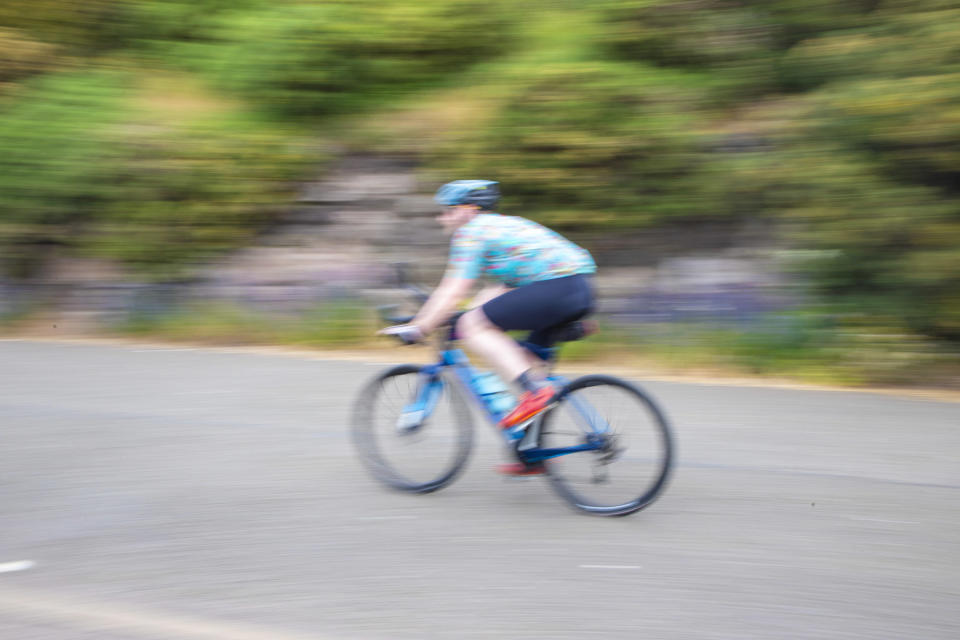
Inspect the images on the rear LCD. You know the shutter speed is too fast if the background is sharp. If your whole scene is blurry, your shutter speed is either too slow or your panning movement needs to be smoother. Tweak your shutter speed to make it faster or slower accordingly.
6. Sharpen in Photoshop
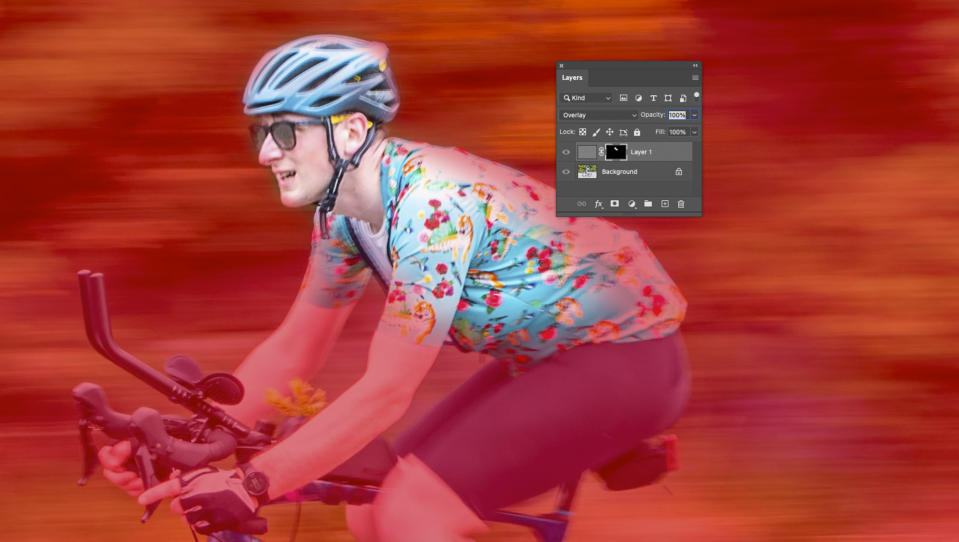
Load your image into Photoshop and hit Ctrl/Cmd + J to duplicate the layer, go to Filter > Other > High Pass and set the Radius to 4px and hit OK. Now set the Blending mode in the Layers panel to Overlay. Add a Layer Mask and hit Ctrl/Cmd + I to invert it, then use a soft white brush to paint over your subject to sharpen it.
PhotoPlus: The Canon Magazine is the world's only monthly newsstand title that's 100% devoted to Canon, so you can be sure the magazine is completely relevant to your system. Every issue comes with downloadable video tutorials too.
If you're serious about shooting action like sports, take a look at the best cameras for sports photography and the best lenses for sports photography.

