A Dated Staircase Gets a Luxe Makeover with a Surprising Twist (for $600!)
If you’re tackling home renovations, the staircase might be an afterthought. But for DIYer Matthew Carr, who shares his home with his husband, a staircase upgrade was an uplifting project with impressive results.
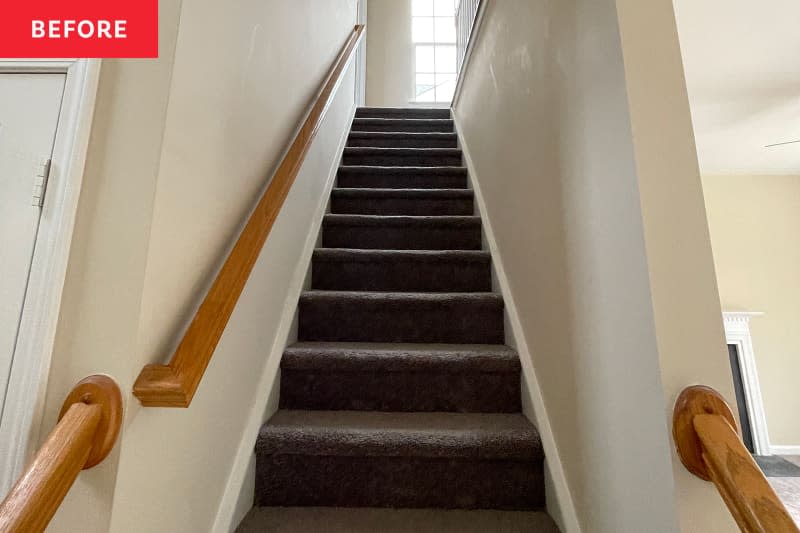
“When we purchased the house two years ago, it was very dull, but I could see the potential, Matthew says. “I knew I wanted hardwood floors in the house, including the staircase. I also wanted the transition from the first floor to the second floor to have a wow factor.”
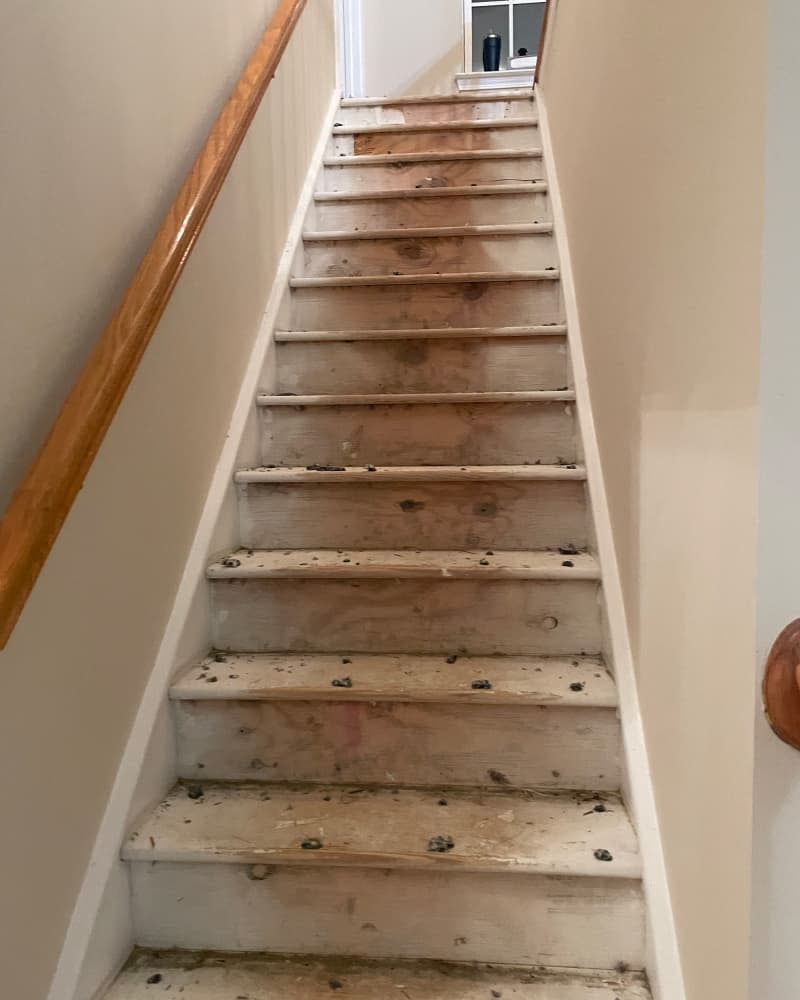

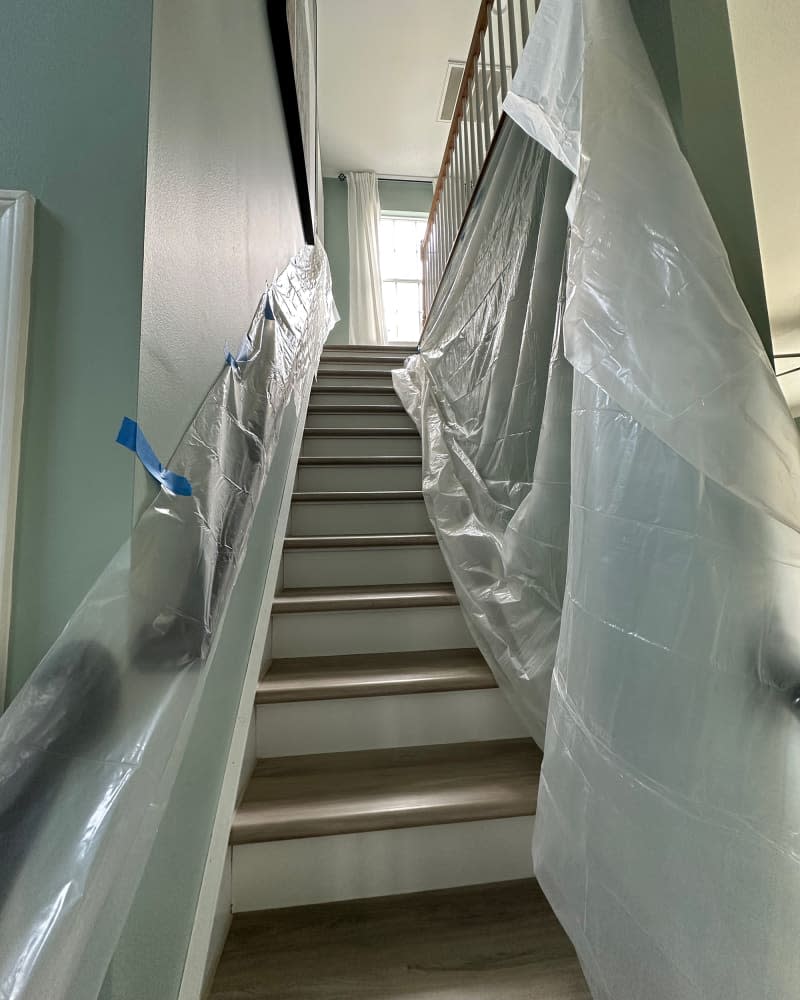
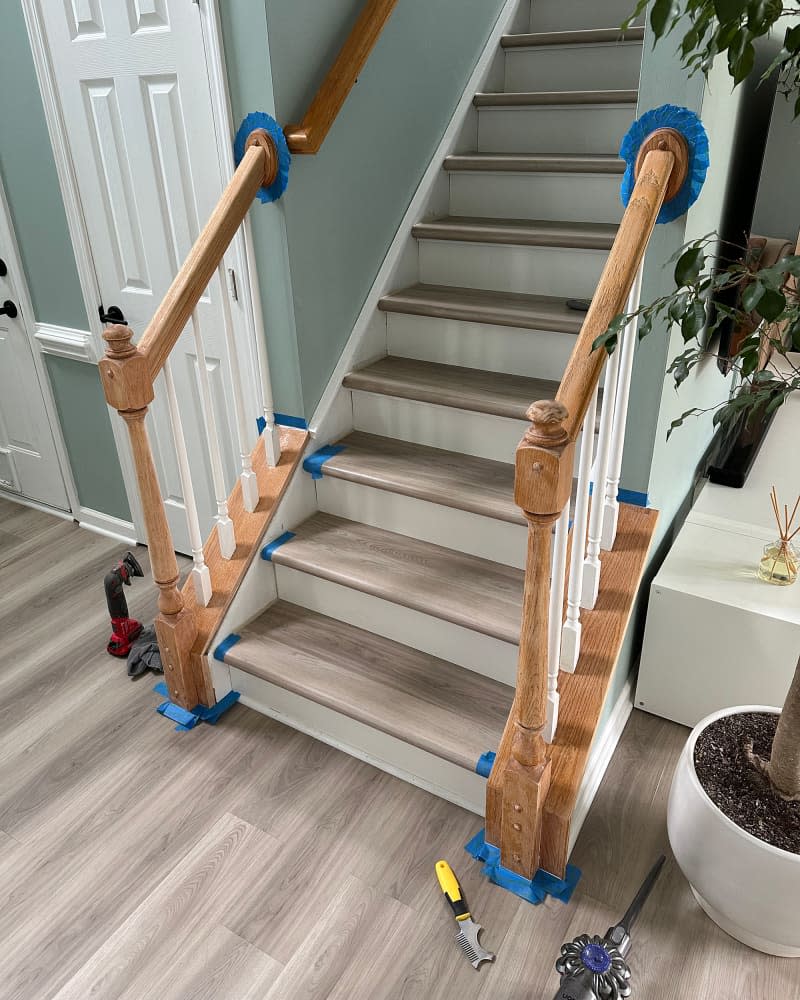
New stair treads and wall paneling were the first part of the project.
The theme of Matthew and his husband’s home is coastal, colorful, and bright. The light wood treads and light-green paint on the walls (Sherwin-Williams’ Quietude) kicked off the transformation, and the DIY panel detailing makes the passageway feel taller.
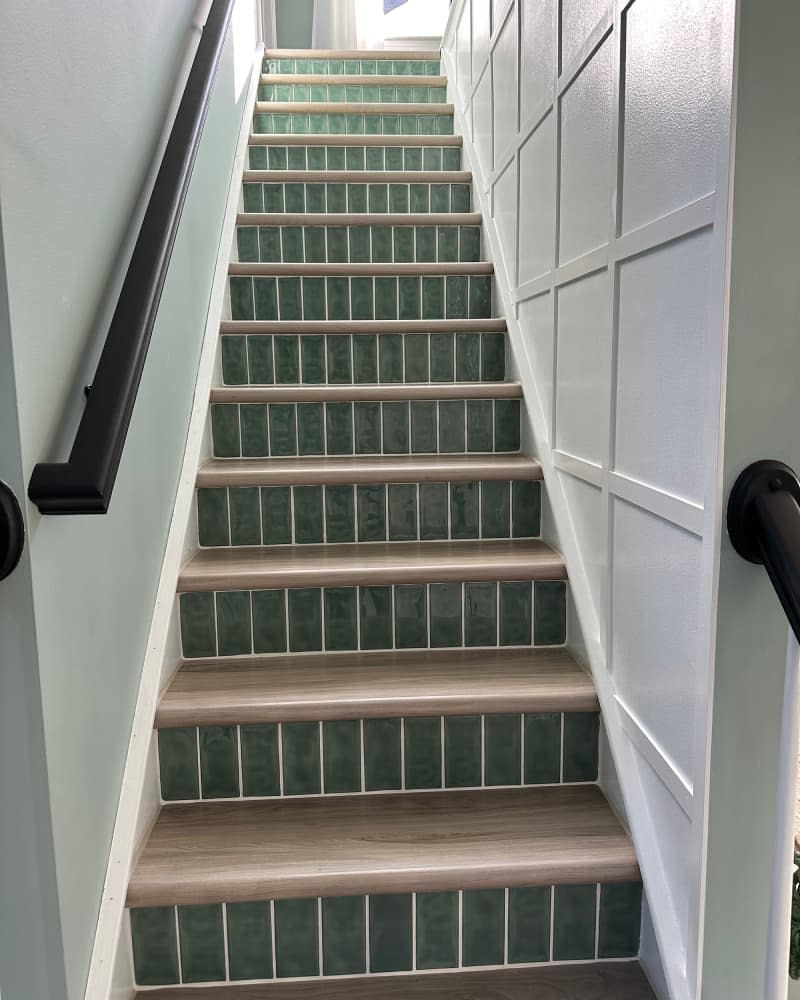
The tiles were a DIY job.
To make the staircase the statement Matthew and his husband were after, Matthew bought some green tiles that caught his eye at Lowe’s. “I knew immediately what I was going to do with them,” he says. “Everyone thought the idea of tiling a staircase was crazy, but I told them to trust the process.”
And trust the process they did; Matthew’s husband and a friend, Sarah, actually installed the tile over a holiday break when Matthew had to work. And it seems the tile was truly meant to be, because not a single piece had to be cut to size! “The tiles across fit perfectly, and they were the exact height that we needed,” Matthew says. “The tile at first seems to make the biggest difference, but in my mind, as soon as the honey-colored wood tone was gone, the space immediately felt better,” Matthew says.
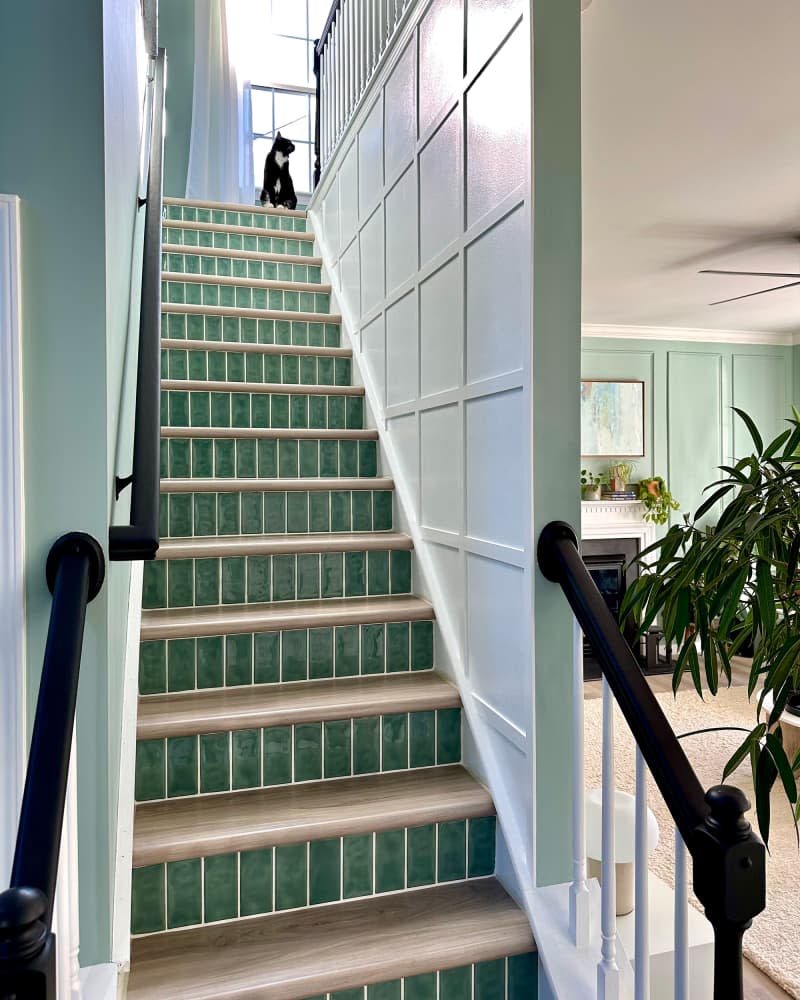
They saved money on the handrail.
The honey-colored wood tone he didn’t like was on the handrail, and sanding the glossy finish off was the most meticulous and time-consuming part of the project, Matthew recalls. He says it made the entire house dusty and took several weeks to complete, but he spent about $60 on black paint (Sherwin-Williams’ Tomcat) and primer, which was a small cost compared to what it would have been to hire a professional, he says.
For those looking to complete a similar project, Matthew suggests taking the plunge and enjoying the process. “The payoff is always worth it,” he says. “If something is physically hard and time-consuming (like the weeks it took to sand down the handrails) that’s when you should slow down and make sure it is done right so the final product has no flaws.”
And the hard work paid off. “I love how unique the project is. I don’t know anyone else who has stairs like this, that I know,” Matthew says of the results. “It truly feels unique. From a functional standpoint, the staircase is much brighter with the accent wall and now easier to see in the evening or night.”
This article originally published on Apartment Therapy. See it there: A Dated Staircase Gets a Luxe Makeover with a Surprising Twist (for $600!)

